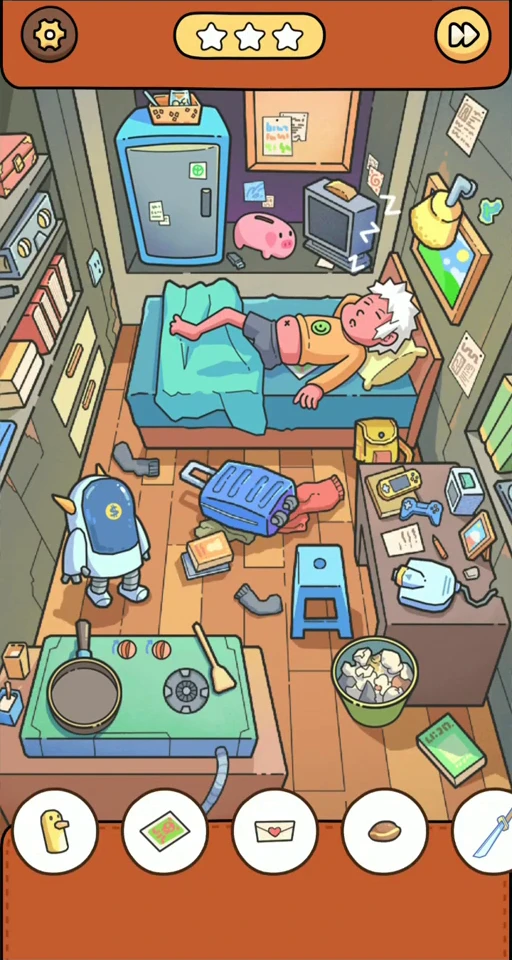
 DISCOVERY SCENE 1
Find Out Discovery scene 1: Otaku's Room
Feed coins to the robot twice, reveal the picture and letter, then use the projector and cook the egg.
Open walkthrough →Verified scenes · library in progress
Screenshot-matched solutions for 148 verified scenes across Discovery, Differences, Hidden Objects, Story and Horror. This is an in-progress library, not the complete game.
148 published scene guides. Not yet covered: remaining Hidden Objects scenes and chapters, Seek, timed Story rounds, Skeleton, Candy Carnival, and the separate Rooster Painter variant. This is not a complete-game walkthrough.
Match the picture, mode and target icons before following an answer. Scene order and requested objects can differ between releases; our guide URL numbers are library IDs, not a claim about current app numbering.
Browse verified scenes
Verified scene coverage
41 checked interactive scenes, identified by picture and name rather than an assumed current app order.
Browse Discovery →DISCOVERY SCENE 1Feed coins to the robot twice, reveal the picture and letter, then use the projector and cook the egg.
Open walkthrough →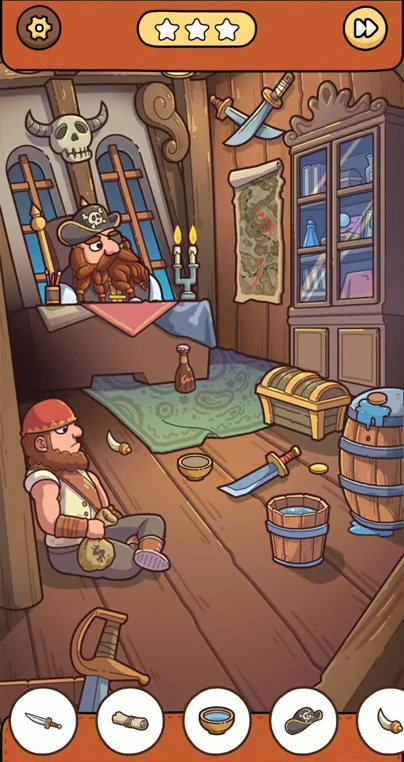 DISCOVERY SCENE 2
Fill the bowl under the leak, burn the map to release the hat, and get the seated pirate to put down his money bag.
Open walkthrough →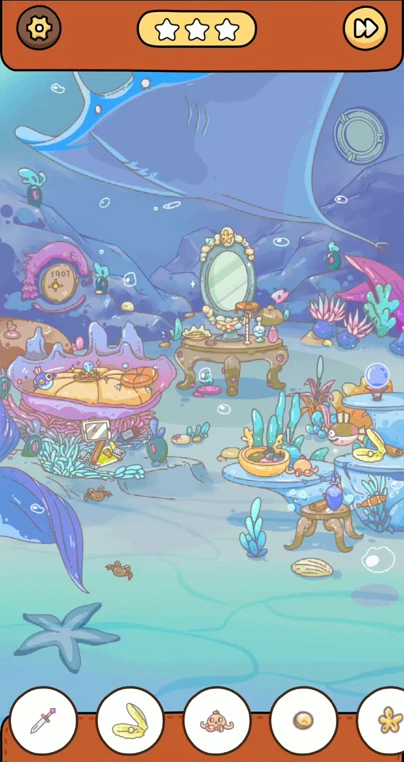 DISCOVERY SCENE 3
Use the octopus's reflection, trade the diamond for the pearl, and admit sunlight to open the flower.
Open walkthrough →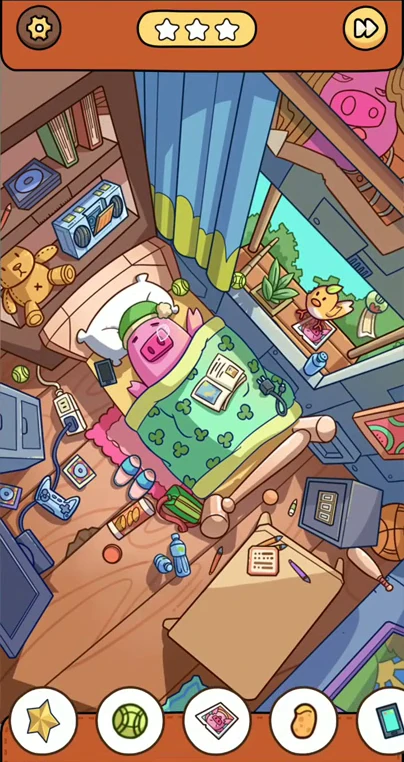 DISCOVERY SCENE 4
Play the cassette to move the bird, charge the phone, and enter 130 into the safe.
Open walkthrough →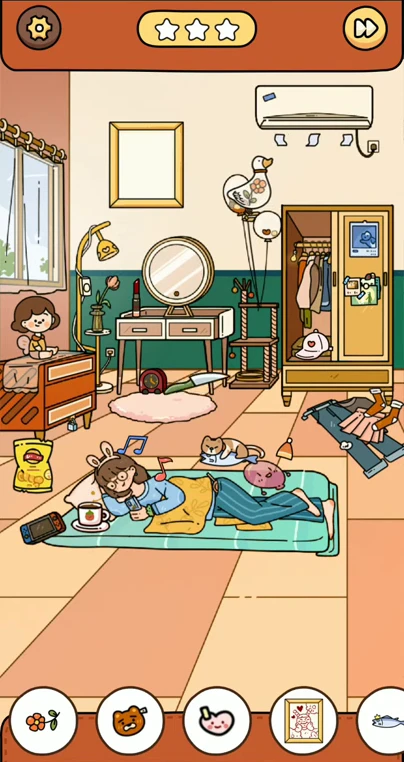 DISCOVERY SCENE 5
Pop the flower balloon, make the child happy with candy, a ribbon and clothes, and trigger the hidden stickers and heart shadow.
Open walkthrough →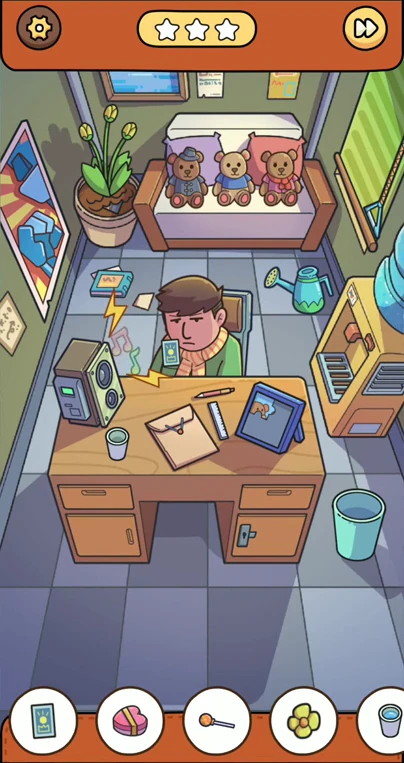 DISCOVERY SCENE 6
Assemble the bear photograph, unlock the heart gift, and turn off the music to create the sleeping Z.
Open walkthrough →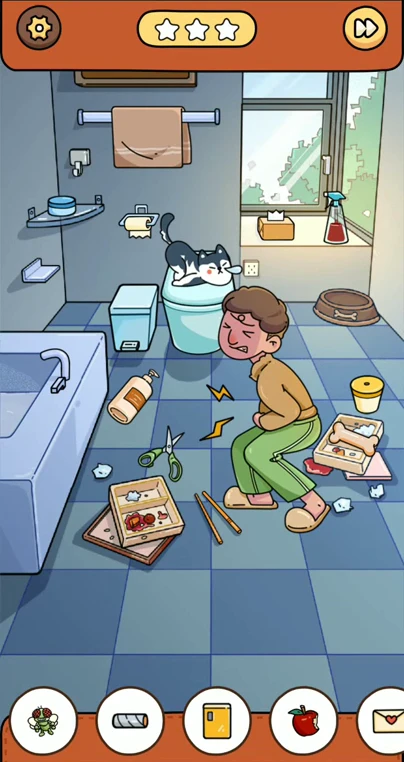 DISCOVERY SCENE 7
Feed the dog to free the toilet, then combine the straw and cup, spray the towel, and fill the bath.
Open walkthrough →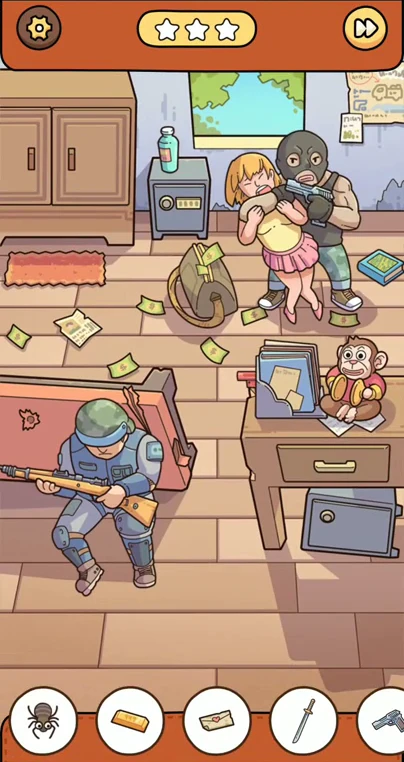 DISCOVERY SCENE 8
Call the supply drop with the flare gun, move its crate to expose the gold, and wind the monkey to free the criminal's gun.
Open walkthrough →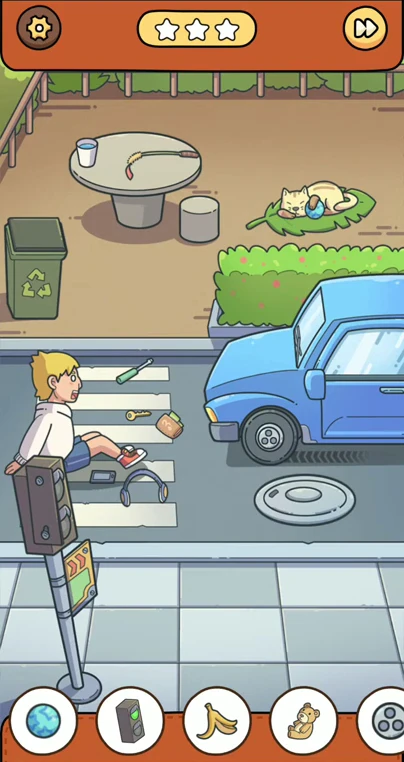 DISCOVERY SCENE 9
Repair the signal, startle the cat with the umbrella, and draw the bird out using the hedge clippers.
Open walkthrough →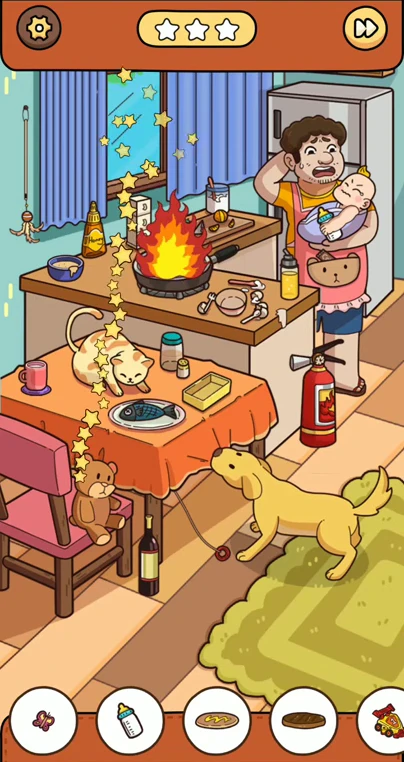 DISCOVERY SCENE 10
Put out the pan fire, cook the bread briefly, and feed the cat and dog to reveal their targets.
Open walkthrough →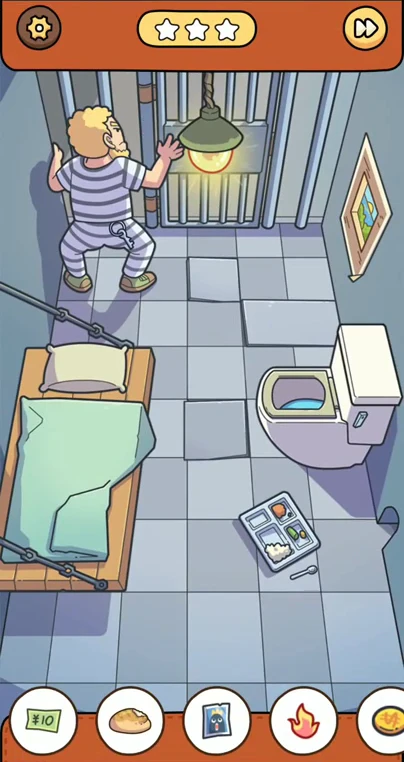 DISCOVERY SCENE 11
Combine two five-value notes, flush the prisoner's key to create the anger flame, and uncover the shovel beneath the toilet.
Open walkthrough →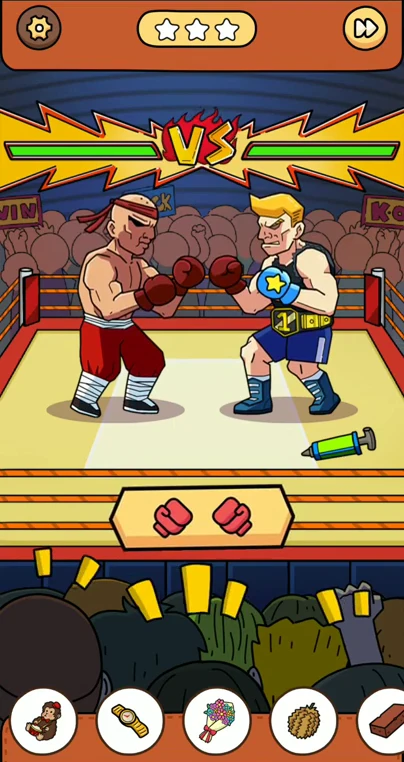 DISCOVERY SCENE 12
Replay the fight under four different conditions; each result produces a different pair of targets.
Open walkthrough →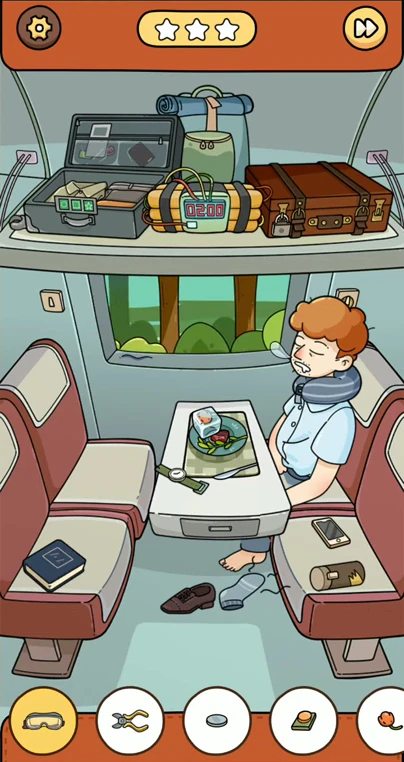 DISCOVERY SCENE 13
Unlock the overhead luggage, use the sock to make the passenger move, and melt the ice with the magnifier.
Open walkthrough →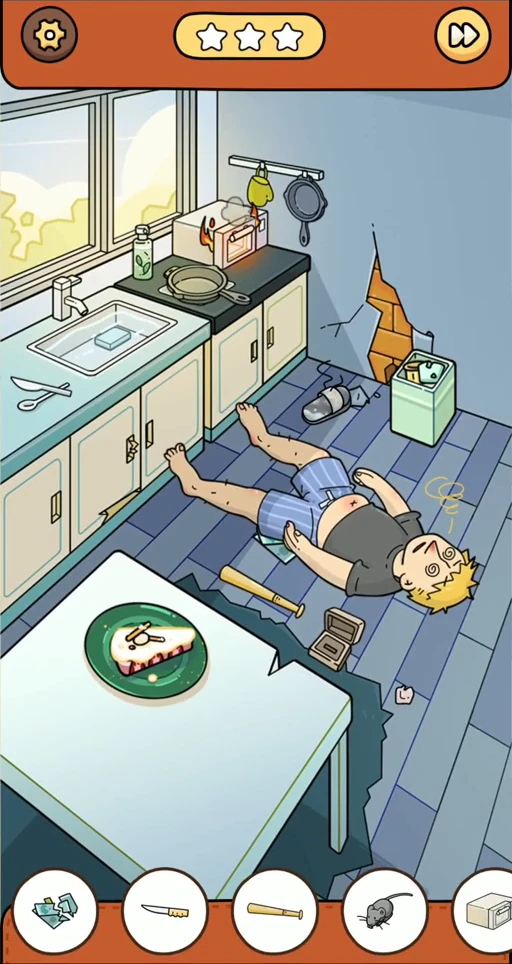 DISCOVERY SCENE 14
Unplug the burning oven before using the extinguisher, lure out the mouse with cake, and return the ring to its box.
Open walkthrough →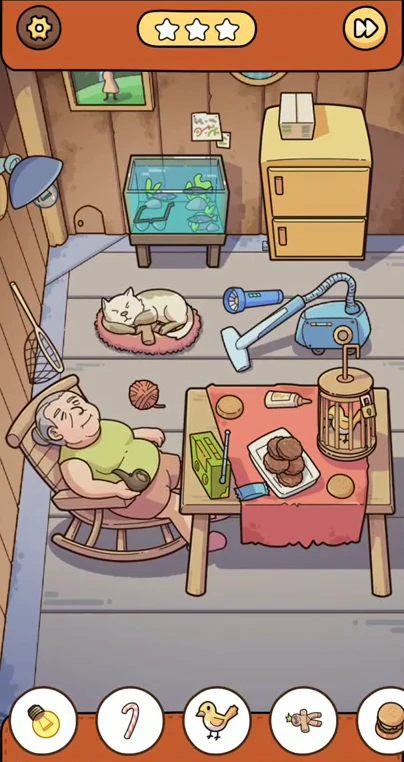 DISCOVERY SCENE 15
Use the trolley to exchange items with the mouse, repair its lighting, and build the burger in the correct order.
Open walkthrough →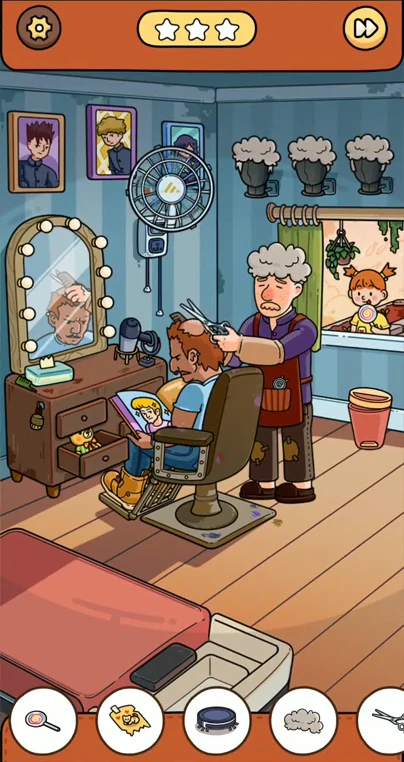 DISCOVERY SCENE 16
Give the customer a complete hair treatment, move the child with the teddy bear, and stop the fan to expose the telephone picture.
Open walkthrough →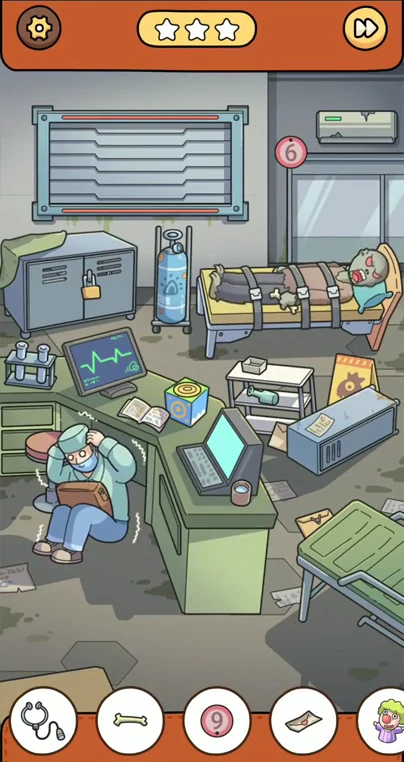 DISCOVERY SCENE 17
Use computer code 2943, enable the safe-window setting, and sedate the zombie before taking the bone.
Open walkthrough →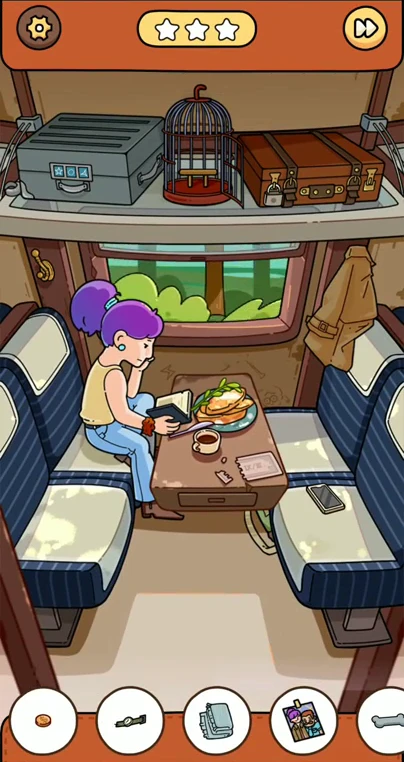 DISCOVERY SCENE 18
Charge your device to activate the in-game phone, expose the luggage clues, and change the map destination to bring the owl to the window.
Open walkthrough →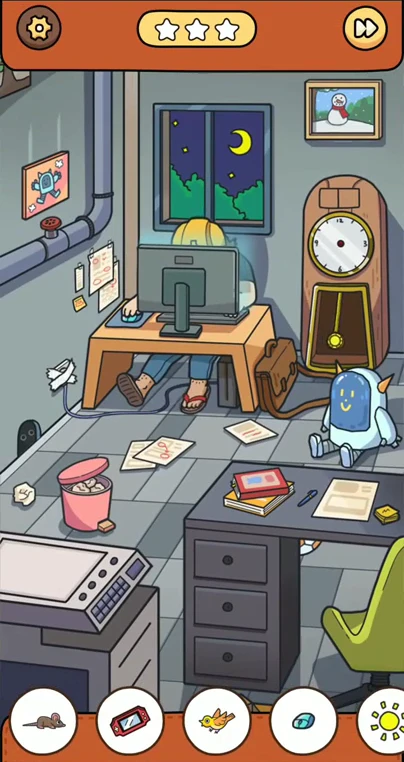 DISCOVERY SCENE 19
Use the clock to reveal the bird and sunrise, tickle the worker's foot for the mouse, and feed the robot its coin.
Open walkthrough →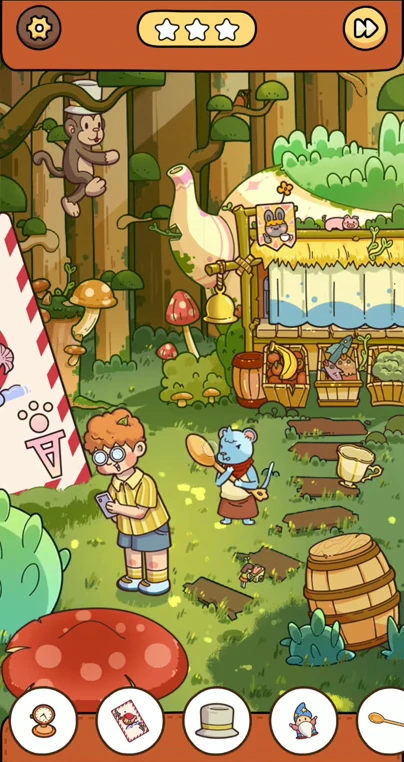 DISCOVERY SCENE 20
Use two-finger gestures on the bubble, card, and giant teapot to release objects that tapping alone cannot expose.
Open walkthrough →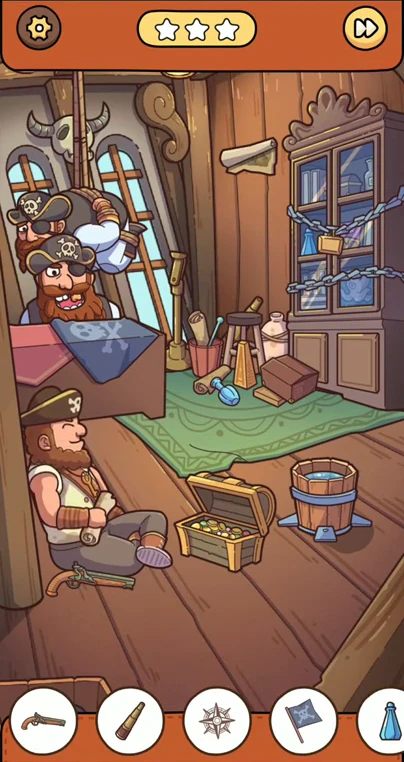 DISCOVERY SCENE 21
Trigger the monkey's cannon to break the cabinet and move the octopus between the sailor and bucket.
Open walkthrough →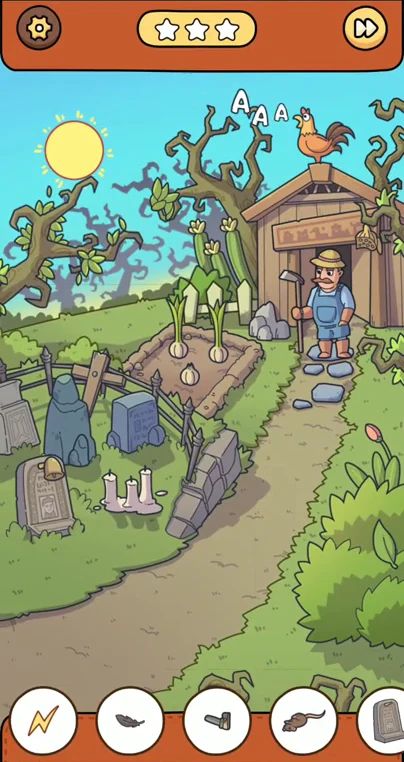 DISCOVERY SCENE 22
Cycle day and night, make the zombie dizzy, and rearrange the tree shadow into a rabbit.
Open walkthrough →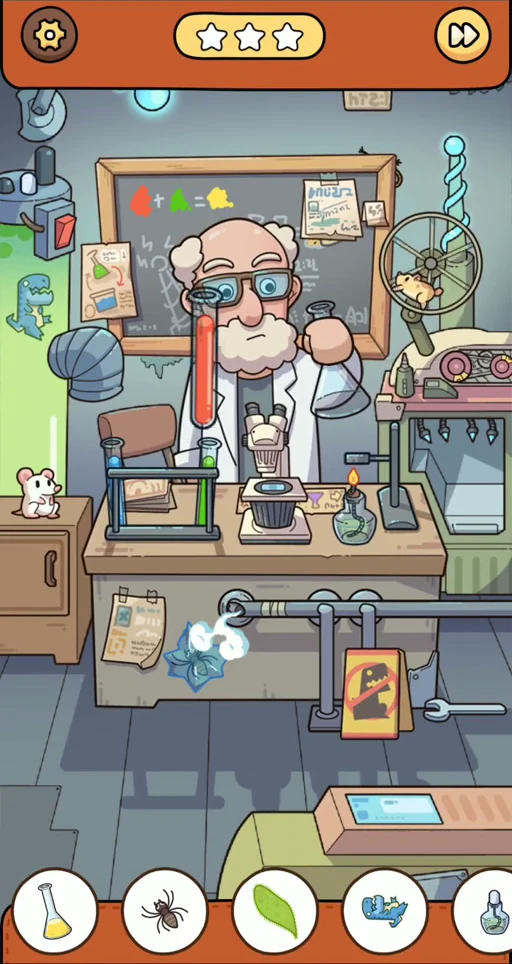 DISCOVERY SCENE 23
Mix and shake the yellow chemical, repair the microscope lens, and power the frog transformer with the running mouse.
Open walkthrough →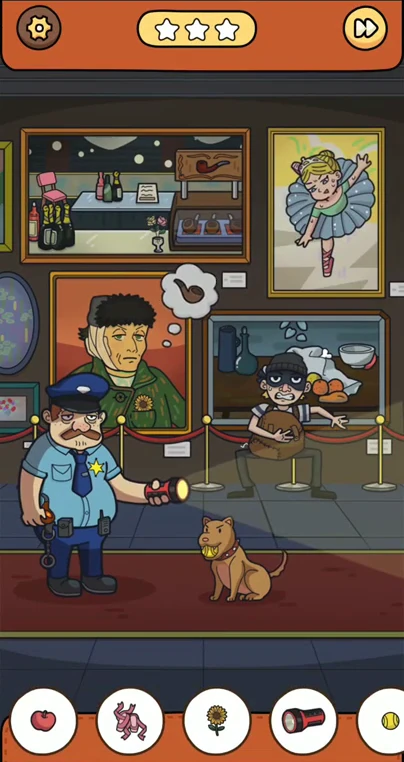 DISCOVERY SCENE 24
Move props between paintings: the dancer needs a chair, the guard needs the dancer's Z, and the smoking woman needs a prepared cigar.
Open walkthrough →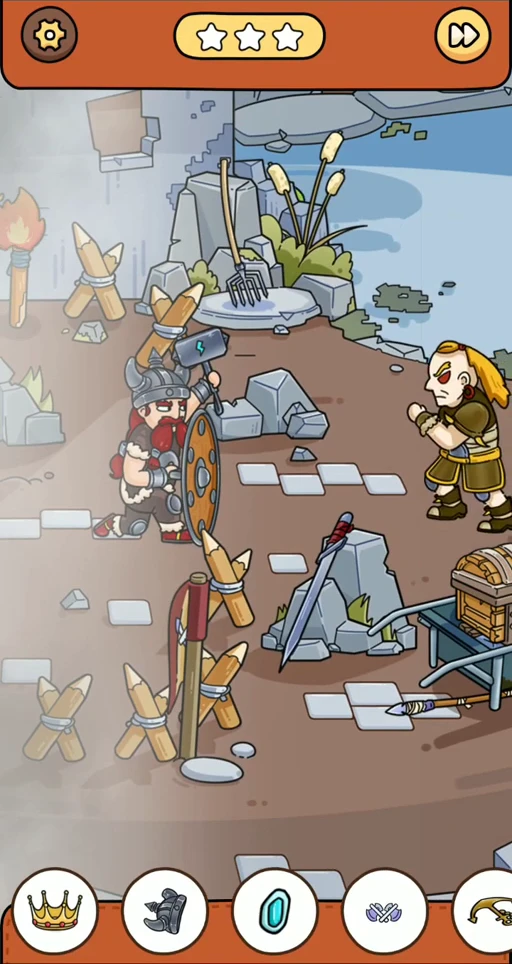 DISCOVERY SCENE 25
Upgrade the axe in the lake, arm Thor's statue, and use the battlefield weapons as the chest clue.
Open walkthrough →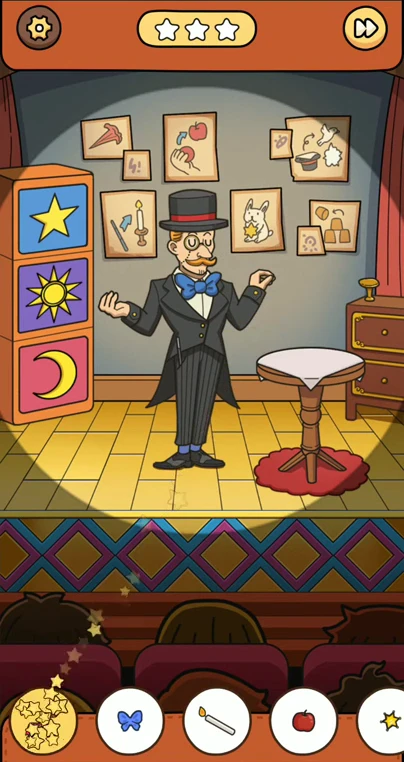 DISCOVERY SCENE 26
Change the three symbol boxes between suns and moons, transform the rabbit's hat, and finish the show to receive the wreath.
Open walkthrough →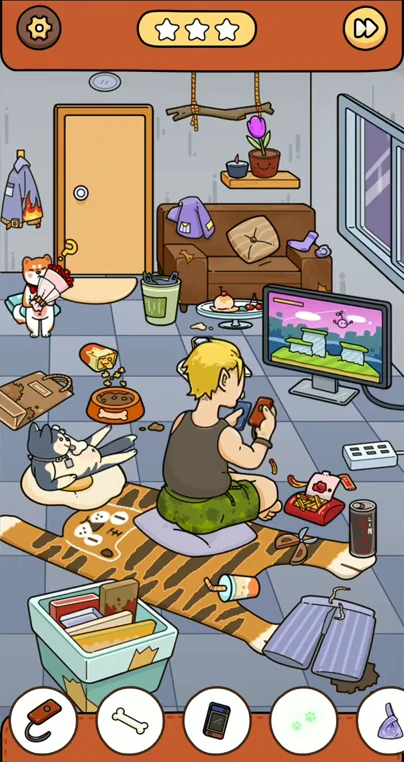 DISCOVERY SCENE 27
Visit the hallway, cut the power, and use the cats to release the bone and mask.
Open walkthrough →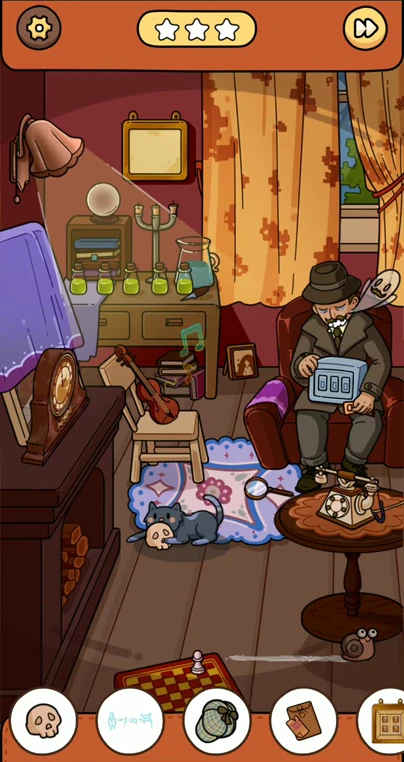 DISCOVERY SCENE 28
Use mirror code 390 for the safe and prepare the antidote before turning back the clock.
Open walkthrough →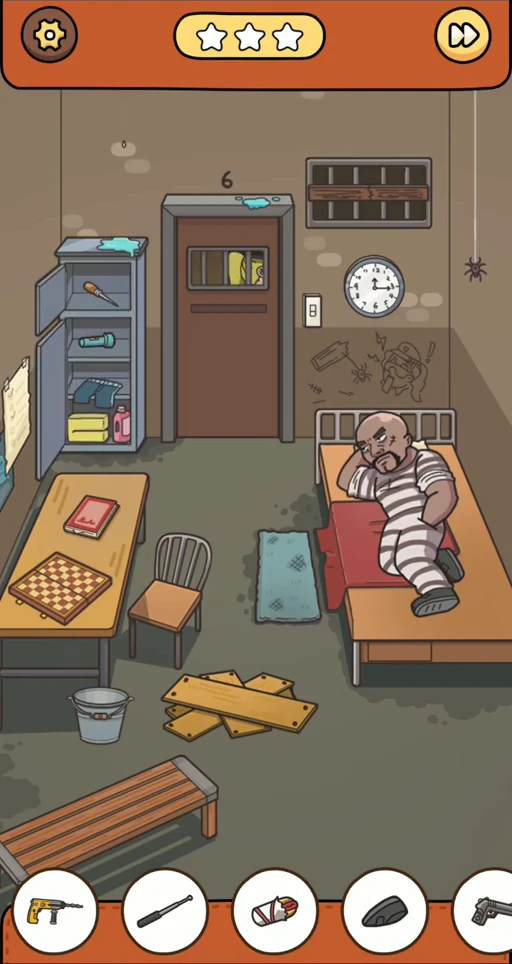 DISCOVERY SCENE 29
Three escape attempts are required: the broken hammer, the bucket trap, and finally the spider trap.
Open walkthrough →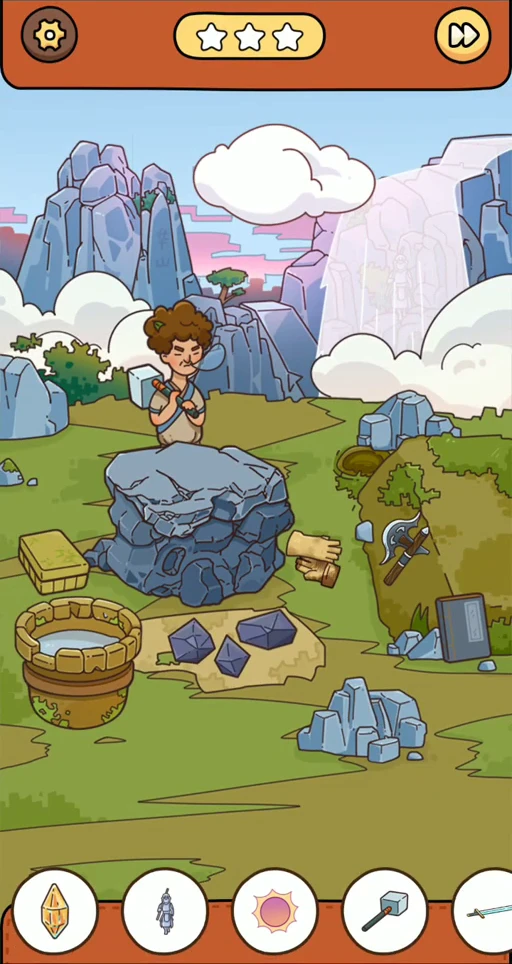 DISCOVERY SCENE 30
Enlarge the axe to split the mountain, forge two different swords, and make the storm release the hammer.
Open walkthrough →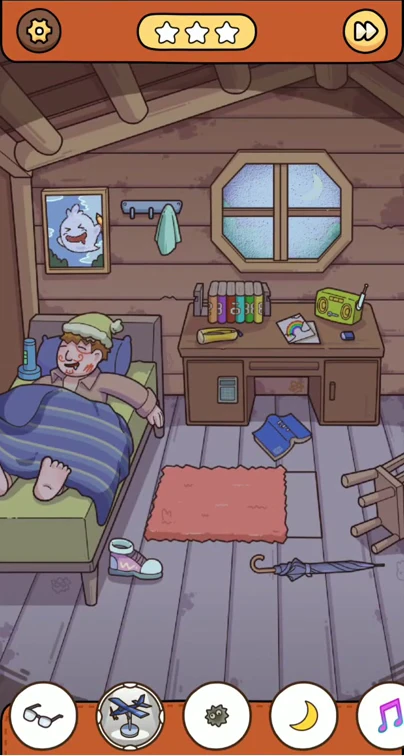 DISCOVERY SCENE 31
Return the loose book to reveal code 2869 and use the radio, window, and picture frame to expose the hidden targets.
Open walkthrough →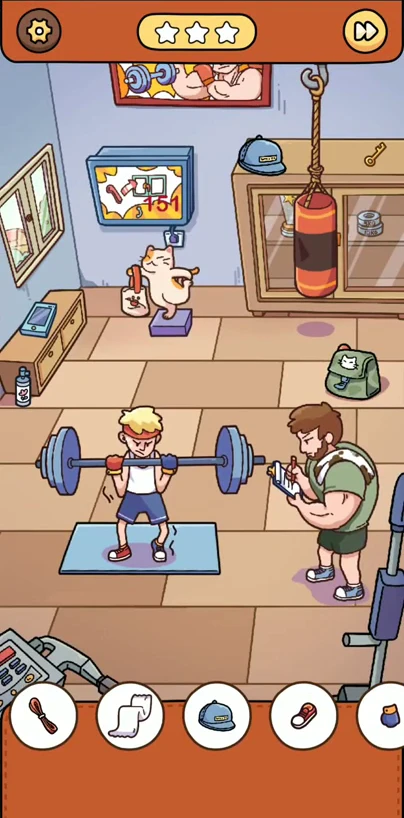 DISCOVERY SCENE 32
Use phone code 151 to repair the window, then change both ends of the barbell for the shoe and glove targets.
Open walkthrough →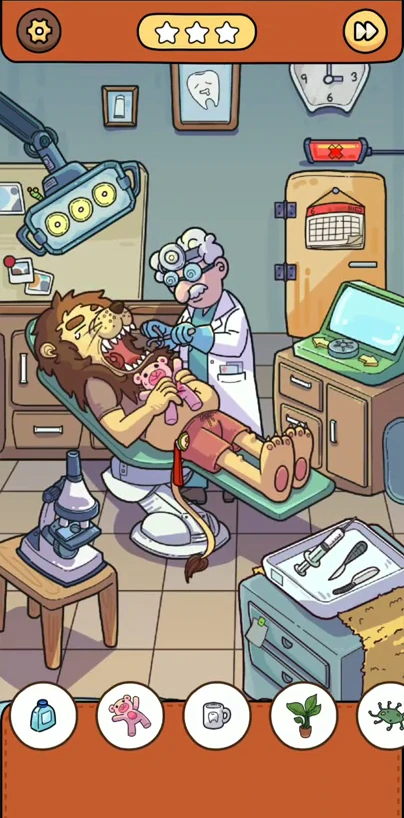 DISCOVERY SCENE 33
Sedate the lion, open the door with the green indicator, and finish the dental-machine dial before extracting the bad tooth.
Open walkthrough →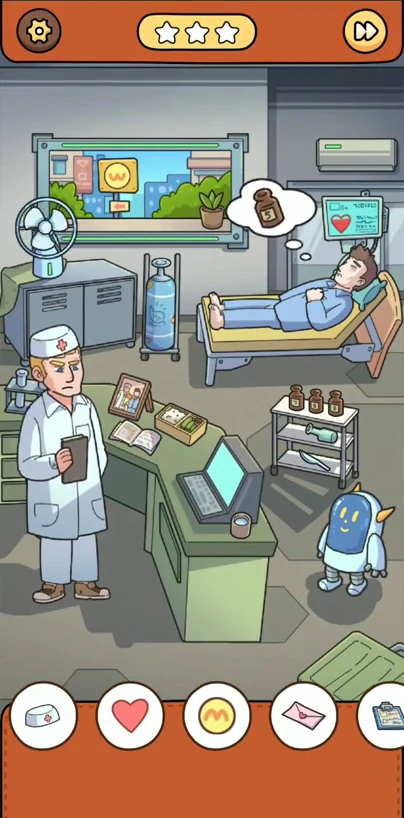 DISCOVERY SCENE 34
Measure five units using the three bottles, then use 2943 on the computer and raise the fan speed.
Open walkthrough →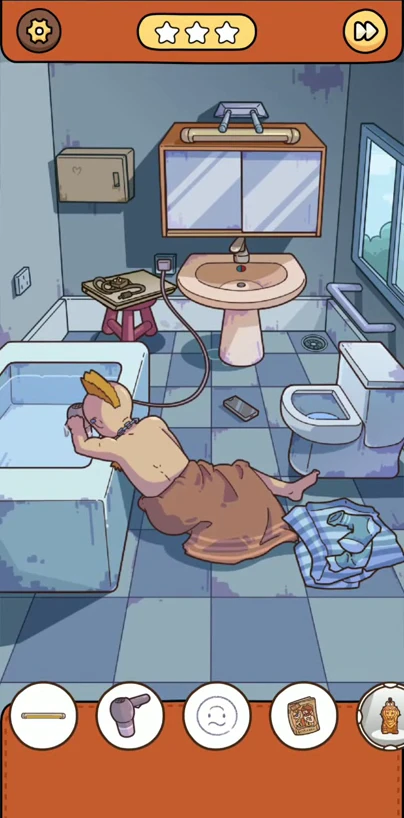 DISCOVERY SCENE 35
Disconnect the hair dryer, move the basin with two fingers, and use phone code 235.
Open walkthrough →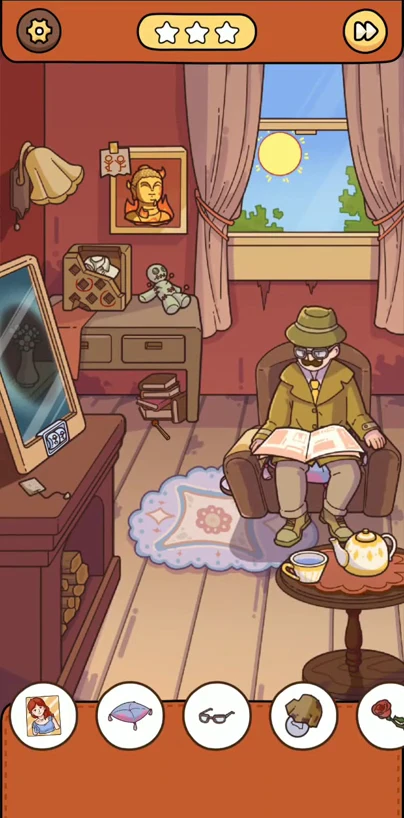 DISCOVERY SCENE 36
Prepare the fireplace and mirror portal, then collect the statue, lamp, and frozen flower in the reversed room.
Open walkthrough →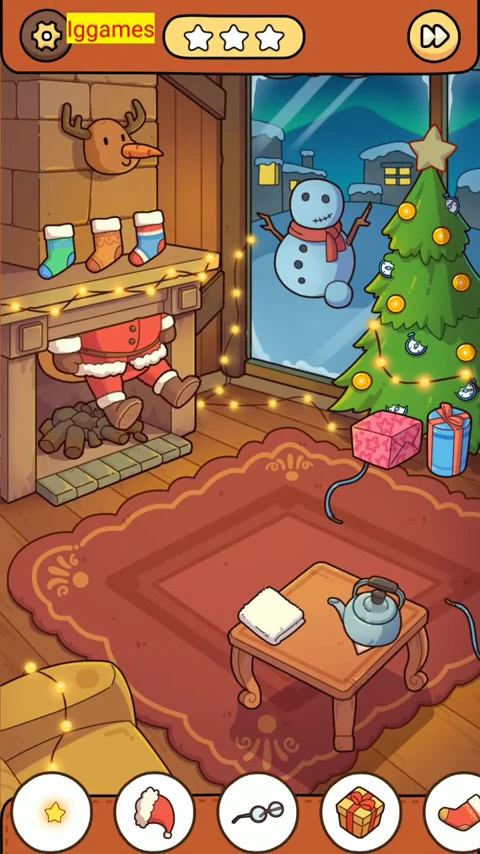 DISCOVERY SCENE 37
Bridge the broken cable with two fingers, pull Santa free, and finish the snowman's carrot nose.
Open walkthrough →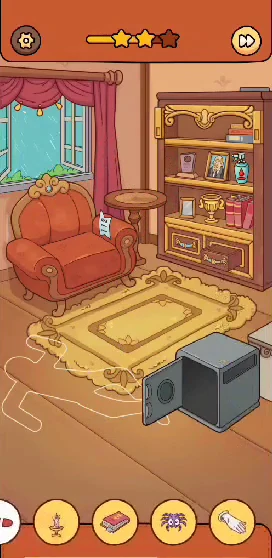 DISCOVERY SCENE 38
Reveal the footprints with the blue spray and use safe code 112 for the book.
Open walkthrough →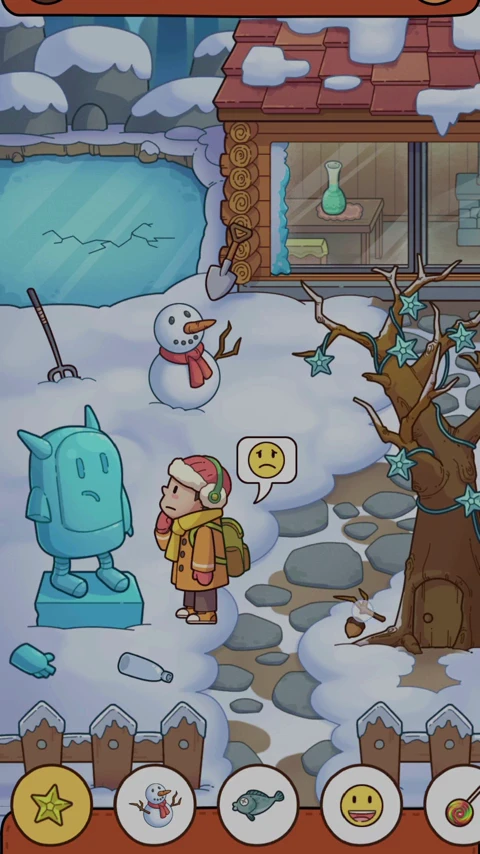 DISCOVERY SCENE 39
Repair the robot, thaw the fishing spot, and use the fallen walnut to trade for the squirrel's book.
Open walkthrough →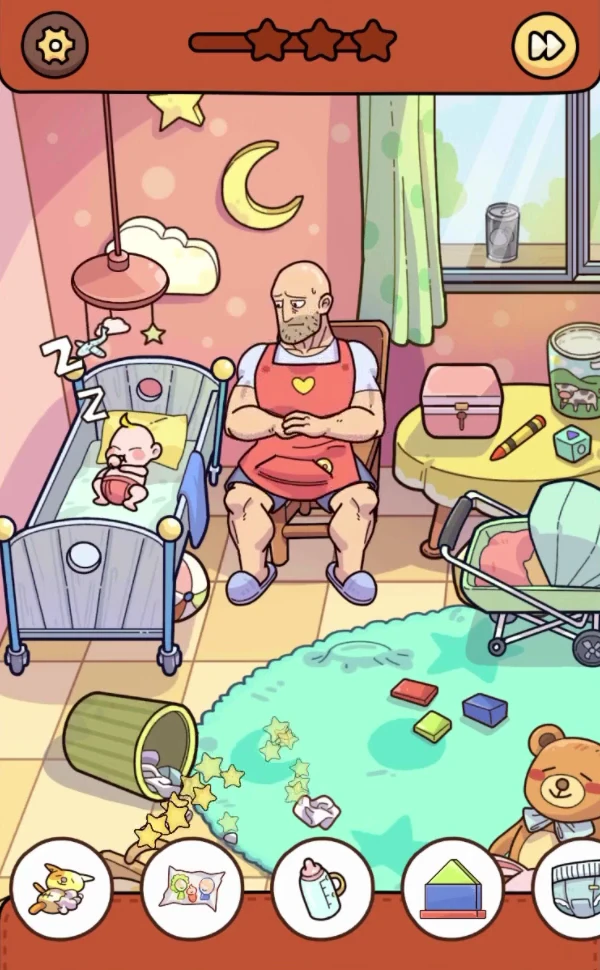 DISCOVERY SCENE 40
Repair and move the stroller for the milk bottle, assemble the coloured toy, and put the baby back to sleep for the final toy.
Open walkthrough →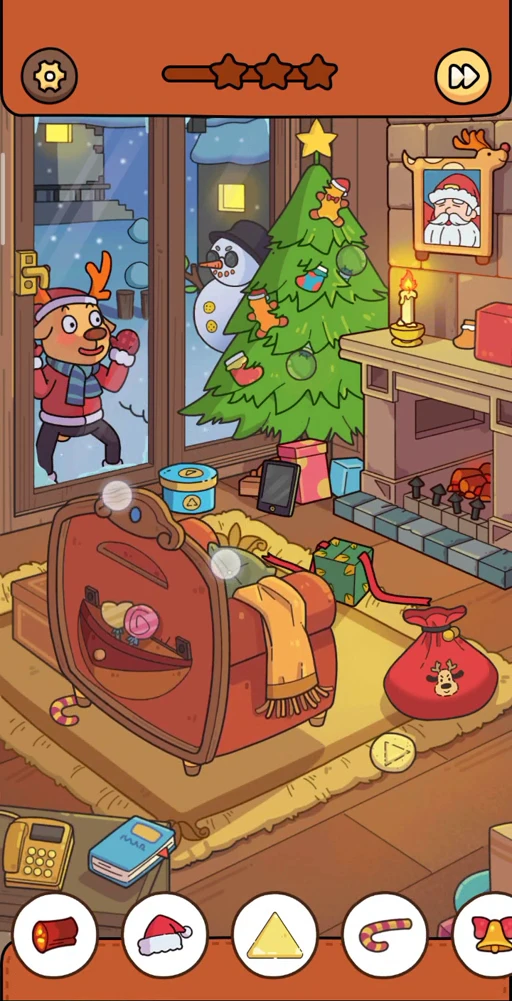 DISCOVERY SCENE 41
Lift the sofa for the wood and candy cane, repair the tree lights, and inspect the presents on the phone for the bell.
Open walkthrough →Verified scene coverage
58 checked picture pairs from the reference ordering. Match the target total; reordered and alternate target sets exist.
Browse Differences →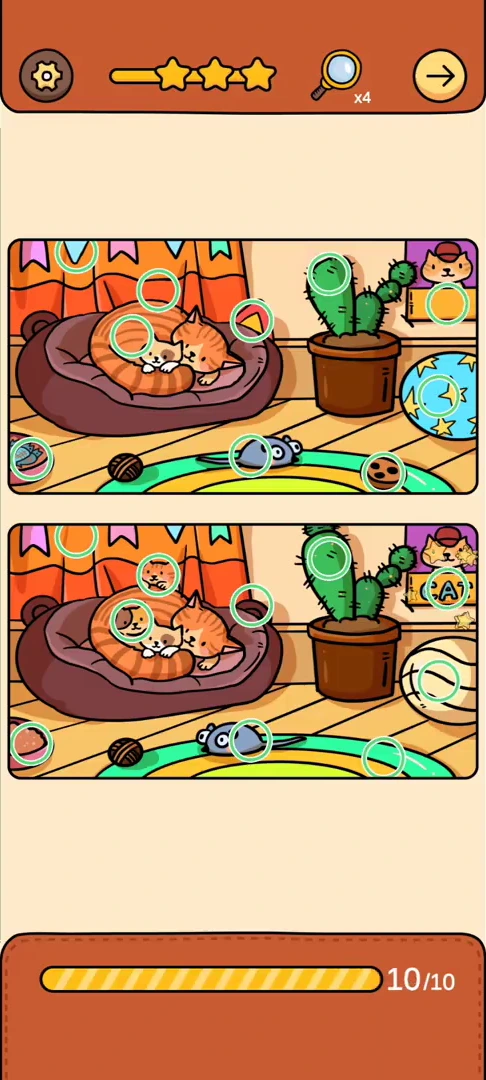 DIFFERENCES REFERENCE 1
10 pictured differences in Sleeping Cat
Open walkthrough →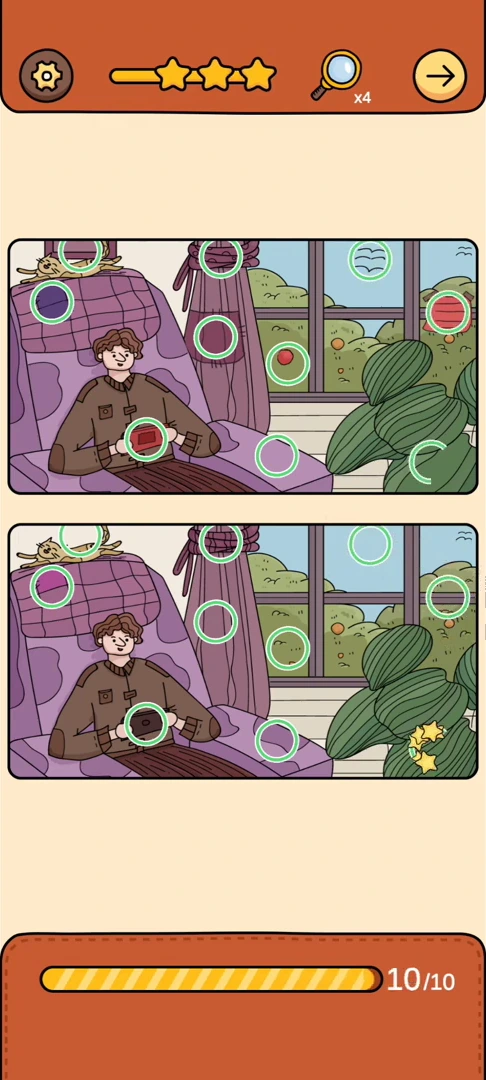 DIFFERENCES REFERENCE 2
10 pictured differences in Train Reader
Open walkthrough →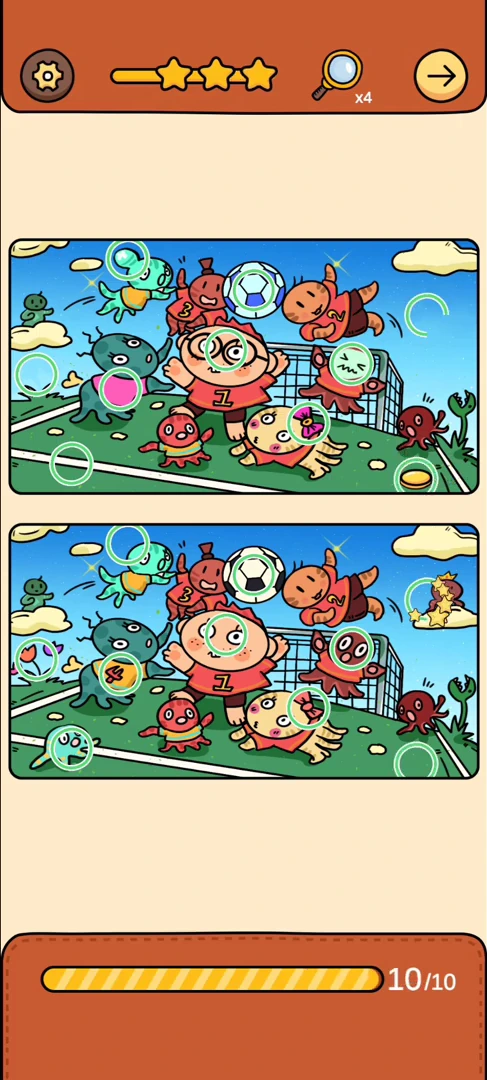 DIFFERENCES REFERENCE 3
10 pictured differences in Monster Football
Open walkthrough →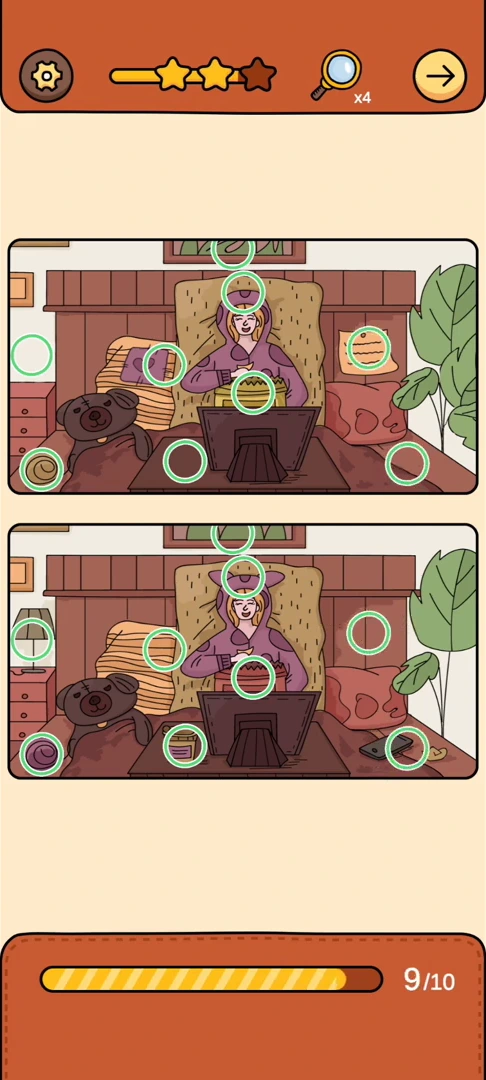 DIFFERENCES REFERENCE 4
10 pictured differences in Tarot Reader
Open walkthrough →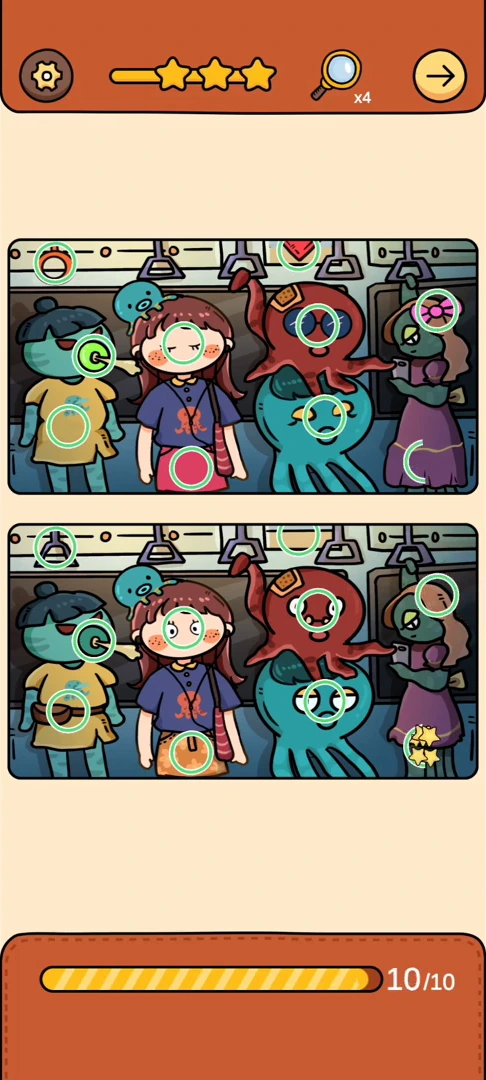 DIFFERENCES REFERENCE 5
10 pictured differences in Plush-Monster Collection
Open walkthrough →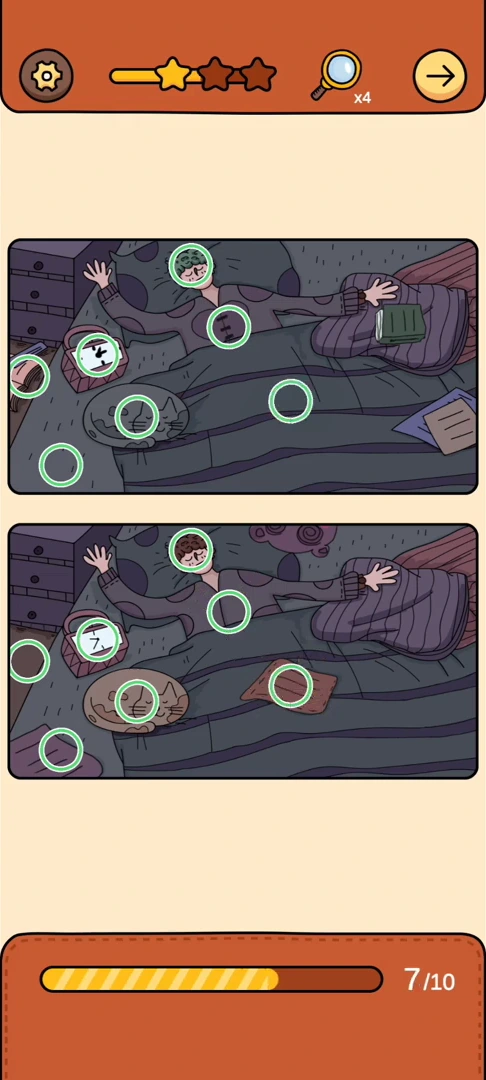 DIFFERENCES REFERENCE 6
10 pictured differences in Nightmare Sleeper
Open walkthrough →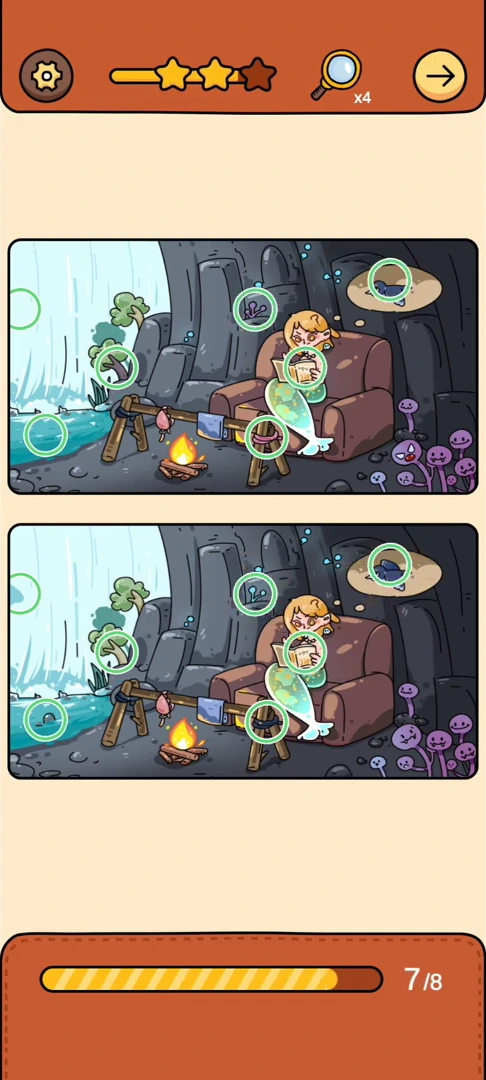 DIFFERENCES REFERENCE 7
8 pictured differences in Grandmother by the Campfire
Open walkthrough →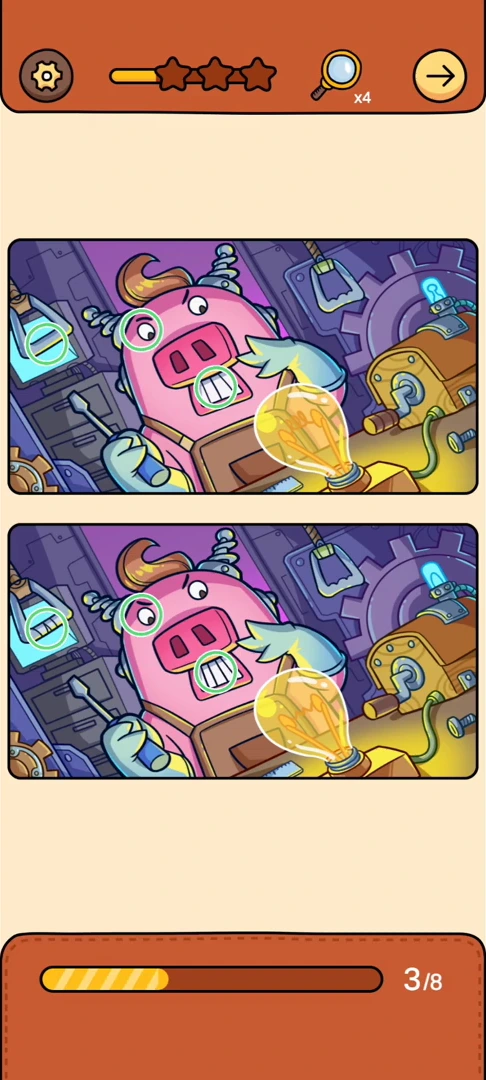 DIFFERENCES REFERENCE 8
8 pictured differences in Pig Time Machine
Open walkthrough →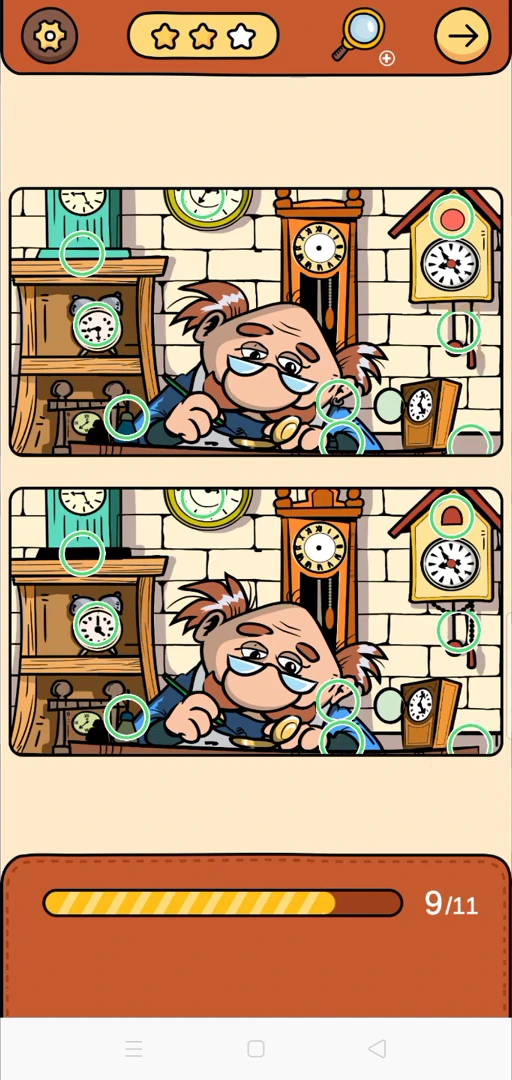 DIFFERENCES REFERENCE 9
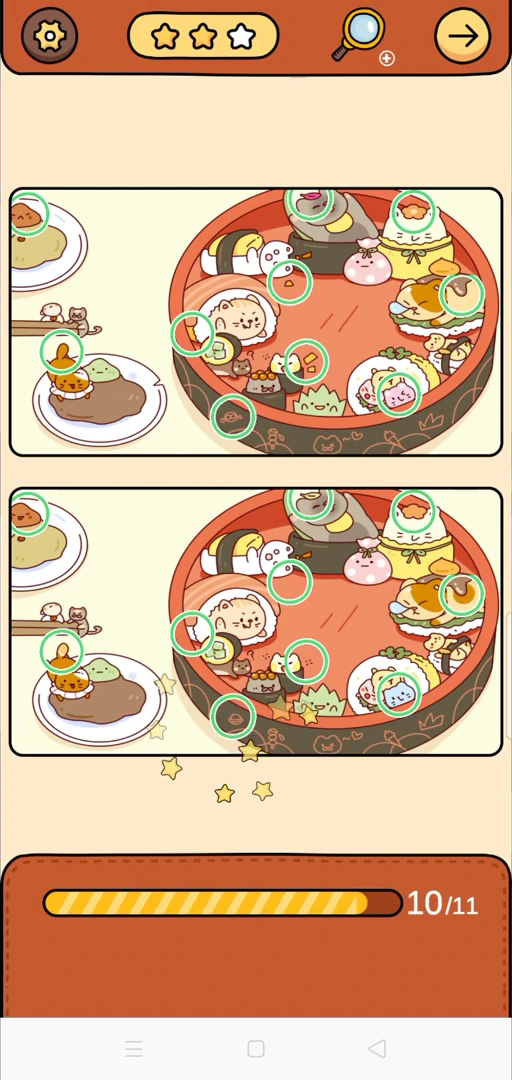 DIFFERENCES REFERENCE 10
11 pictured differences in Feast Table
Open walkthrough →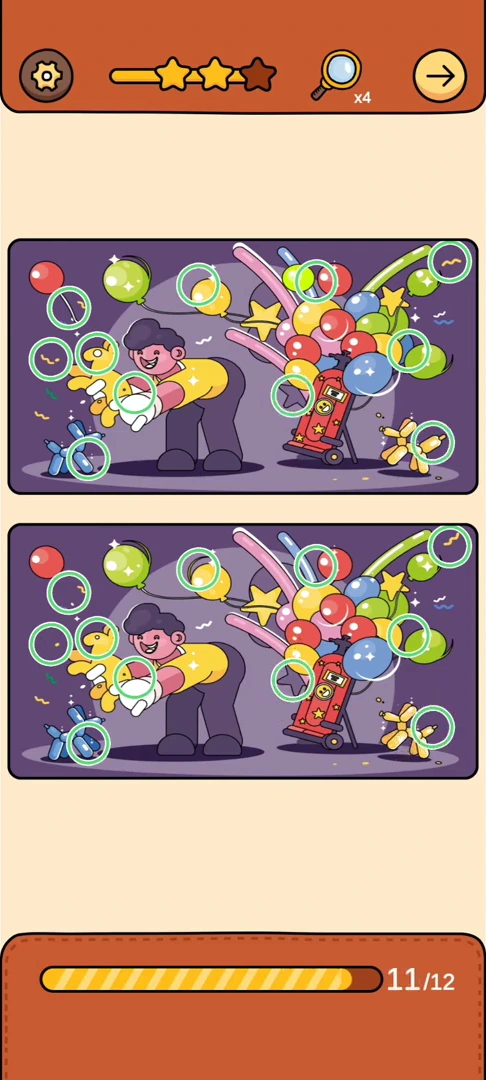 DIFFERENCES REFERENCE 11
12 pictured differences in Magician and Balloons
Open walkthrough →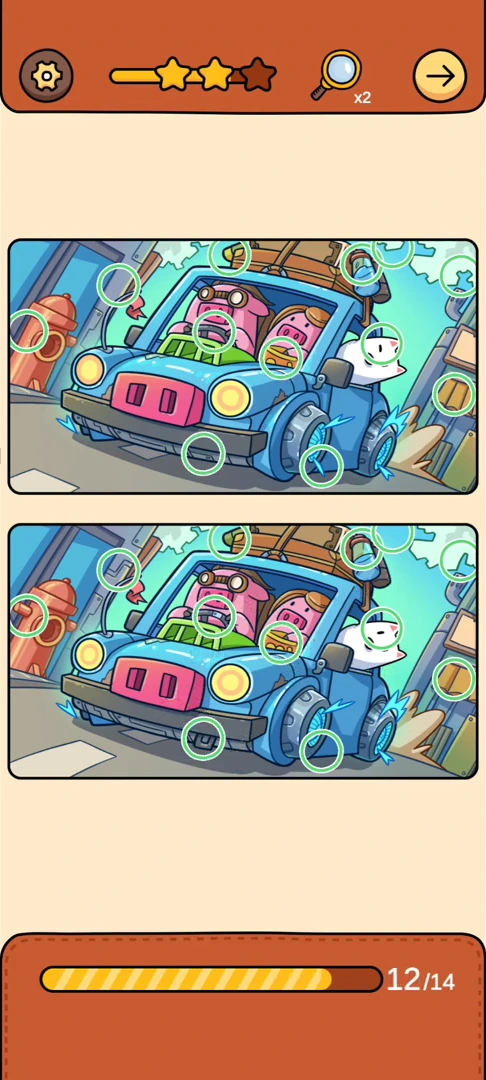 DIFFERENCES REFERENCE 12
14 pictured differences in Monster Road Trip
Open walkthrough →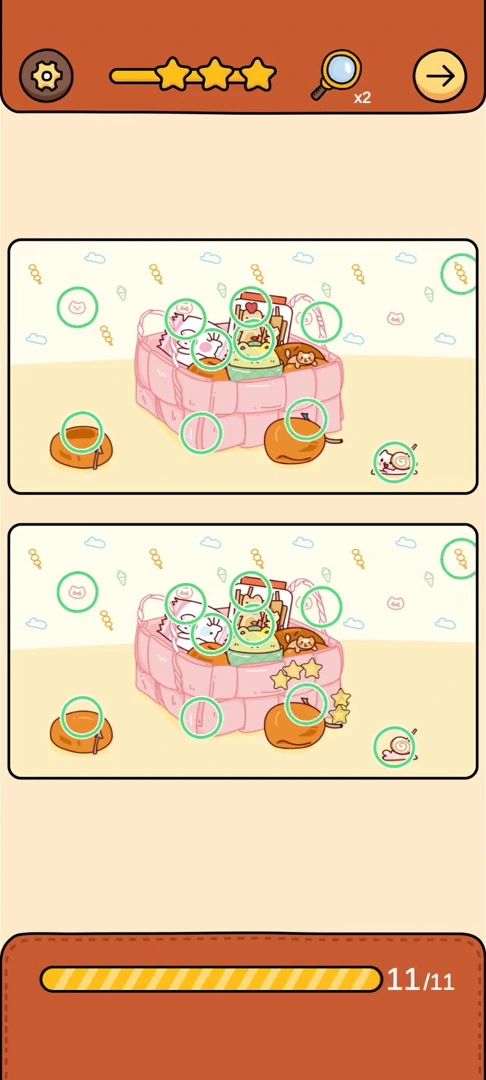 DIFFERENCES REFERENCE 13
11 pictured differences in Toy Picnic
Open walkthrough →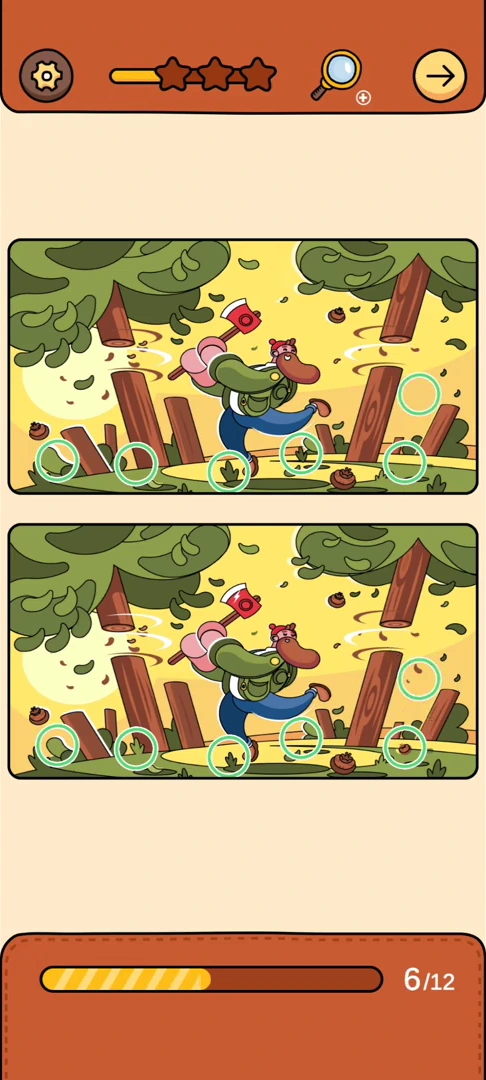 DIFFERENCES REFERENCE 14
12 pictured differences in Crocodile and Birdhouse
Open walkthrough →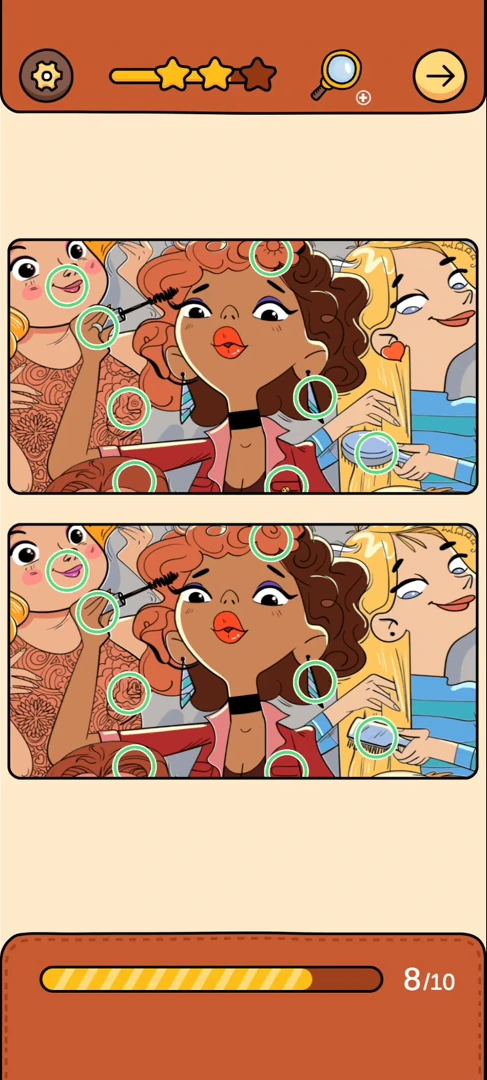 DIFFERENCES REFERENCE 15
10 pictured differences in Friends at the Cinema
Open walkthrough →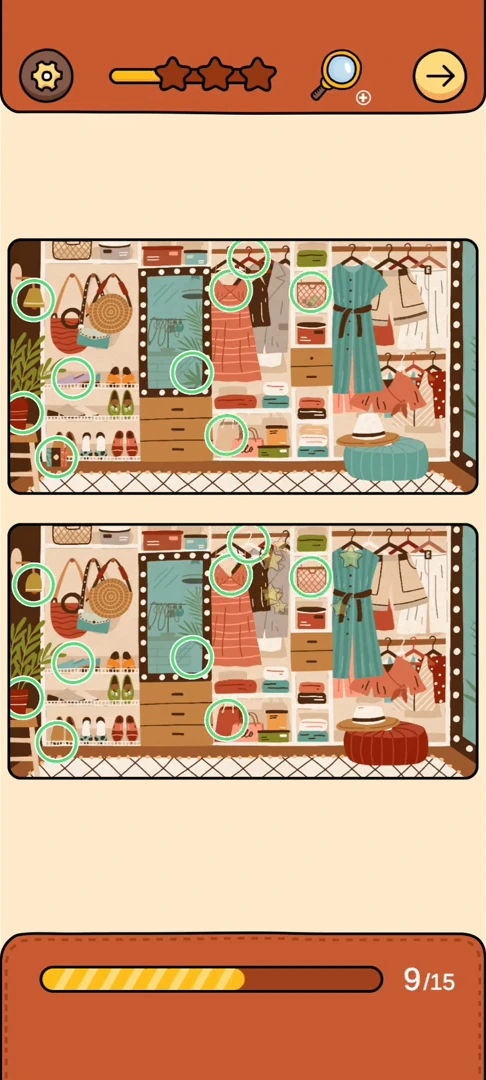 DIFFERENCES REFERENCE 16
15 pictured differences in Bathroom Shelves
Open walkthrough →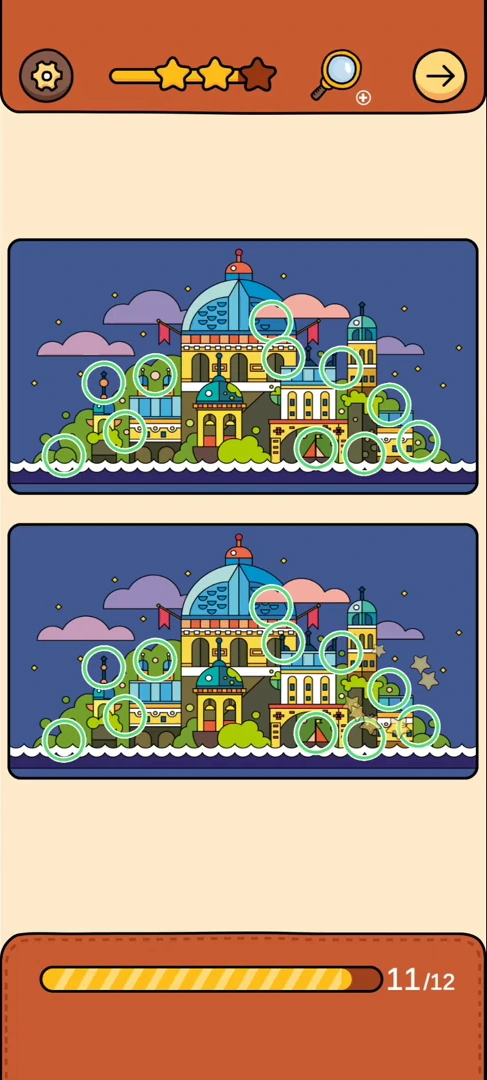 DIFFERENCES REFERENCE 17
12 pictured differences in Palace at Night
Open walkthrough →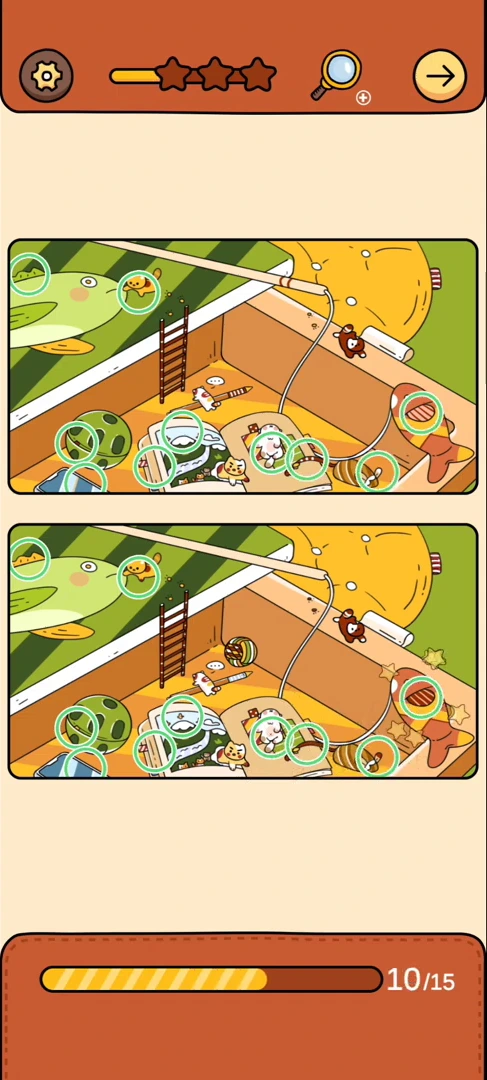 DIFFERENCES REFERENCE 18
15 pictured differences in Sunny Rooftop Picnic
Open walkthrough →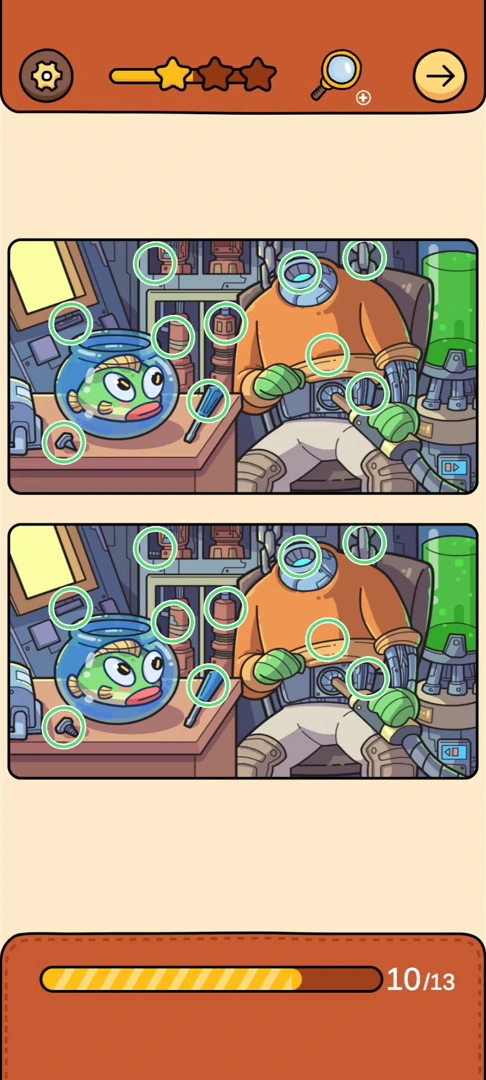 DIFFERENCES REFERENCE 19
13 pictured differences in Robot Laboratory
Open walkthrough →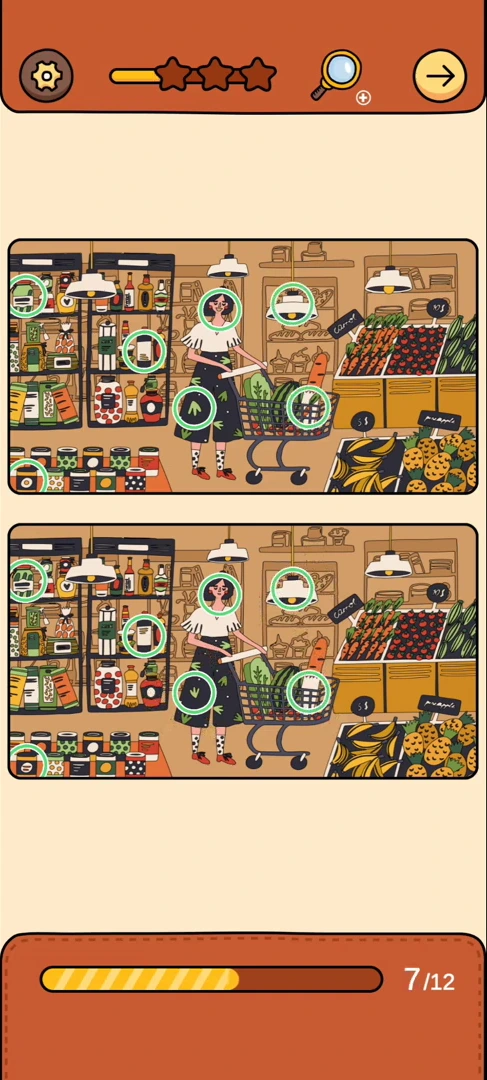 DIFFERENCES REFERENCE 20
12 pictured differences in Grocery Shop
Open walkthrough →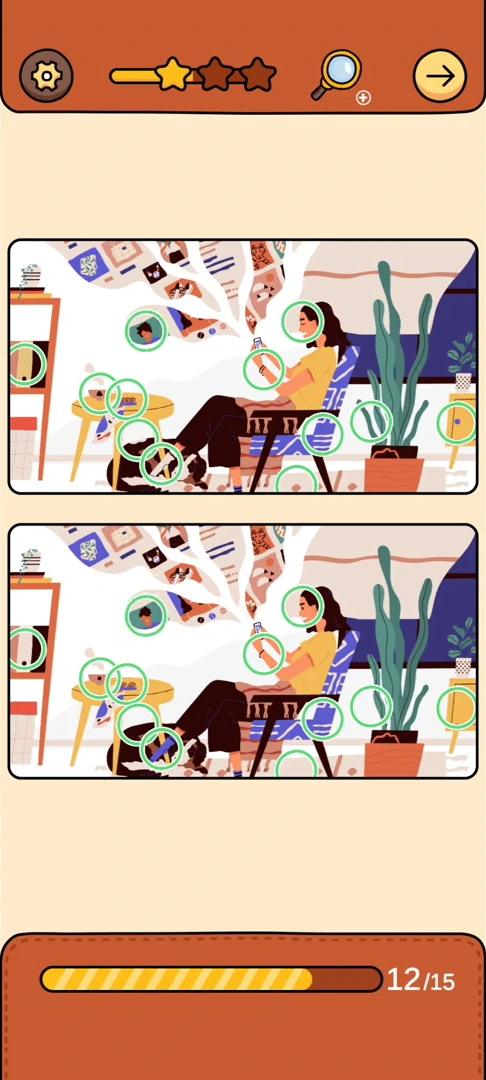 DIFFERENCES REFERENCE 21
15 pictured differences in Music Room
Open walkthrough →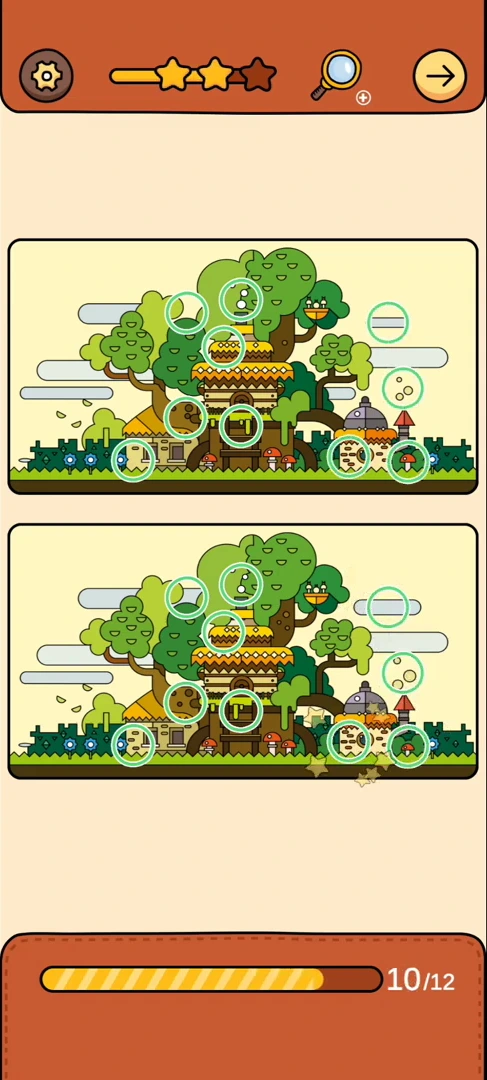 DIFFERENCES REFERENCE 22
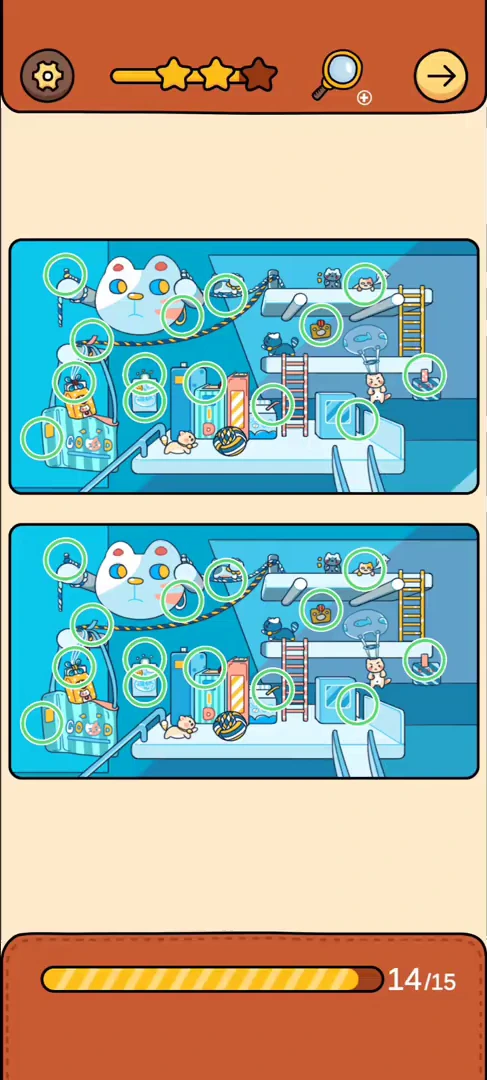 DIFFERENCES REFERENCE 23
15 pictured differences in Space Laboratory
Open walkthrough →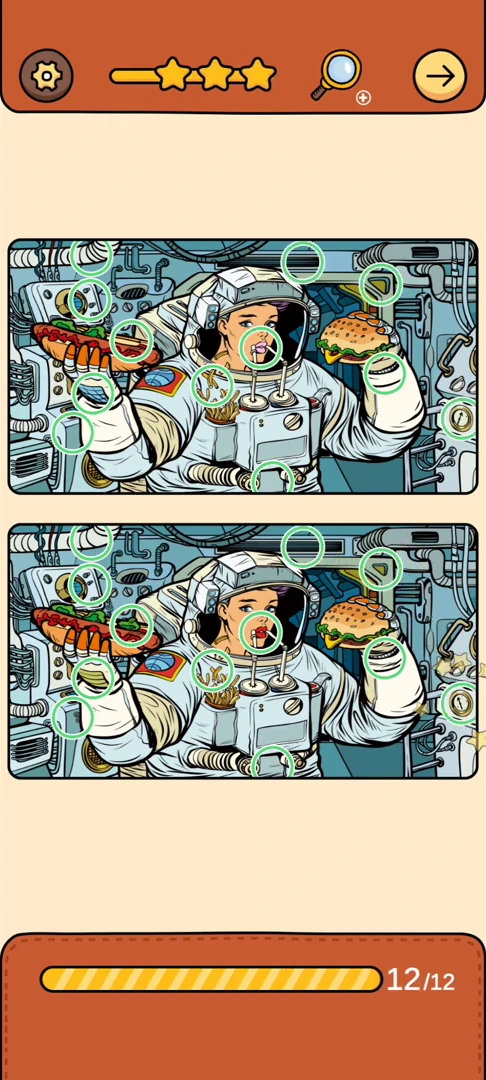 DIFFERENCES REFERENCE 24
12 pictured differences in Astronaut Lunch
Open walkthrough →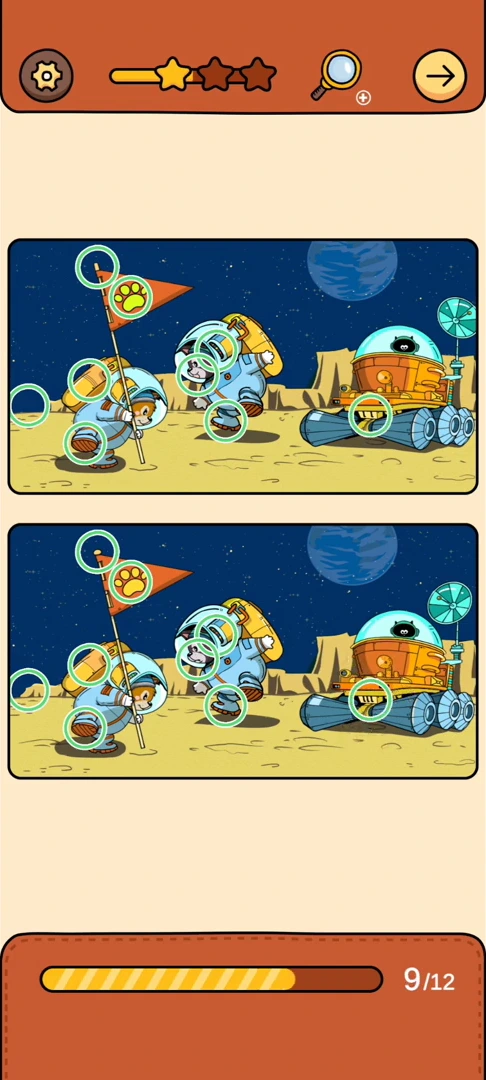 DIFFERENCES REFERENCE 25
12 pictured differences in Moon Expedition
Open walkthrough →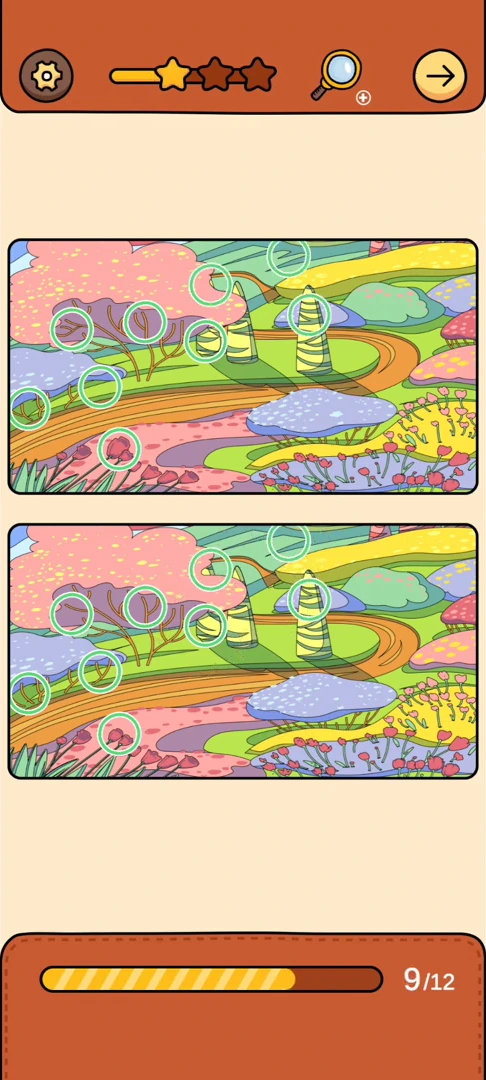 DIFFERENCES REFERENCE 26
12 pictured differences in Alien Landscape
Open walkthrough →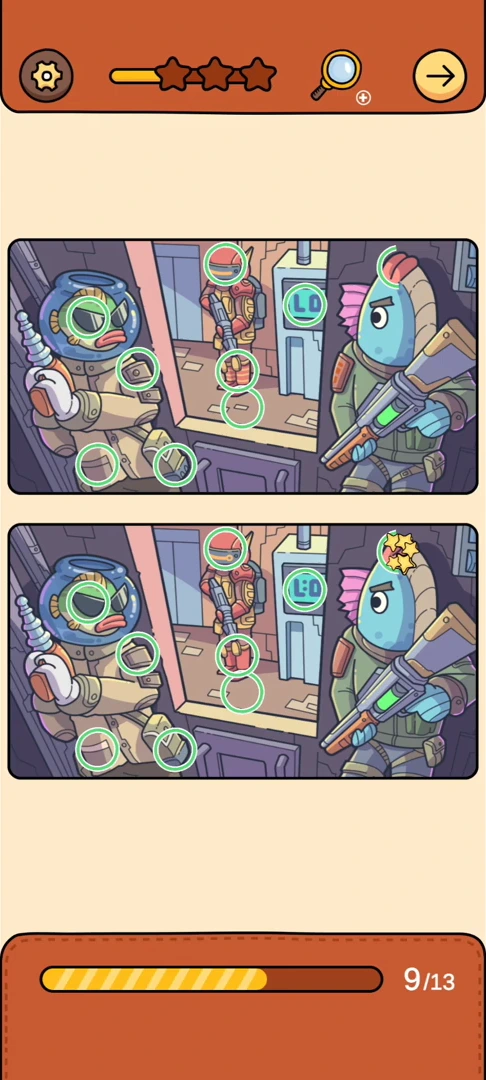 DIFFERENCES REFERENCE 27
13 pictured differences in Spaceship Airlock
Open walkthrough →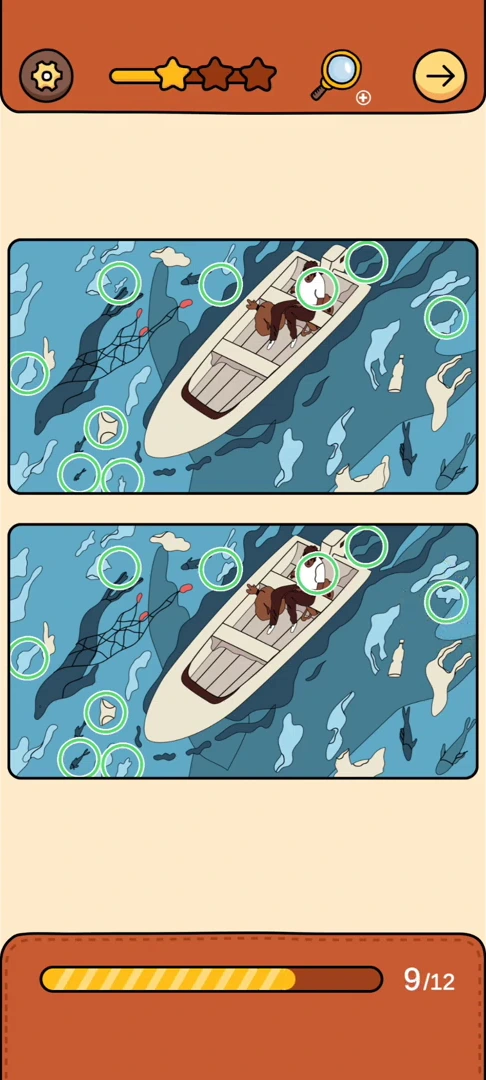 DIFFERENCES REFERENCE 28
12 pictured differences in Rowing Boat
Open walkthrough →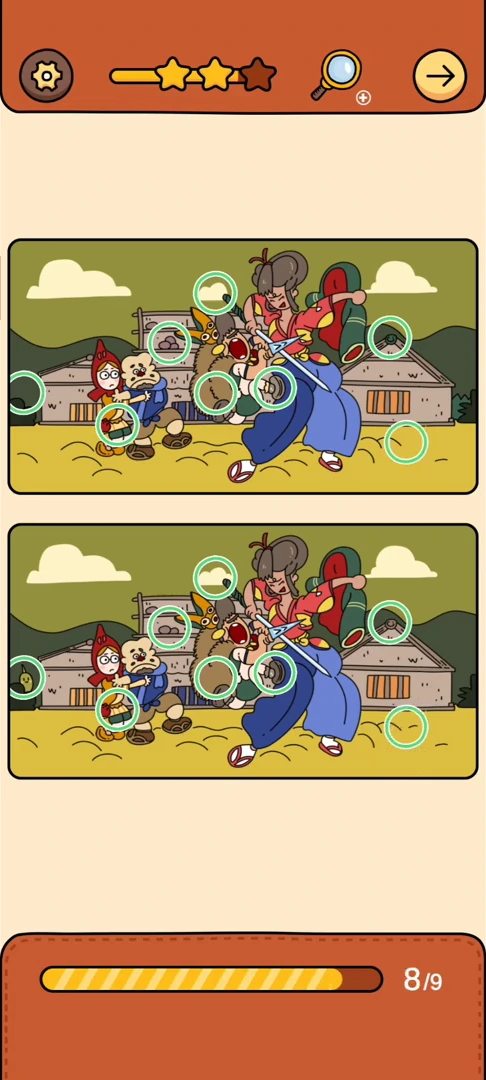 DIFFERENCES REFERENCE 29
9 pictured differences in Journey to the West
Open walkthrough →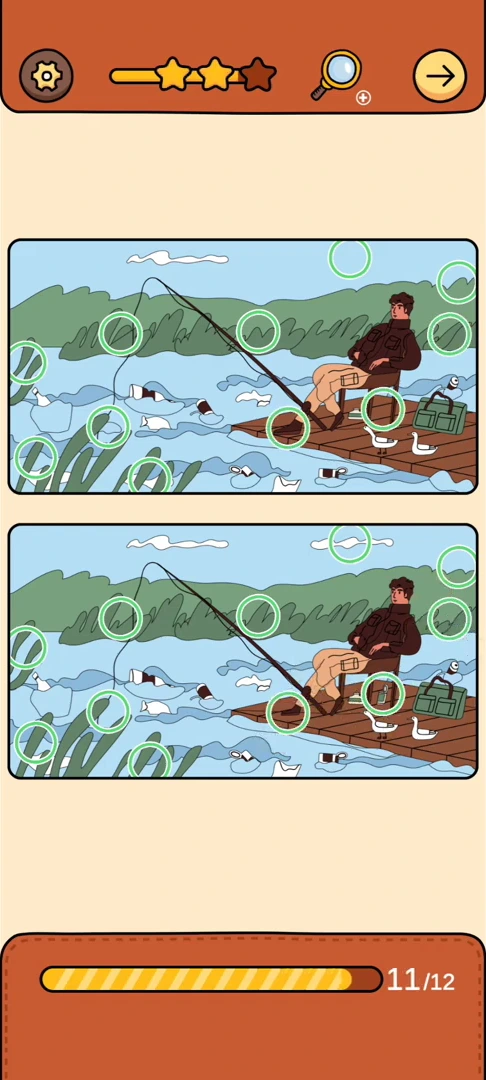 DIFFERENCES REFERENCE 30
12 pictured differences in Lakeside Fisherman
Open walkthrough →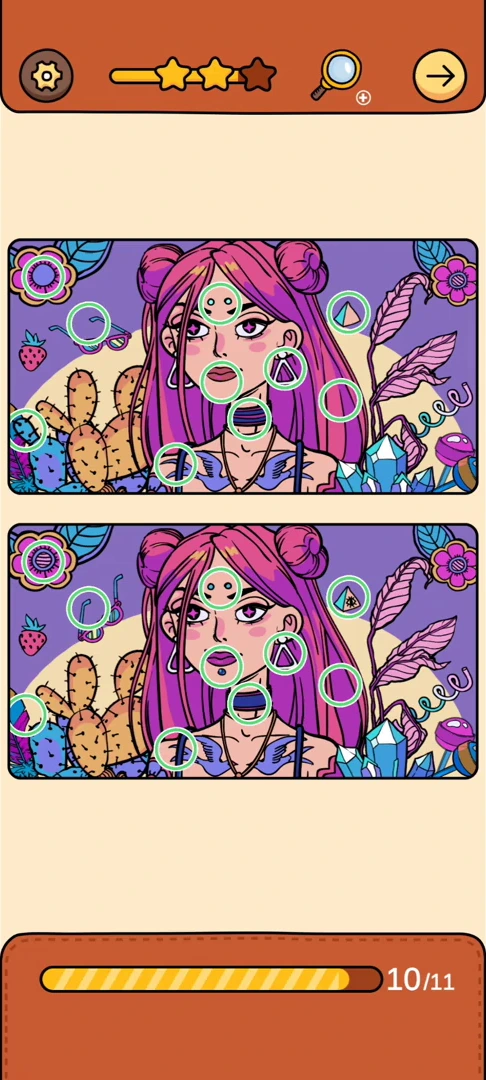 DIFFERENCES REFERENCE 31
11 pictured differences in Mermaid and Coral
Open walkthrough →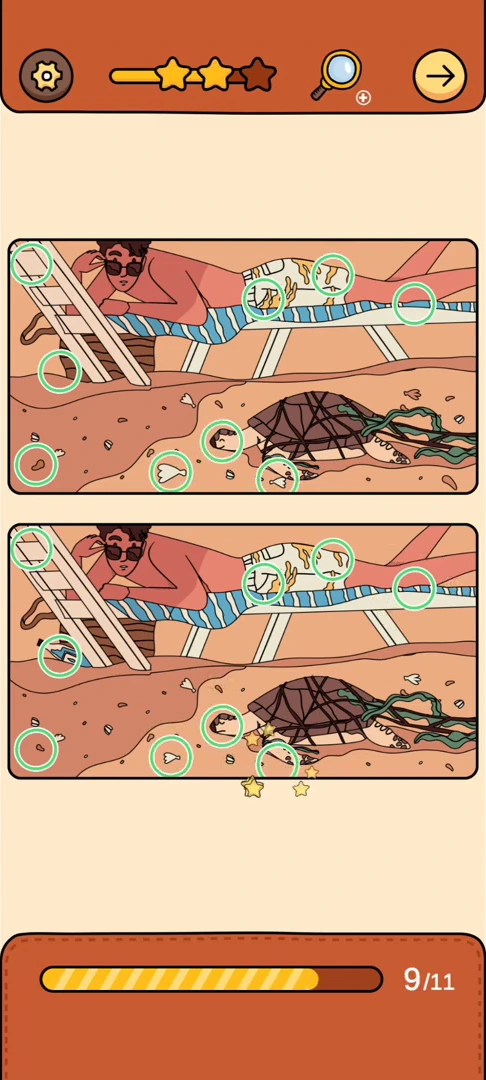 DIFFERENCES REFERENCE 32
11 pictured differences in Giant Prawn
Open walkthrough →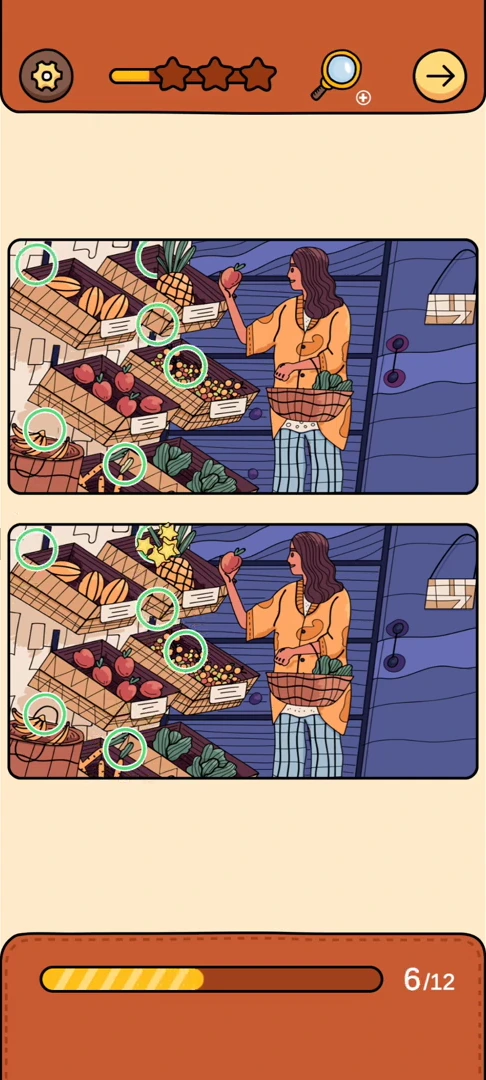 DIFFERENCES REFERENCE 33
12 pictured differences in Produce Counter
Open walkthrough →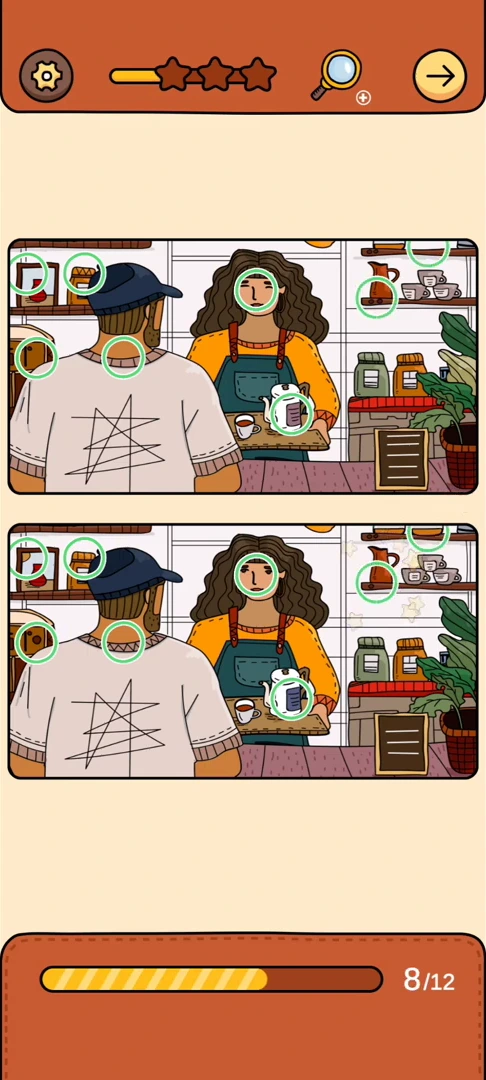 DIFFERENCES REFERENCE 34
12 pictured differences in Cafe Counter
Open walkthrough →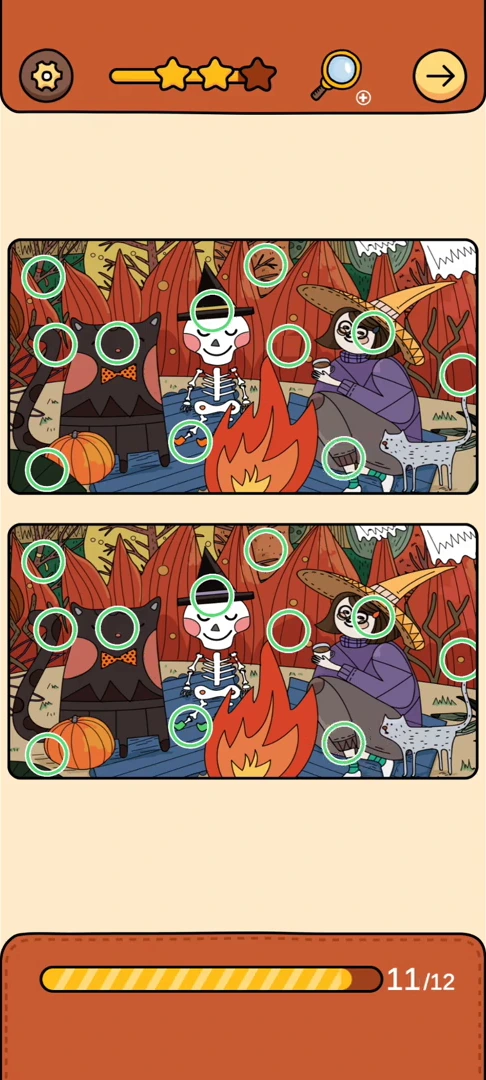 DIFFERENCES REFERENCE 35
12 pictured differences in Skeleton Campfire
Open walkthrough →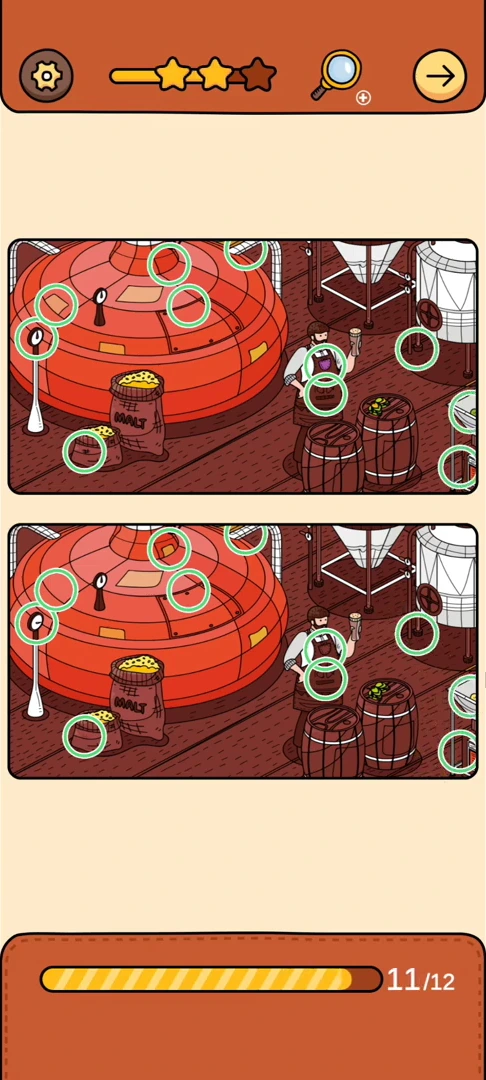 DIFFERENCES REFERENCE 36
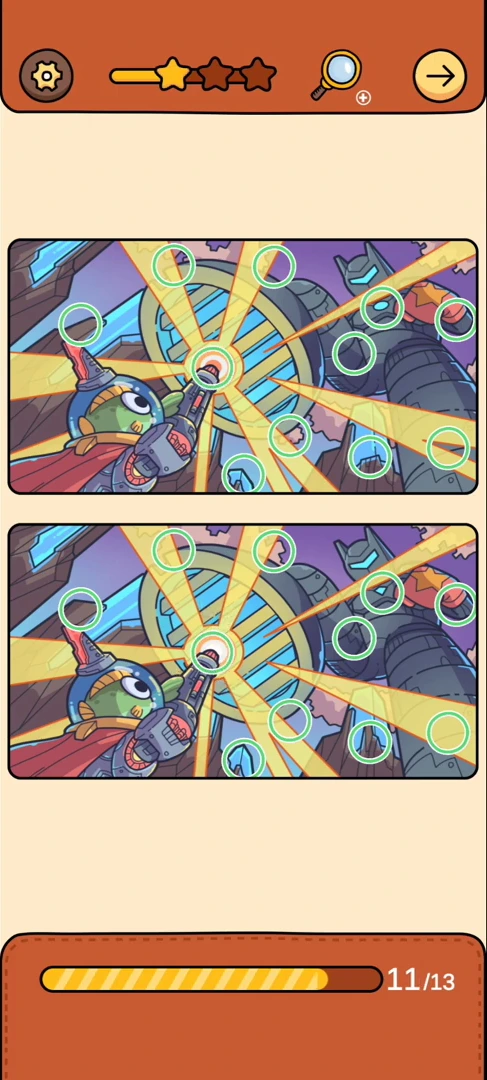 DIFFERENCES REFERENCE 37
13 pictured differences in Fish and Laser Beams
Open walkthrough →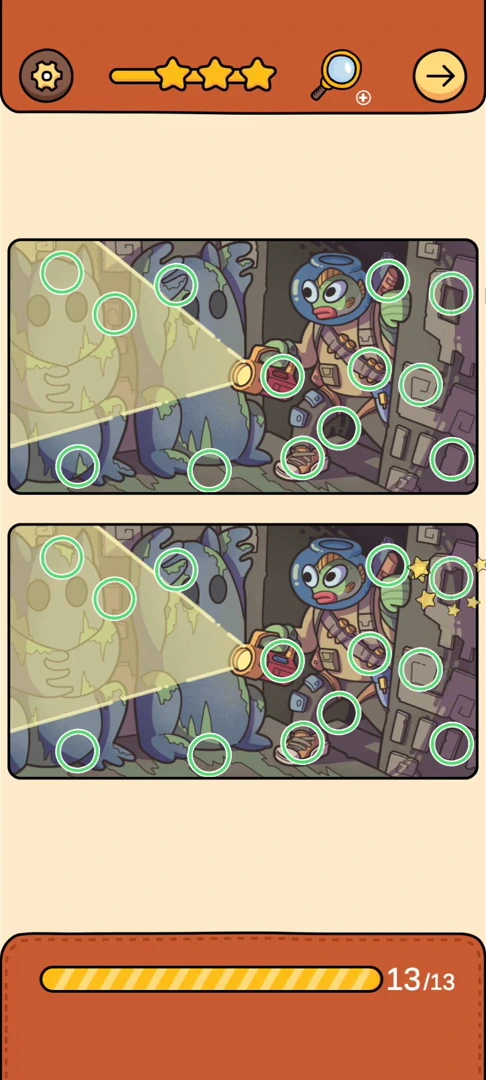 DIFFERENCES REFERENCE 38
13 pictured differences in Fish Explorer's Flashlight
Open walkthrough →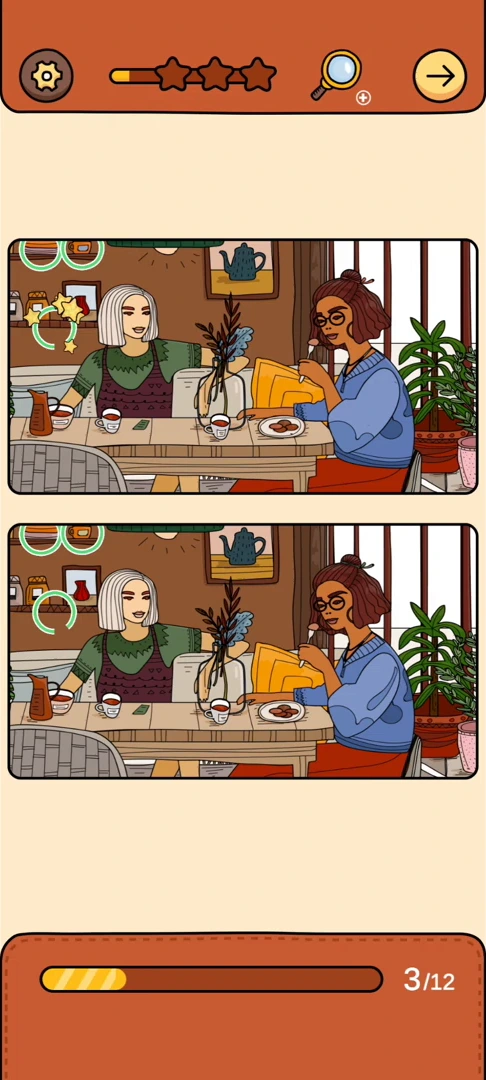 DIFFERENCES REFERENCE 39
12 pictured differences in Coffee Date
Open walkthrough →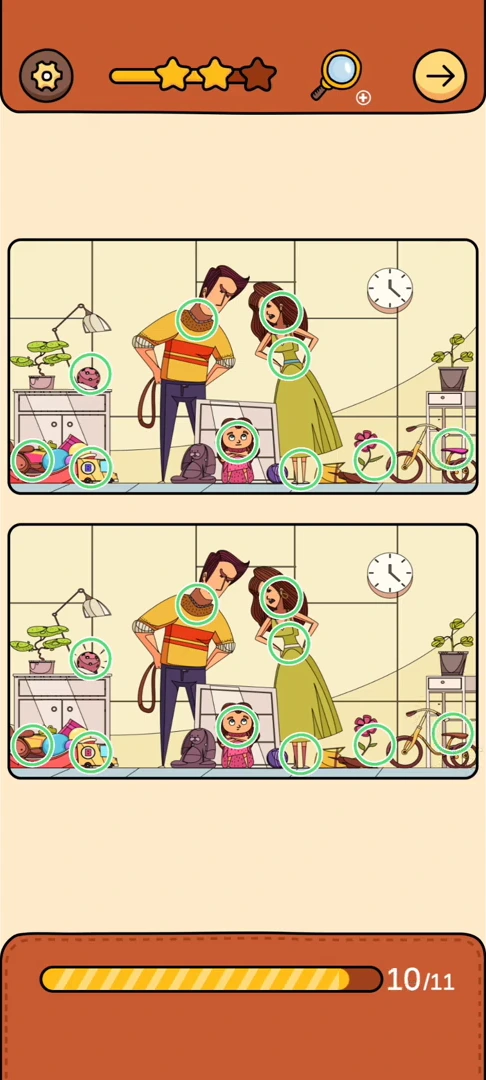 DIFFERENCES REFERENCE 40
11 pictured differences in Family Playtime
Open walkthrough →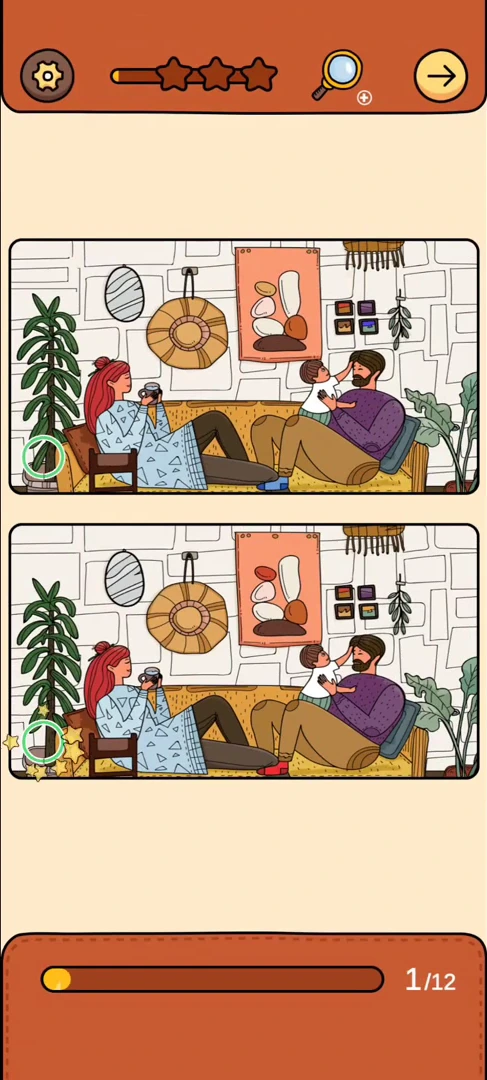 DIFFERENCES REFERENCE 41
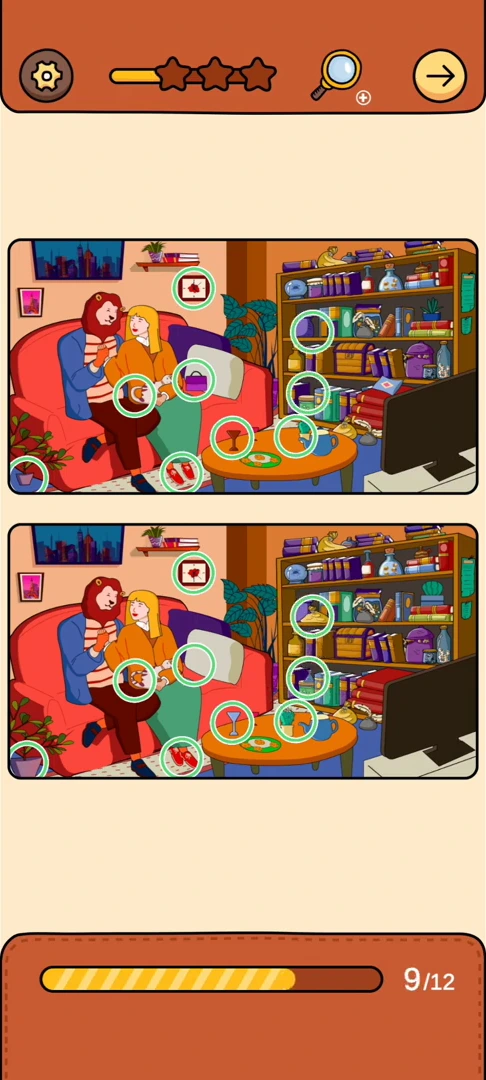
12 pictured differences in Living-Room Television
Open walkthrough →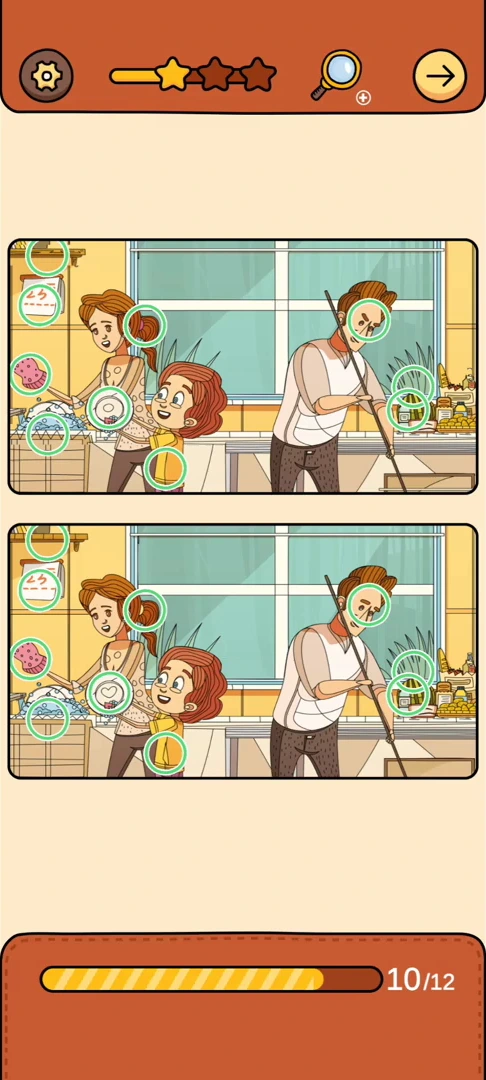 DIFFERENCES REFERENCE 42
12 pictured differences in Kitchen Cleanup
Open walkthrough →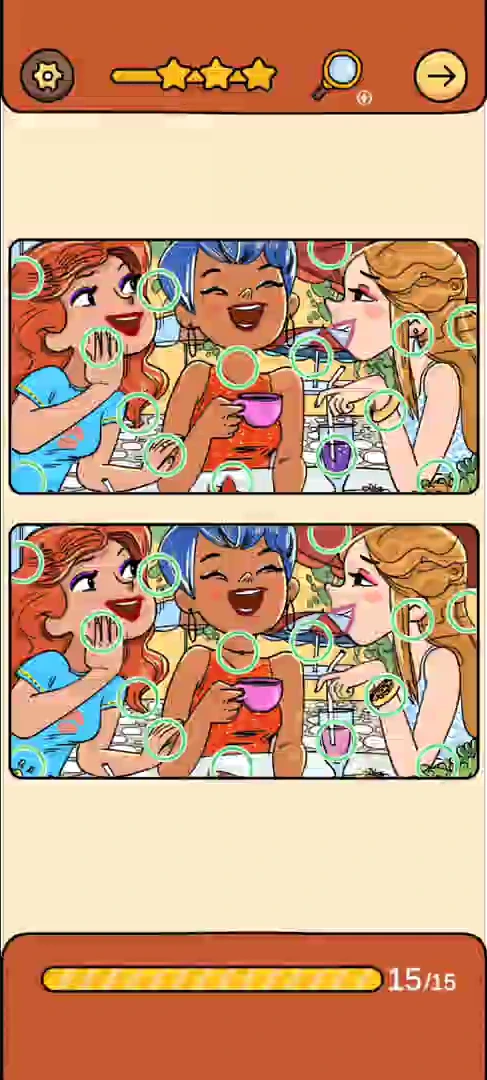 DIFFERENCES REFERENCE 43
15 pictured differences in Party Friends
Open walkthrough →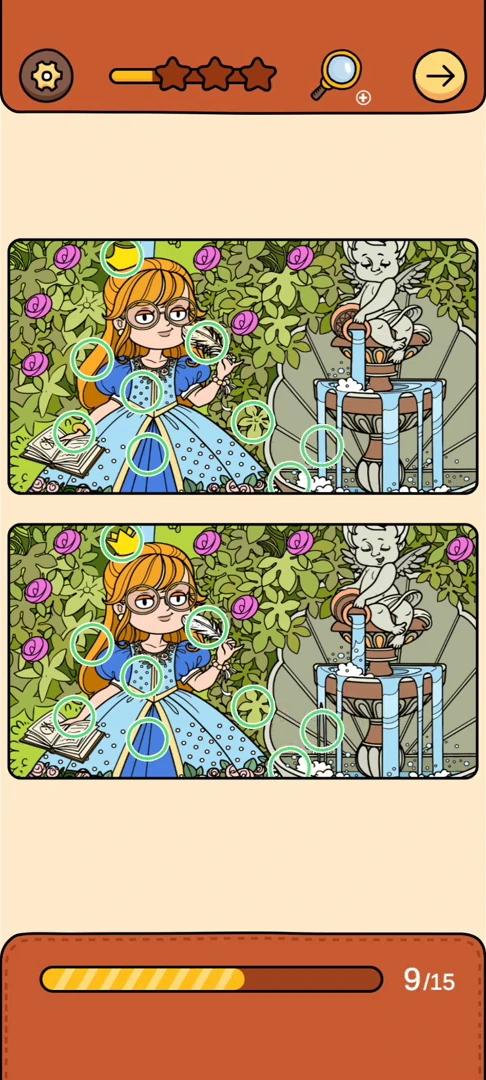 DIFFERENCES REFERENCE 44
15 pictured differences in Alice and the Chess Piece
Open walkthrough →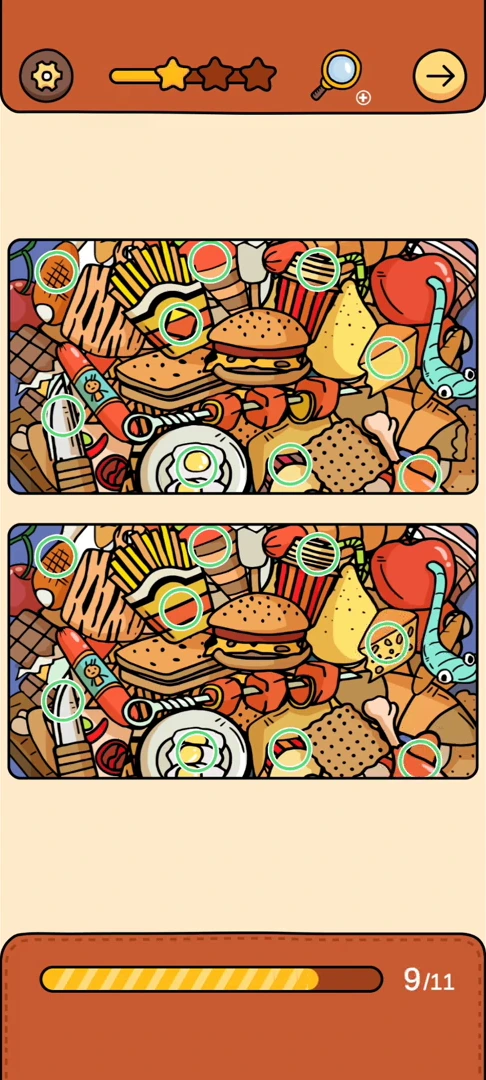 DIFFERENCES REFERENCE 45
11 pictured differences in Fast-Food Collage
Open walkthrough →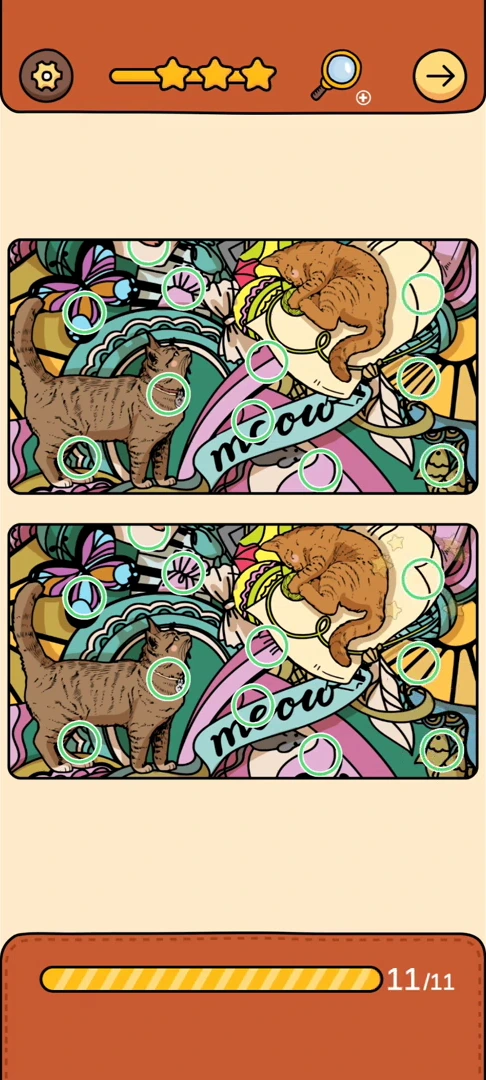 DIFFERENCES REFERENCE 46
11 pictured differences in Cats and Wool
Open walkthrough →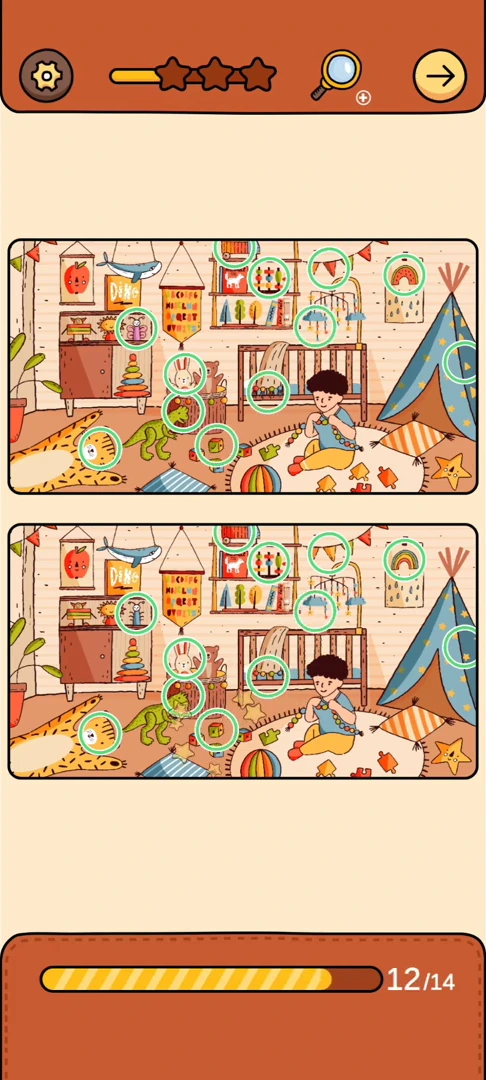 DIFFERENCES REFERENCE 47
14 pictured differences in Children's Playroom
Open walkthrough →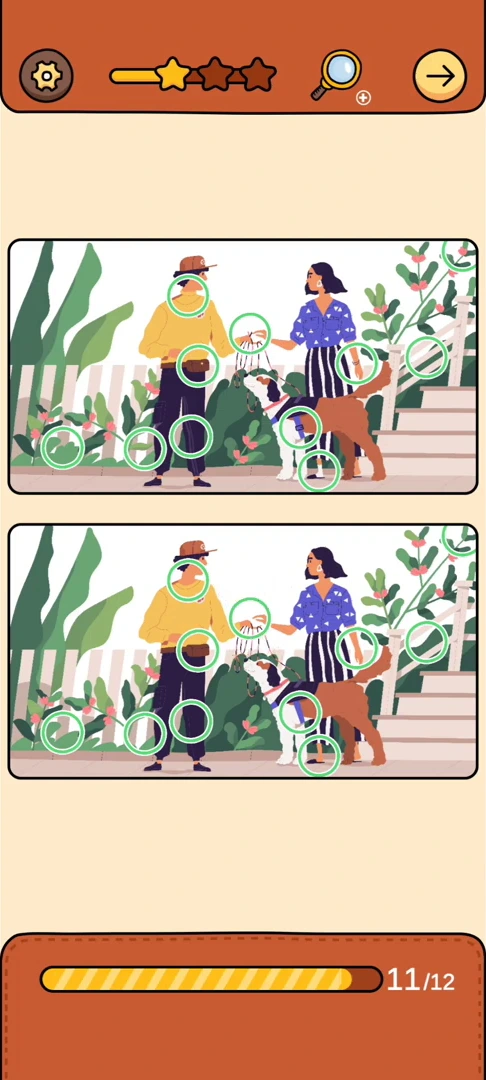 DIFFERENCES REFERENCE 48
12 pictured differences in Flower Shop Walk
Open walkthrough →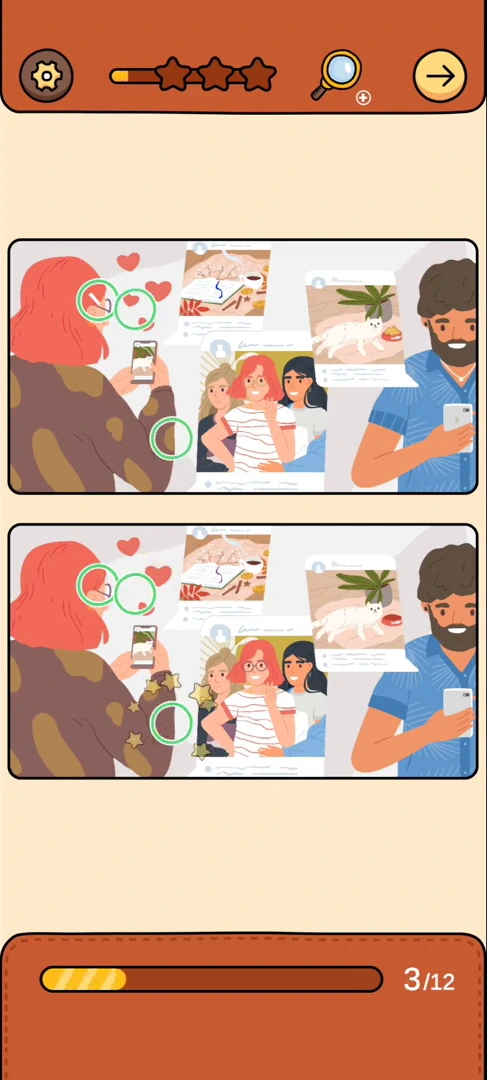 DIFFERENCES REFERENCE 49
12 pictured differences in Looking at Photographs
Open walkthrough →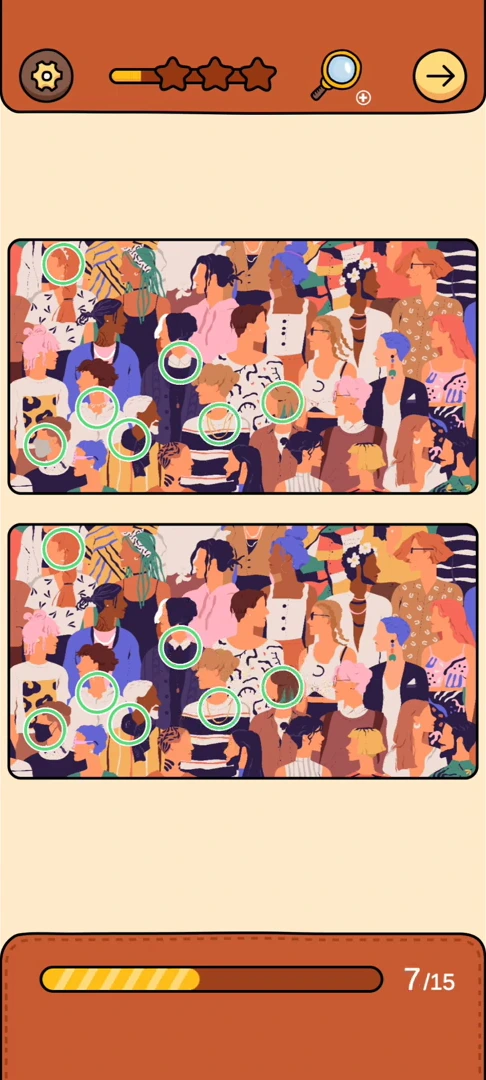 DIFFERENCES REFERENCE 50
15 pictured differences in Concert Crowd
Open walkthrough →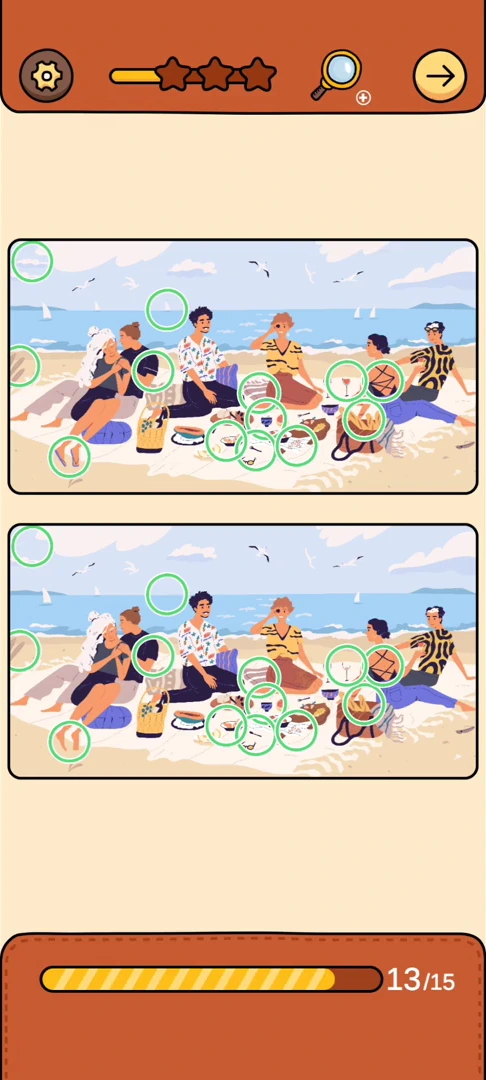 DIFFERENCES REFERENCE 51
15 pictured differences in Beach Picnic
Open walkthrough →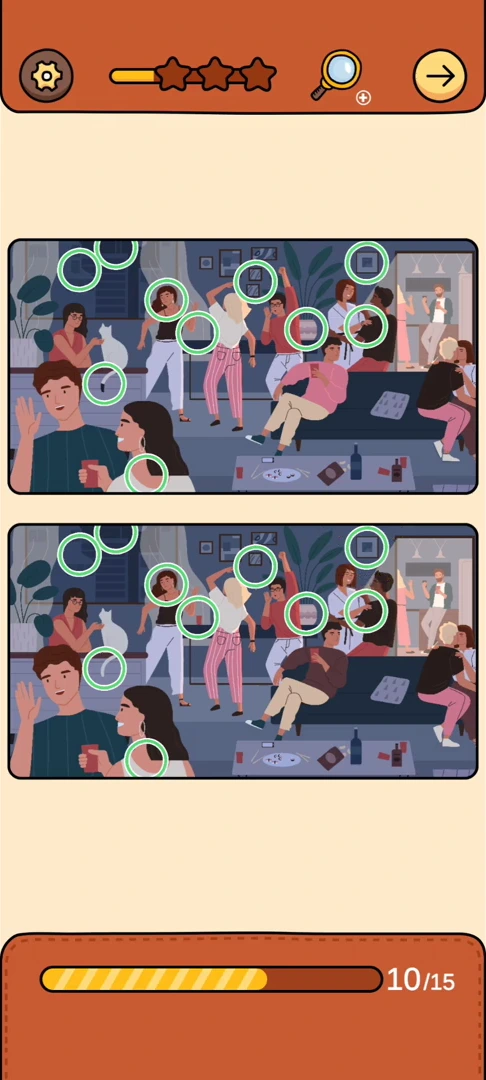 DIFFERENCES REFERENCE 52
 DIFFERENCES REFERENCE 53
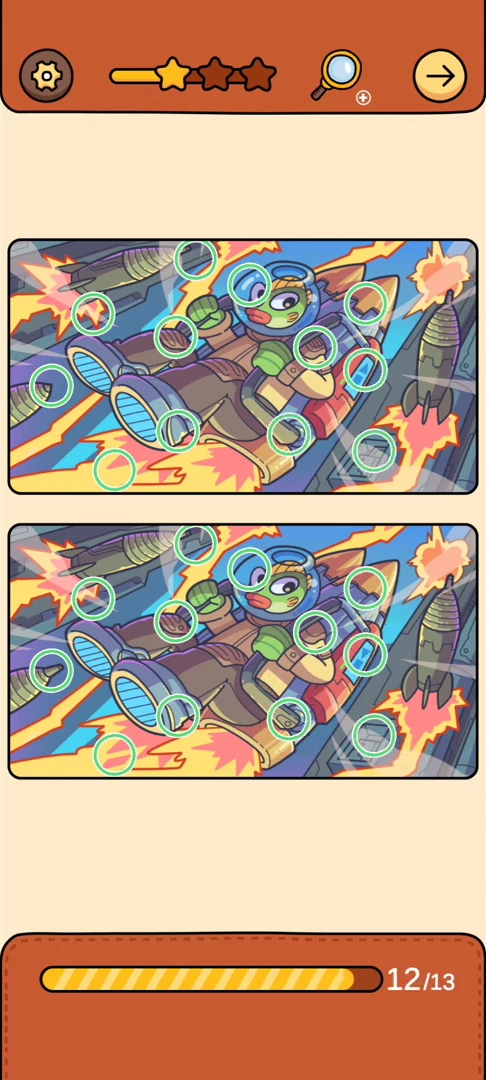
13 pictured differences in Fish Rocket Rider
Open walkthrough →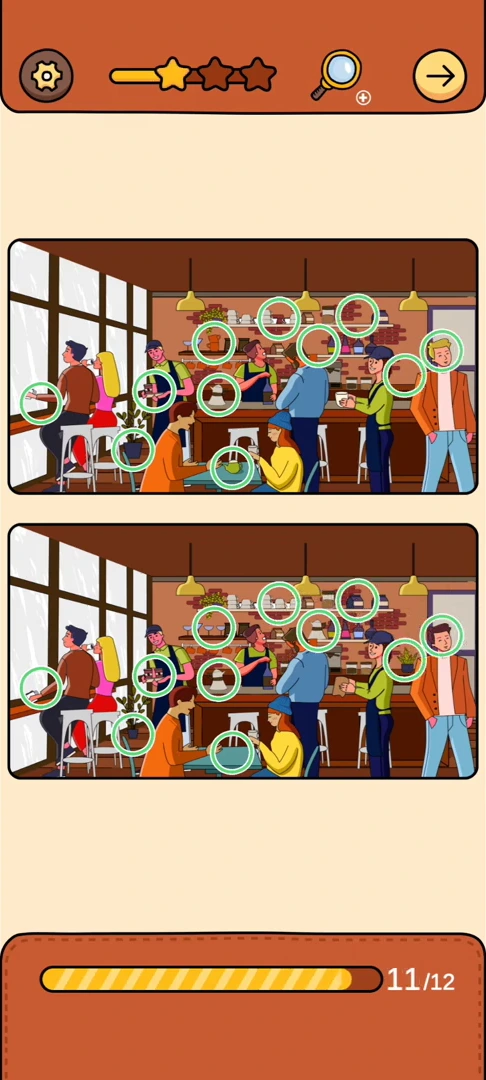 DIFFERENCES REFERENCE 54
 DIFFERENCES REFERENCE 55
12 pictured differences in Movie Night
Open walkthrough →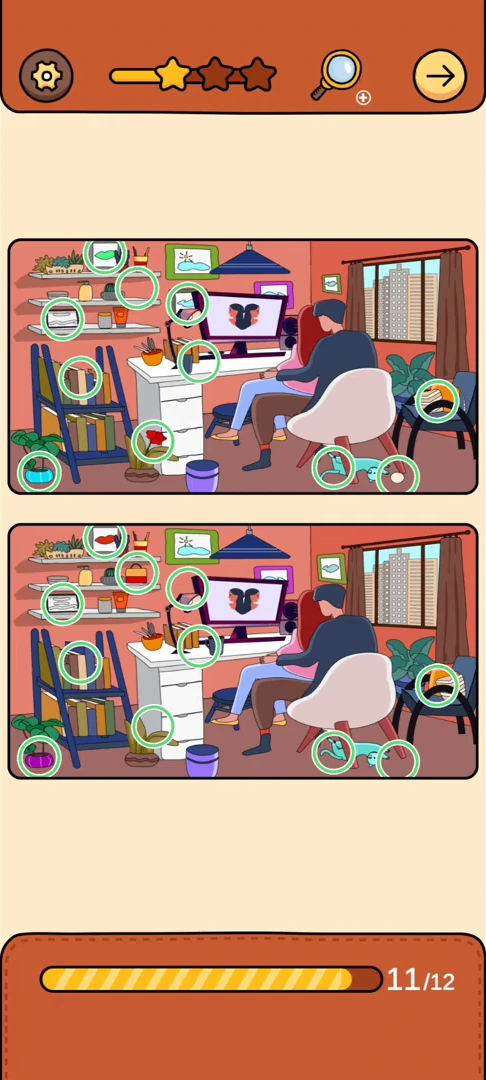 DIFFERENCES REFERENCE 56
12 pictured differences in Home Workspace
Open walkthrough →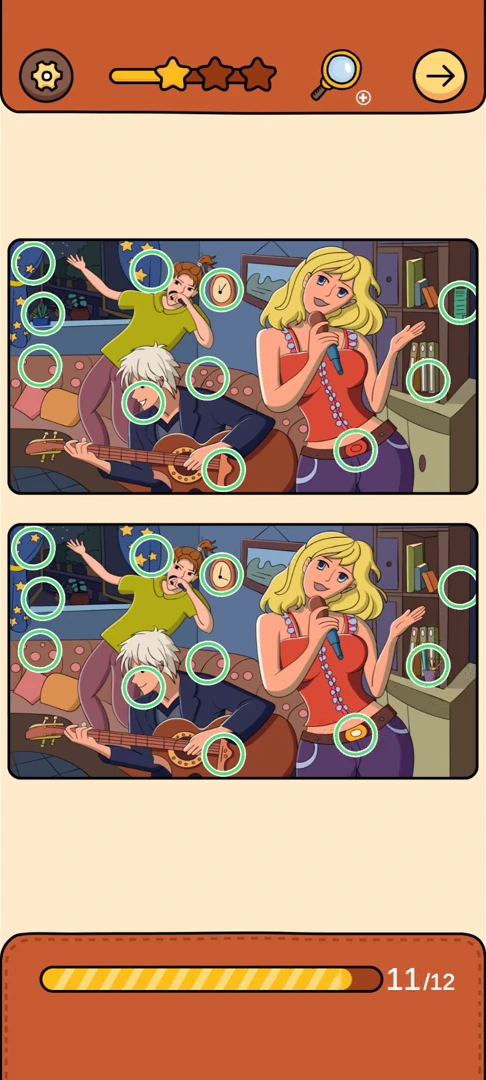 DIFFERENCES REFERENCE 57
12 pictured differences in Band Rehearsal
Open walkthrough →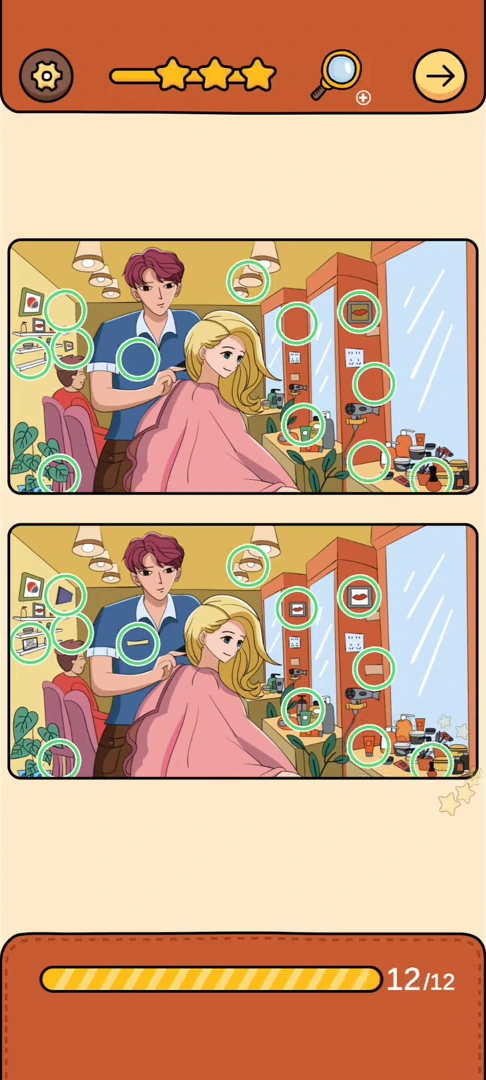 DIFFERENCES REFERENCE 58
12 pictured differences in Hair Salon
Open walkthrough →Verified scene coverage
12 checked scenes from the June 2020 reference target lists. Newer editions may request different objects.
Browse Hidden Objects — Reference Chapter 1 →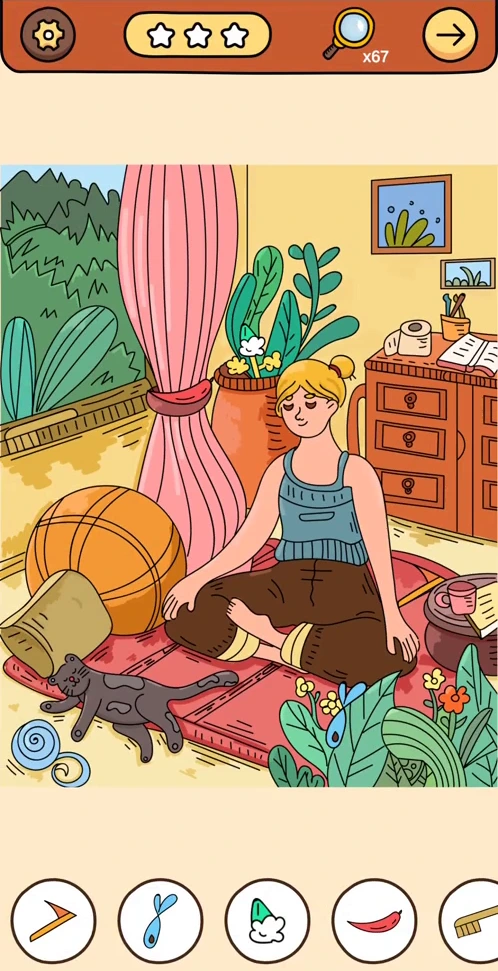 HIDDEN OBJECTS REFERENCE CHAPTER 1, SCENE 1
5 pictured hidden shapes in Yoga Room
Open walkthrough →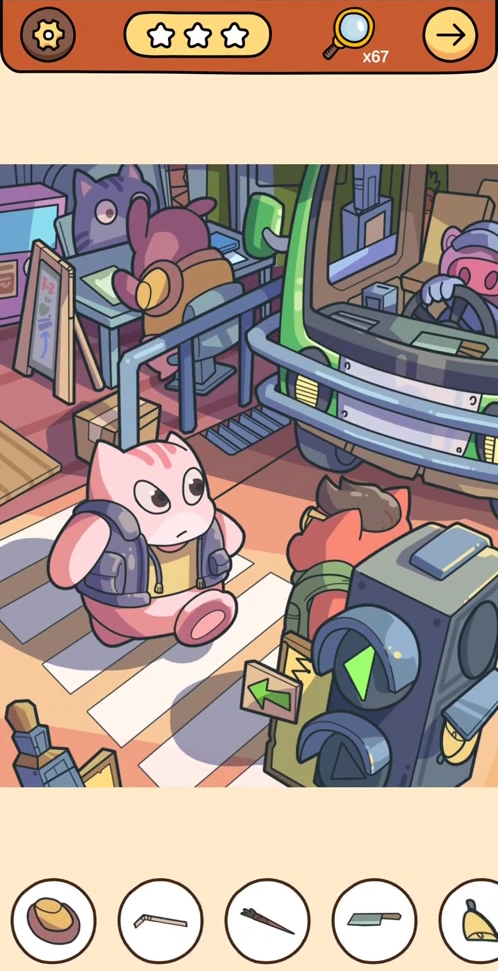 HIDDEN OBJECTS REFERENCE CHAPTER 1, SCENE 2
7 pictured hidden shapes in Animal Ticket Gates
Open walkthrough →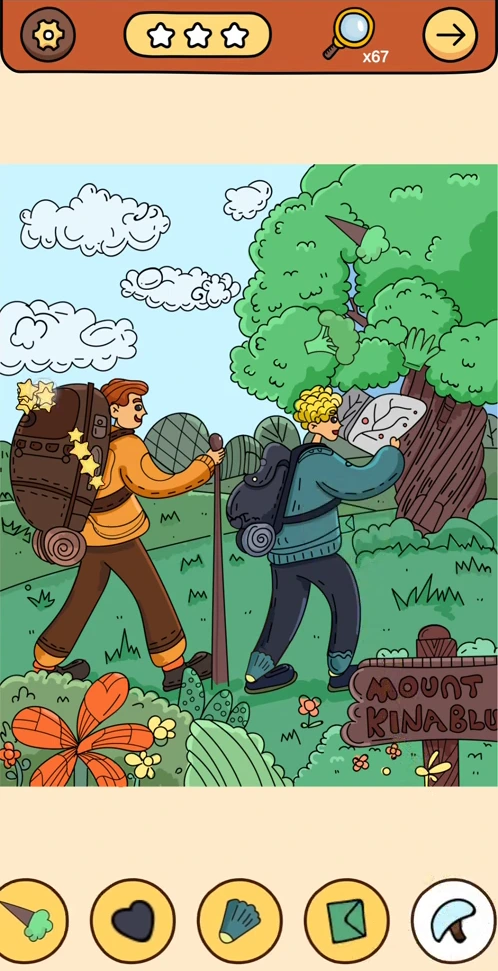 HIDDEN OBJECTS REFERENCE CHAPTER 1, SCENE 3
15 pictured hidden shapes in Mountain Hikers
Open walkthrough →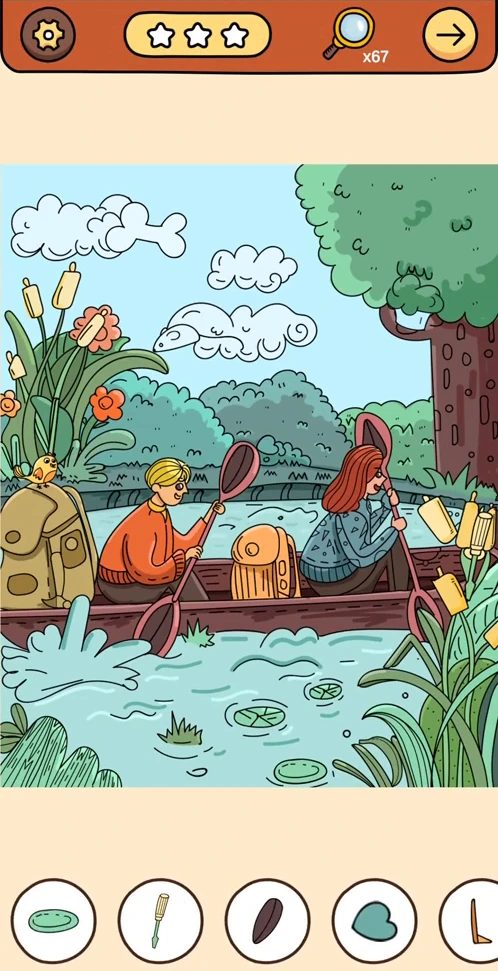 HIDDEN OBJECTS REFERENCE CHAPTER 1, SCENE 4
14 pictured hidden shapes in River Canoe
Open walkthrough →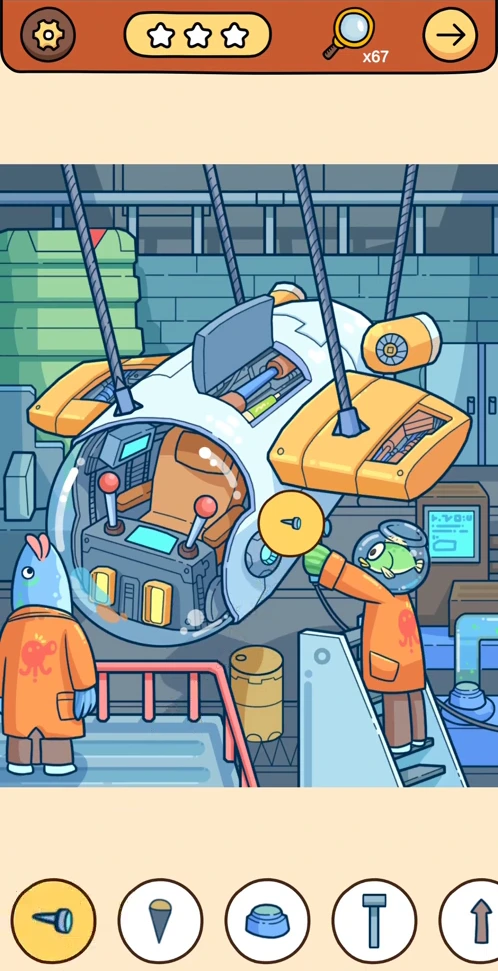 HIDDEN OBJECTS REFERENCE CHAPTER 1, SCENE 5
13 pictured hidden shapes in Space Cockpit
Open walkthrough →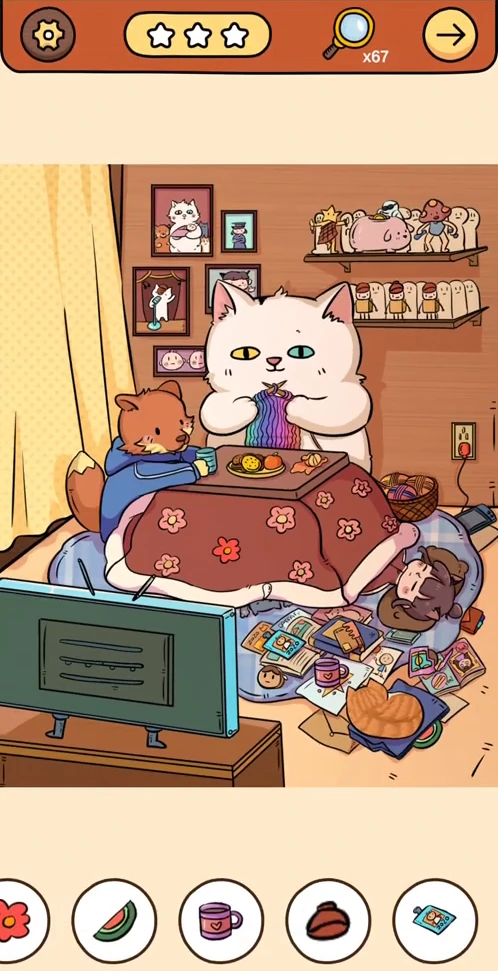 HIDDEN OBJECTS REFERENCE CHAPTER 1, SCENE 6
12 pictured hidden shapes in Cat Family at the Kotatsu
Open walkthrough →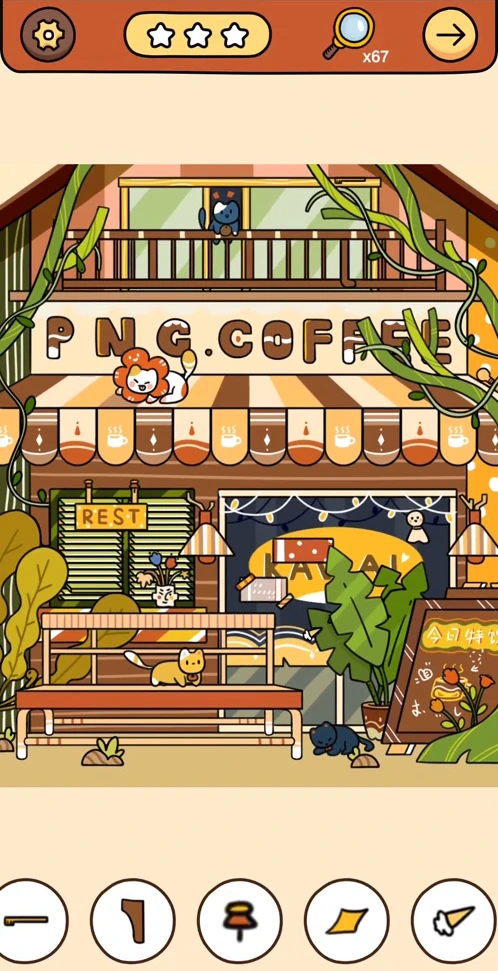 HIDDEN OBJECTS REFERENCE CHAPTER 1, SCENE 7
14 pictured hidden shapes in Multistorey Cafe
Open walkthrough →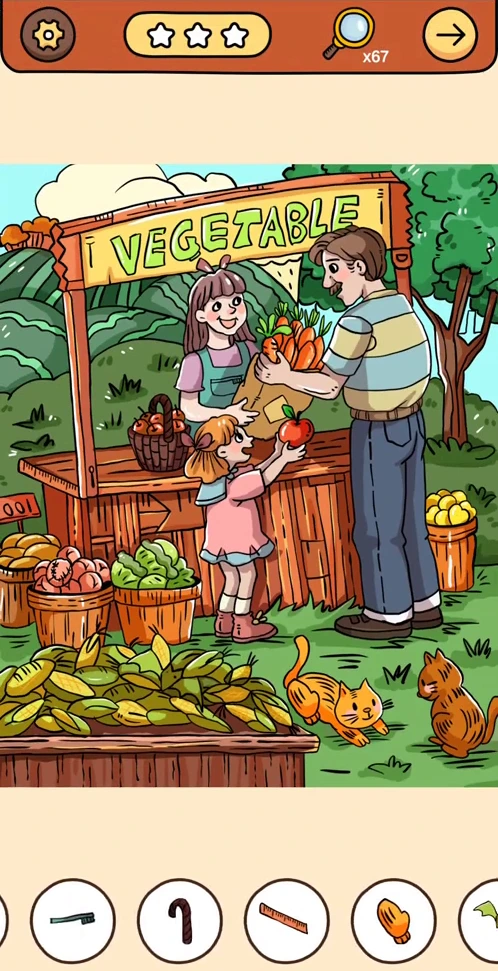 HIDDEN OBJECTS REFERENCE CHAPTER 1, SCENE 8
14 pictured hidden shapes in Vegetable Stall
Open walkthrough →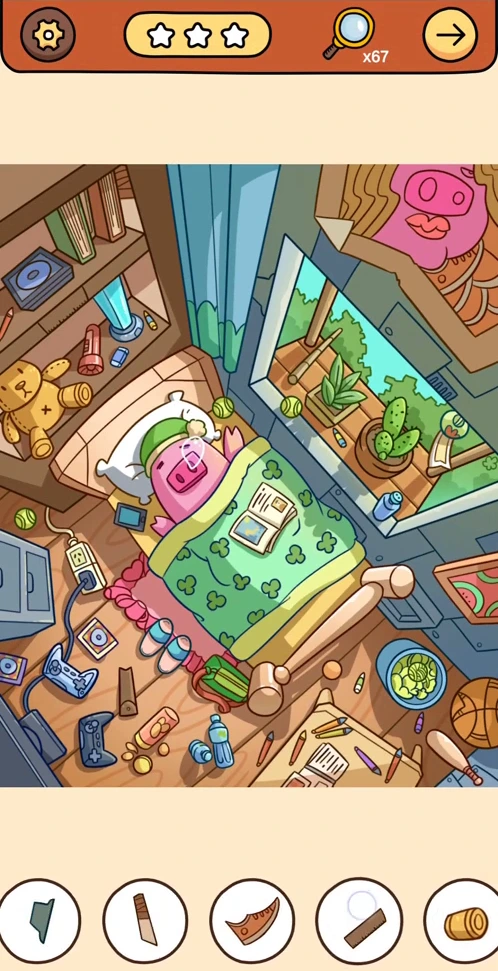 HIDDEN OBJECTS REFERENCE CHAPTER 1, SCENE 9
15 pictured hidden shapes in Pig's Bedroom
Open walkthrough →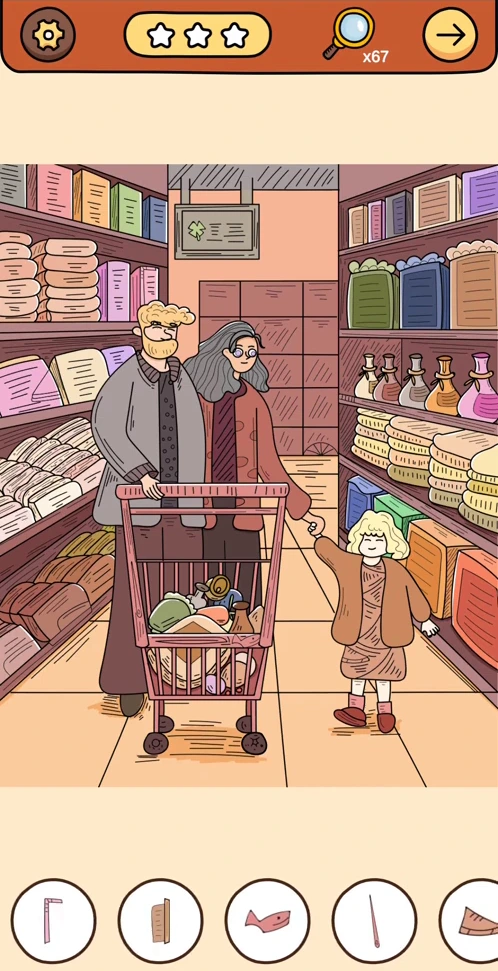 HIDDEN OBJECTS REFERENCE CHAPTER 1, SCENE 10
15 pictured hidden shapes in Supermarket Family
Open walkthrough →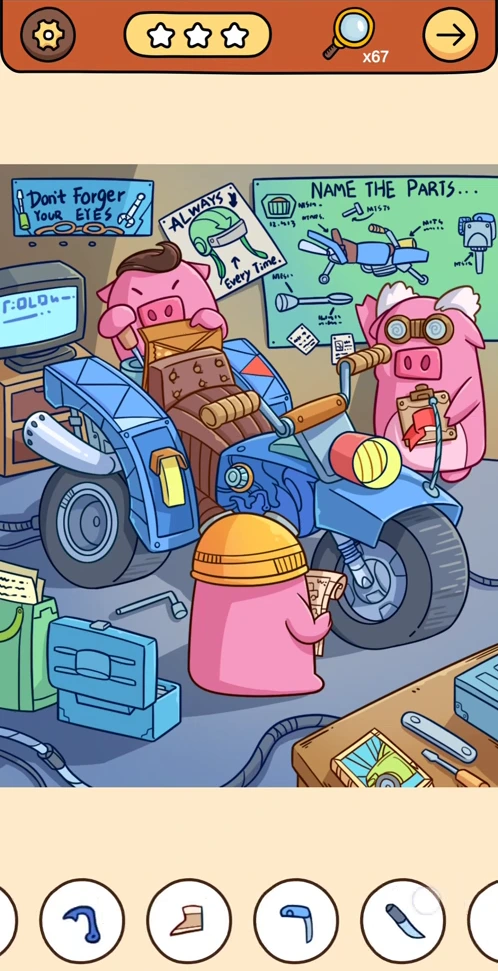 HIDDEN OBJECTS REFERENCE CHAPTER 1, SCENE 11
15 pictured hidden shapes in Motorbike Workshop
Open walkthrough →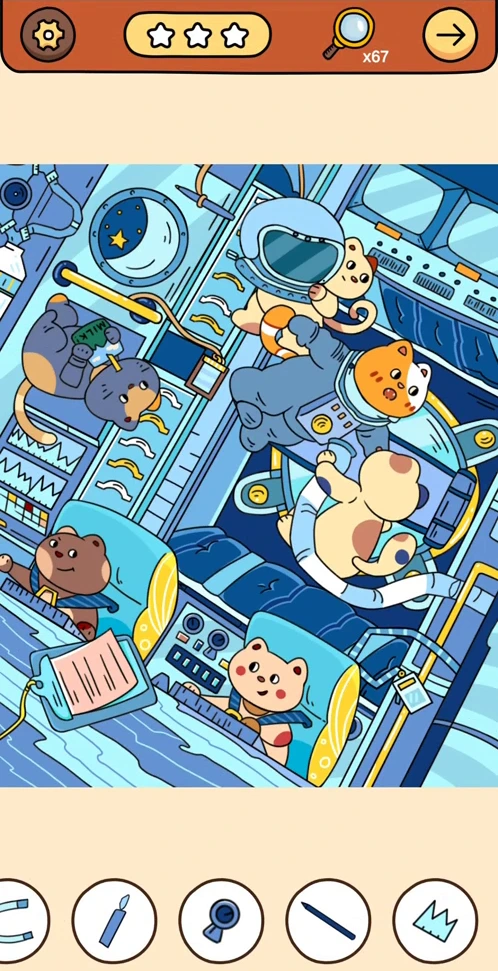 HIDDEN OBJECTS REFERENCE CHAPTER 1, SCENE 12
14 pictured hidden shapes in Astronaut Animals
Open walkthrough →Verified scene coverage
10 checked scenes. Blue Mecha and Hamster Food Pile are not included yet; this chapter is not complete.
Browse Hidden Objects — Reference Chapter 2 →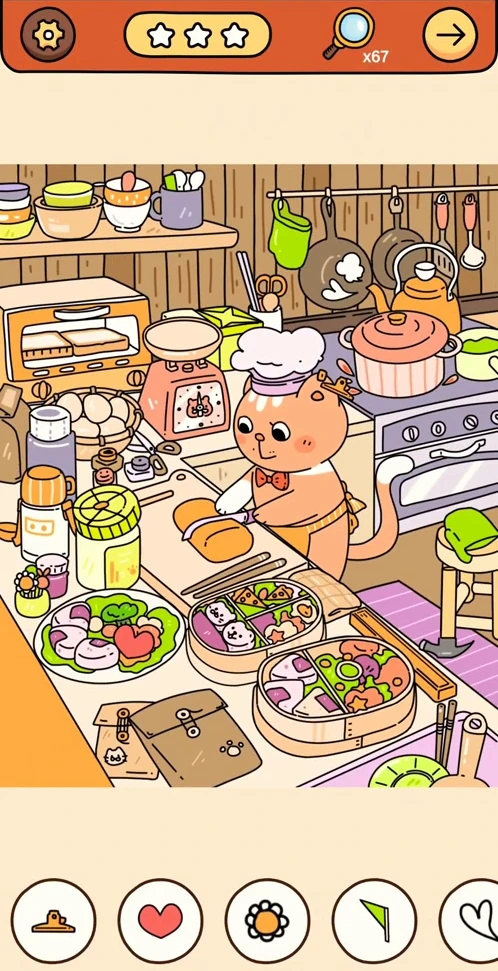 HIDDEN OBJECTS REFERENCE CHAPTER 2, SCENE 1
9 pictured hidden shapes in Pig Chef's Kitchen
Open walkthrough →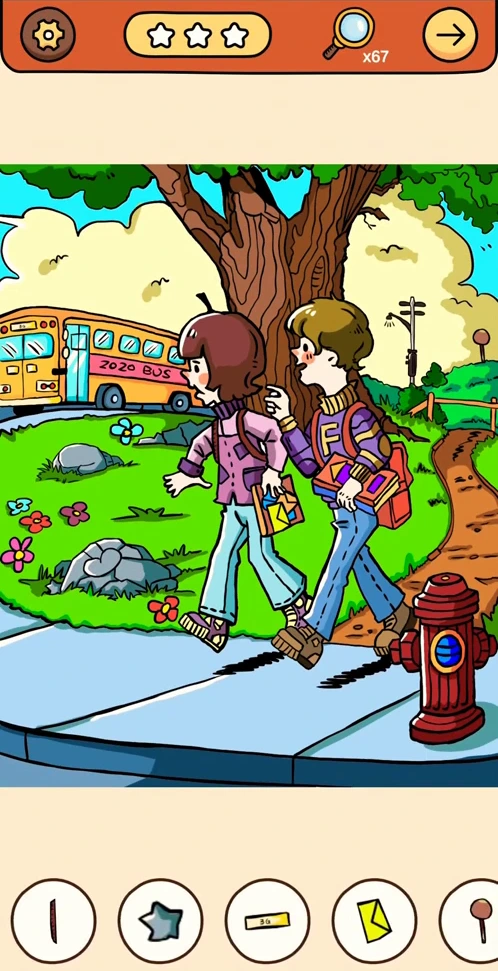 HIDDEN OBJECTS REFERENCE CHAPTER 2, SCENE 2
14 pictured hidden shapes in School Walk
Open walkthrough →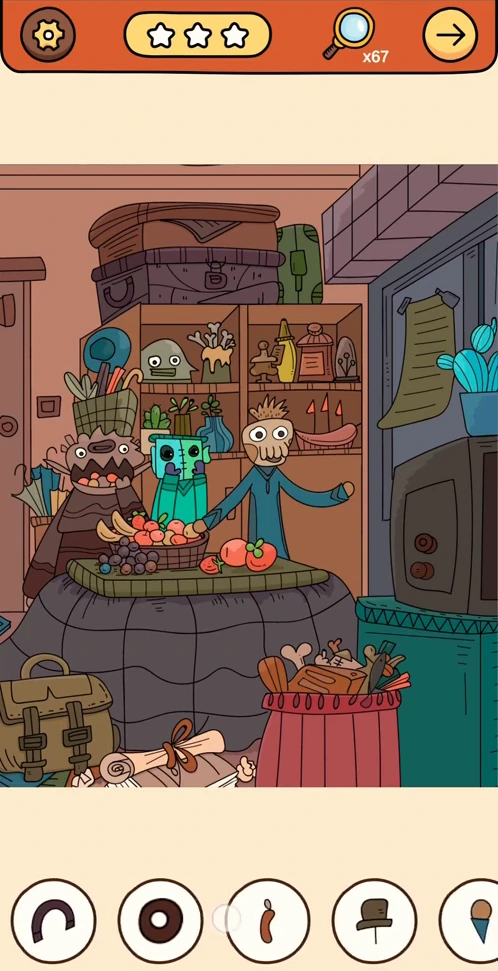 HIDDEN OBJECTS REFERENCE CHAPTER 2, SCENE 3
15 pictured hidden shapes in Monster Dining Room
Open walkthrough →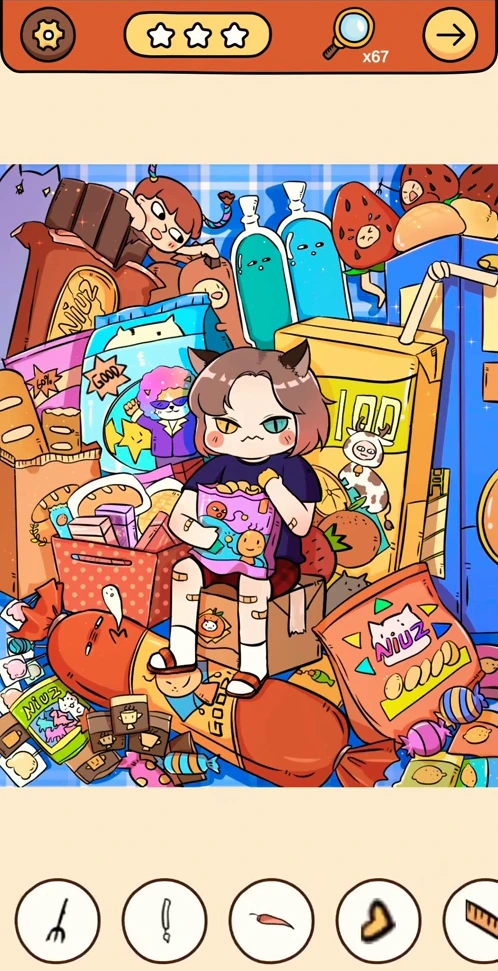 HIDDEN OBJECTS REFERENCE CHAPTER 2, SCENE 4
15 pictured hidden shapes in Cat Girl in the Snack Pile
Open walkthrough →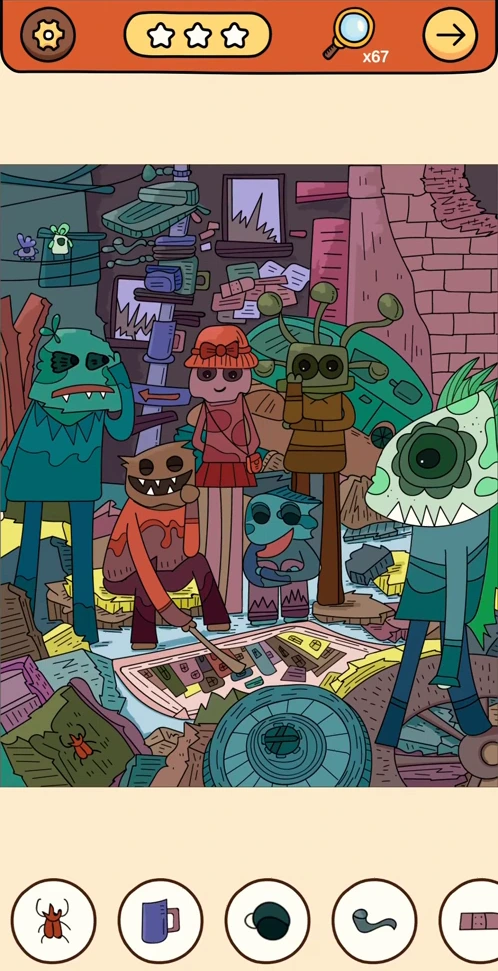 HIDDEN OBJECTS REFERENCE CHAPTER 2, SCENE 5
15 pictured hidden shapes in Monster Market
Open walkthrough →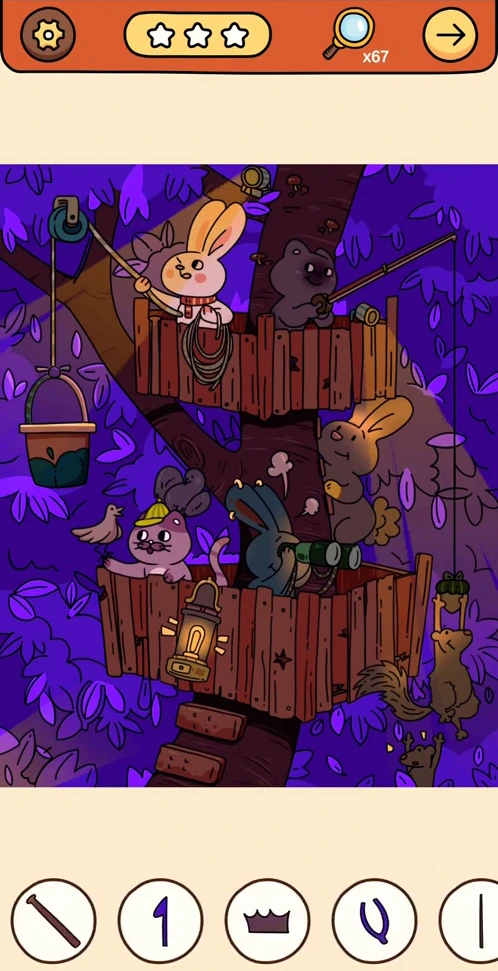 HIDDEN OBJECTS REFERENCE CHAPTER 2, SCENE 6
18 pictured hidden shapes in Animals on the Treehouse Balcony
Open walkthrough →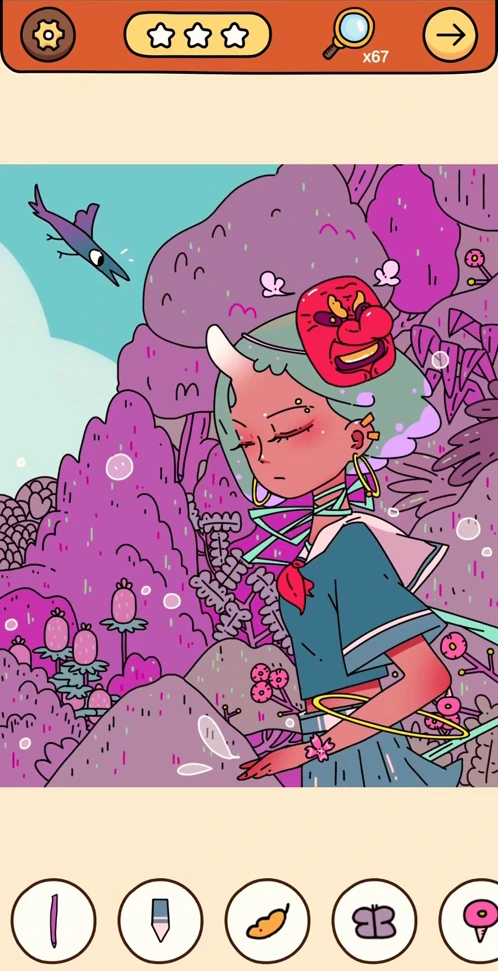 HIDDEN OBJECTS REFERENCE CHAPTER 2, SCENE 7
11 pictured hidden shapes in Rose in the Pink Forest
Open walkthrough →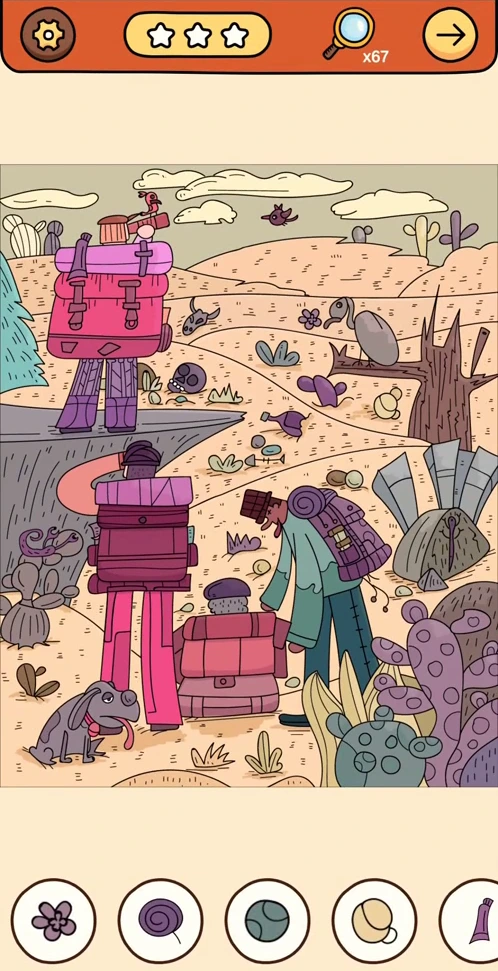 HIDDEN OBJECTS REFERENCE CHAPTER 2, SCENE 8
15 pictured hidden shapes in Desert Postbox
Open walkthrough →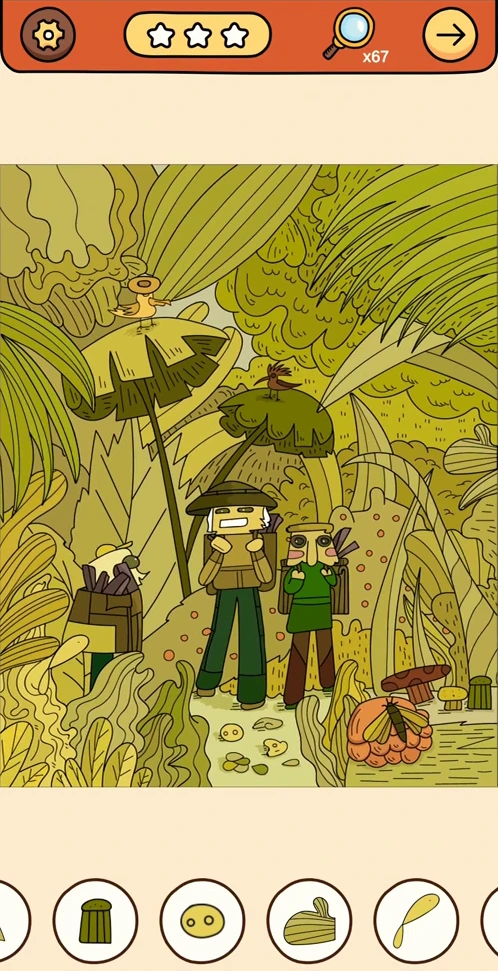 HIDDEN OBJECTS REFERENCE CHAPTER 2, SCENE 11
15 pictured hidden shapes in Ranger in the Forest
Open walkthrough →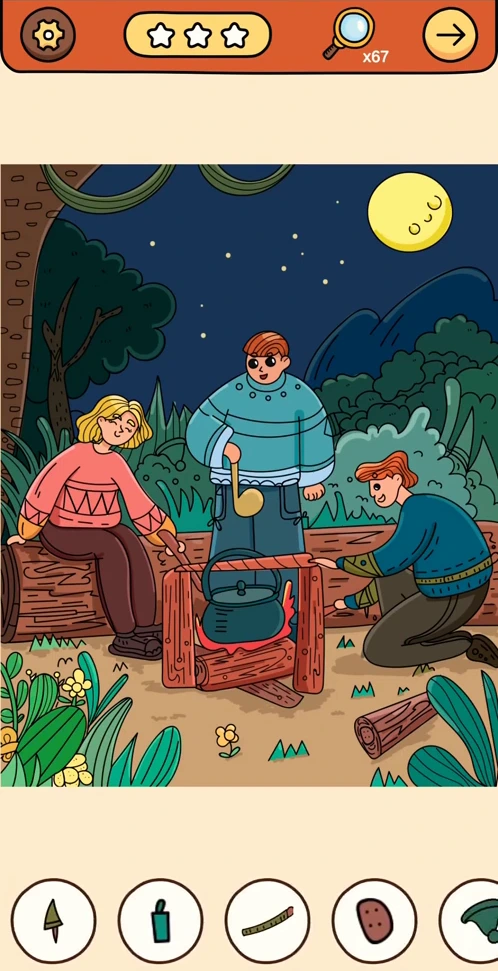 HIDDEN OBJECTS REFERENCE CHAPTER 2, SCENE 12
15 pictured hidden shapes in Friends by the Campfire
Open walkthrough →Verified scene coverage
Eight fixed hidden-object and difference rounds. Timed rounds are not included.
Browse Animal Story →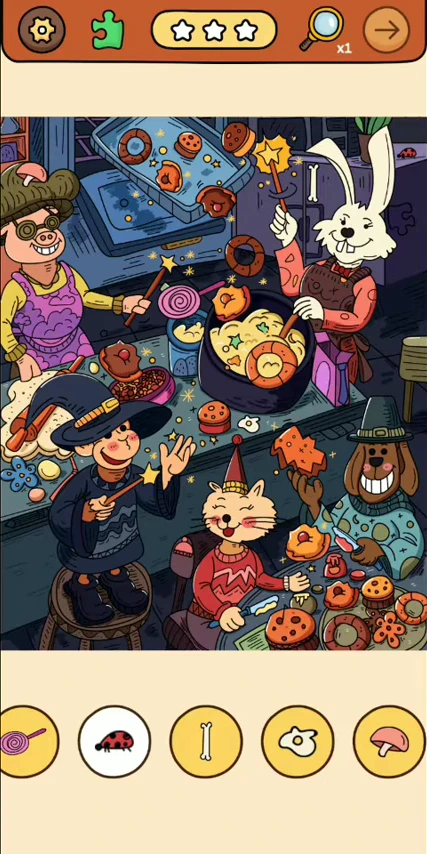 ANIMAL STORY REFERENCE 1, HIDDEN-OBJECTS
5 pictured hidden shapes in Animal Party
Open walkthrough →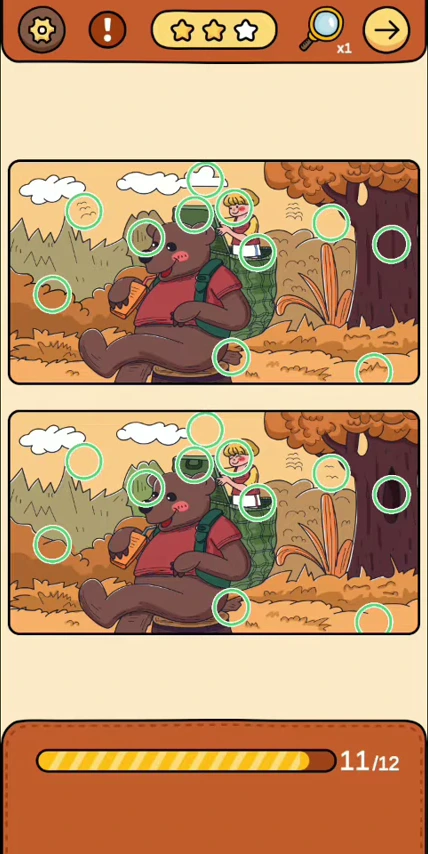 ANIMAL STORY REFERENCE 2, DIFFERENCES
12 pictured differences in Bear and the Honey Pot
Open walkthrough →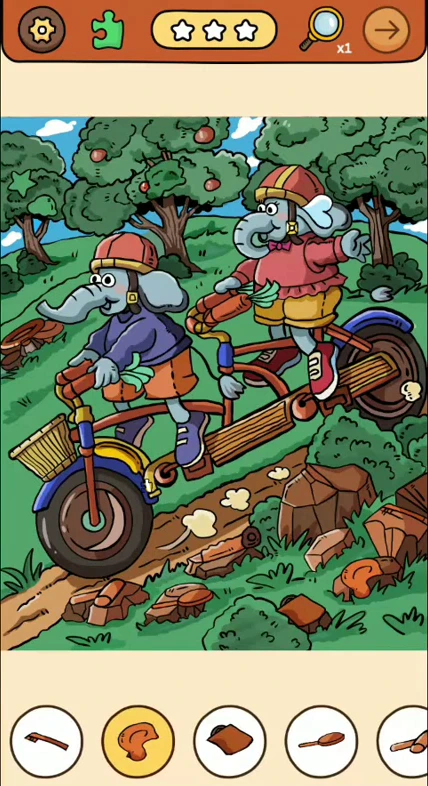 ANIMAL STORY REFERENCE 4, HIDDEN-OBJECTS
15 pictured hidden shapes in Animals on a Tandem Bike
Open walkthrough →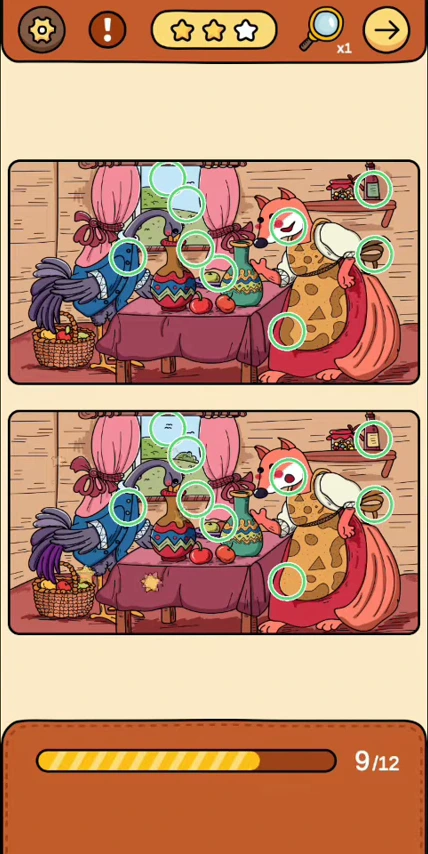 ANIMAL STORY REFERENCE 5, DIFFERENCES
12 pictured differences in Bird and Wolf at the Stall
Open walkthrough →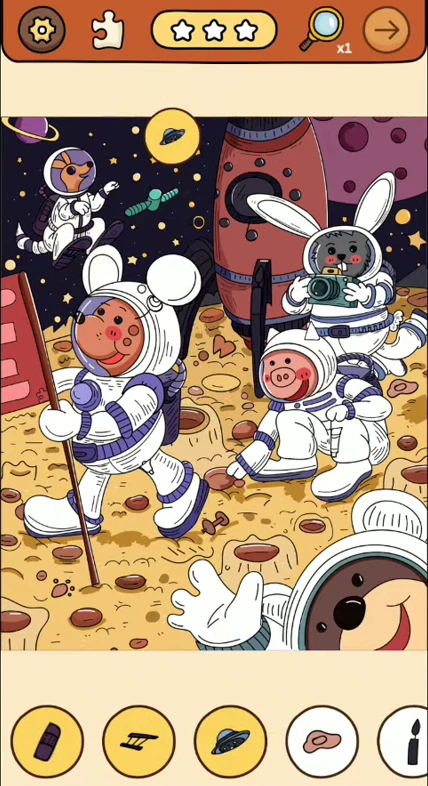 ANIMAL STORY REFERENCE 7, HIDDEN-OBJECTS
15 pictured hidden shapes in Animal Astronauts
Open walkthrough →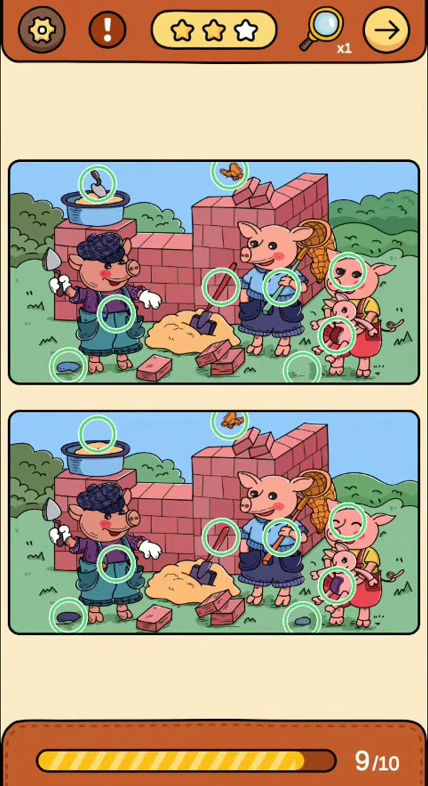 ANIMAL STORY REFERENCE 8, DIFFERENCES
10 pictured differences in Three Little Pigs
Open walkthrough →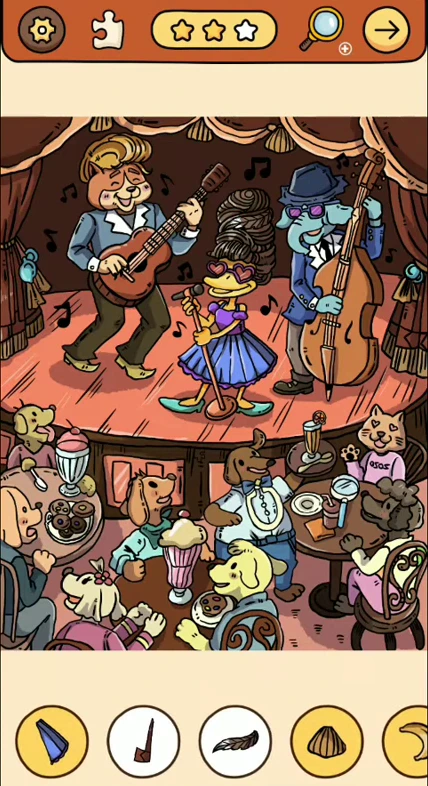 ANIMAL STORY REFERENCE 10, HIDDEN-OBJECTS
10 pictured hidden shapes in Animal Band
Open walkthrough →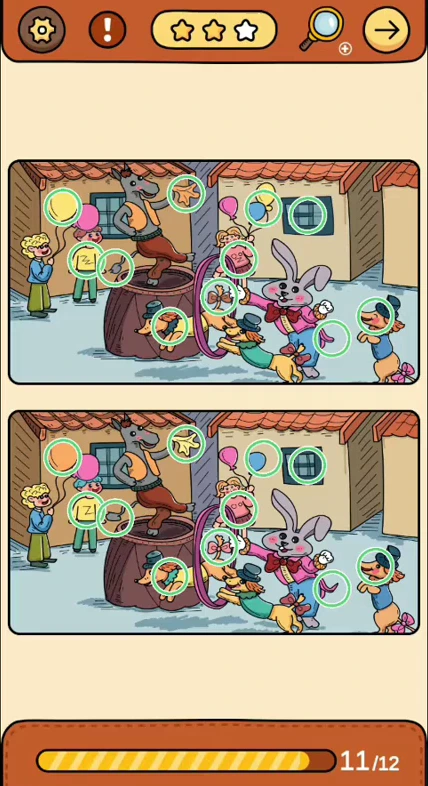 ANIMAL STORY REFERENCE 11, DIFFERENCES
12 pictured differences in Rabbit Magician's Courtyard
Open walkthrough →Verified scene coverage
Eight fixed hidden-object and difference rounds. Timed rounds are not included.
Browse Ocean Story →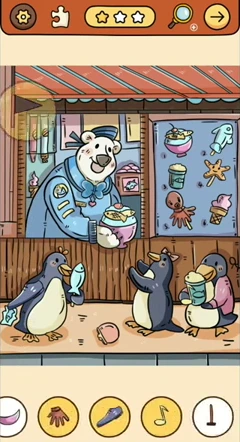 OCEAN STORY REFERENCE 1, HIDDEN-OBJECTS
11 pictured hidden shapes in Penguins at the Food Stall
Open walkthrough →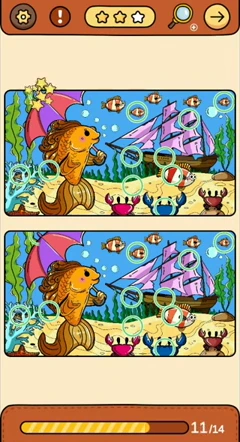 OCEAN STORY REFERENCE 2, DIFFERENCES
14 pictured differences in Fish and the Sailing Ship
Open walkthrough →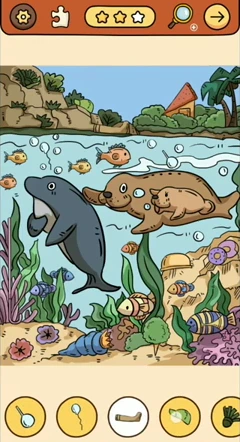 OCEAN STORY REFERENCE 4, HIDDEN-OBJECTS
12 pictured hidden shapes in Seal and Dolphin
Open walkthrough →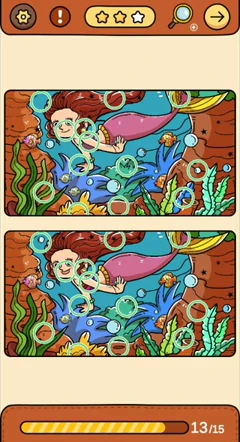 OCEAN STORY REFERENCE 5, DIFFERENCES
15 pictured differences in Mermaids and the Sea Turtle
Open walkthrough →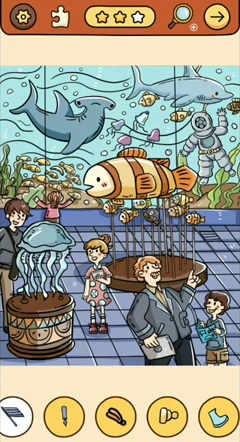 OCEAN STORY REFERENCE 7, HIDDEN-OBJECTS
13 pictured hidden shapes in Aquarium Visitors
Open walkthrough →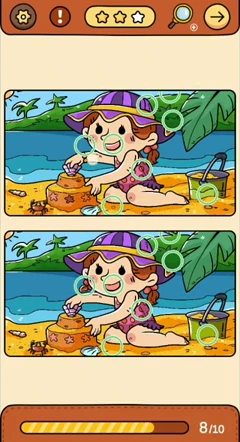 OCEAN STORY REFERENCE 8, DIFFERENCES
10 pictured differences in Ice Cream on the Beach
Open walkthrough →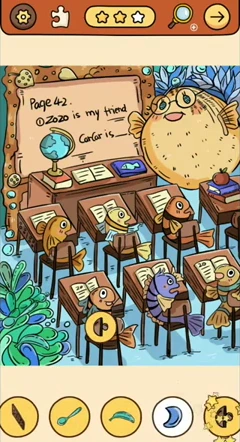 OCEAN STORY REFERENCE 10, HIDDEN-OBJECTS
12 pictured hidden shapes in Fish Classroom
Open walkthrough →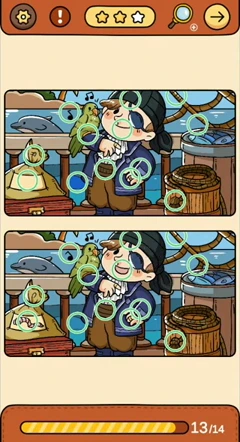 OCEAN STORY REFERENCE 11, DIFFERENCES
14 pictured differences in Pirate and Parrot
Open walkthrough →Verified scene coverage
Eight fixed hidden-object and difference rounds. Timed rounds are not included.
Browse Travel Story →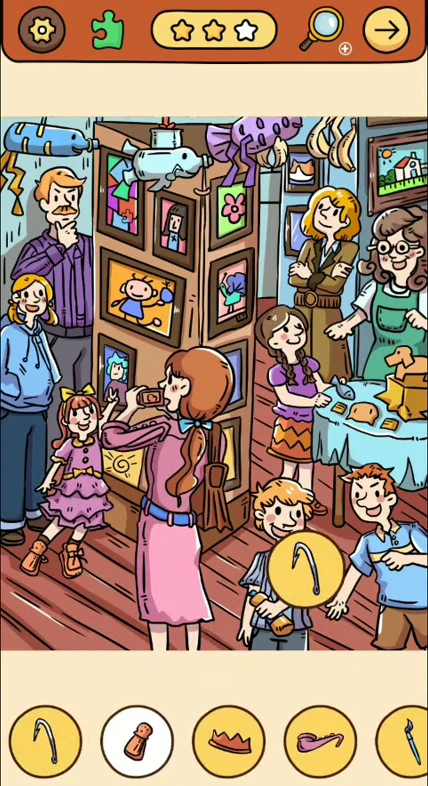 TRAVEL STORY REFERENCE 1, HIDDEN-OBJECTS
14 pictured hidden shapes in Museum Visitors
Open walkthrough →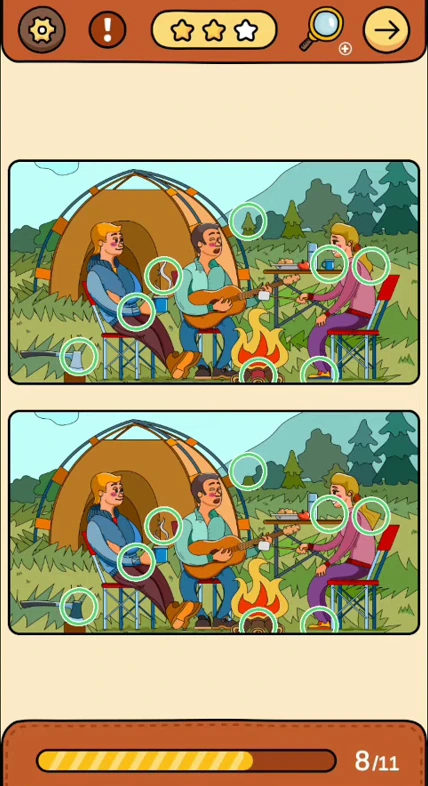 TRAVEL STORY REFERENCE 2, DIFFERENCES
11 pictured differences in Camping Picnic
Open walkthrough →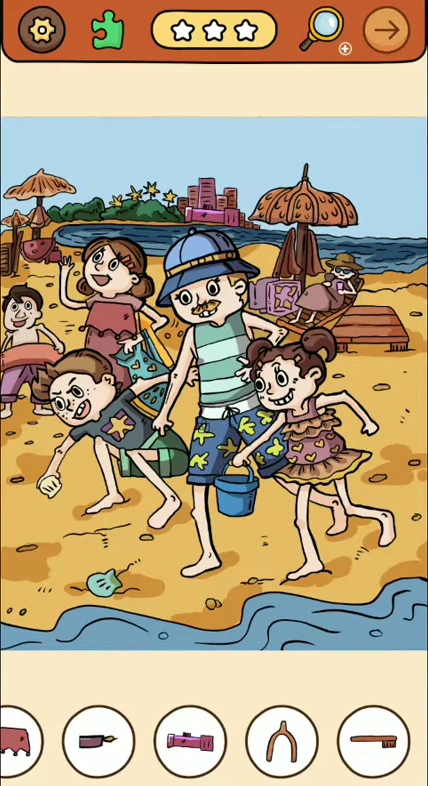 TRAVEL STORY REFERENCE 4, HIDDEN-OBJECTS
11 pictured hidden shapes in Children at the Beach
Open walkthrough →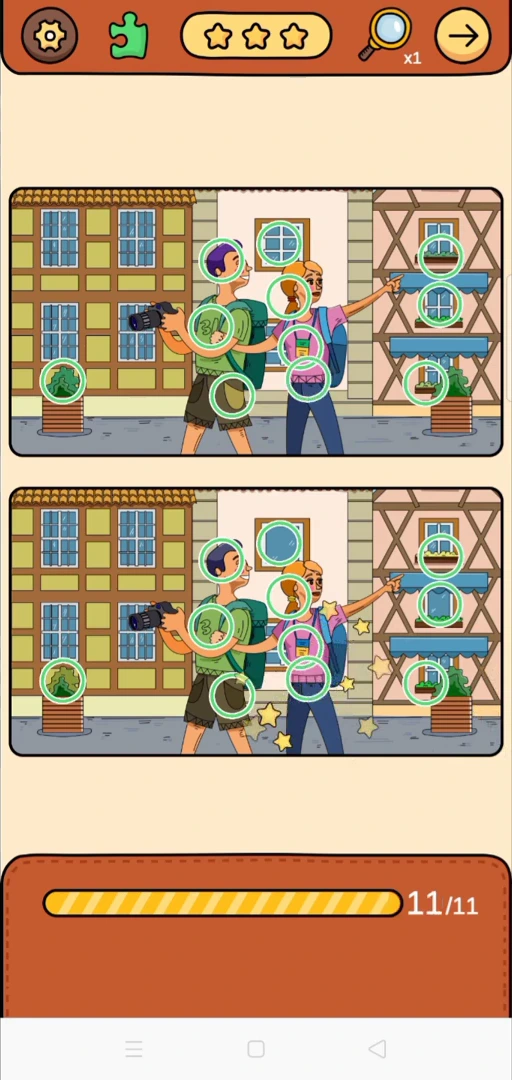 TRAVEL STORY REFERENCE 5, DIFFERENCES
11 pictured differences in Couple in the Town Square
Open walkthrough →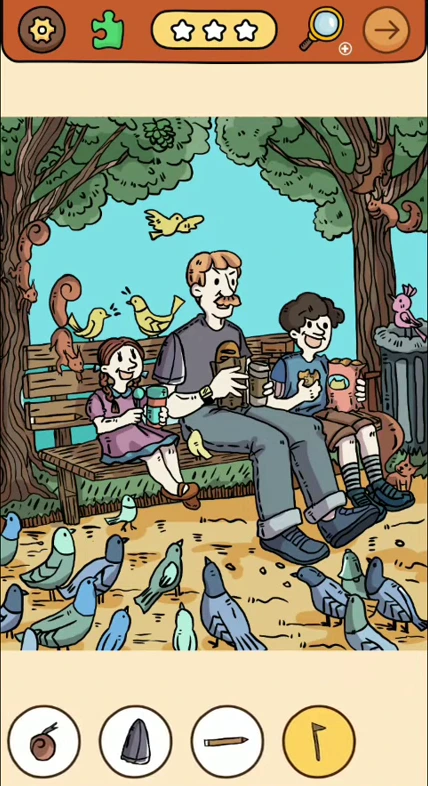 TRAVEL STORY REFERENCE 7, HIDDEN-OBJECTS
13 pictured hidden shapes in Feeding the Pigeons
Open walkthrough →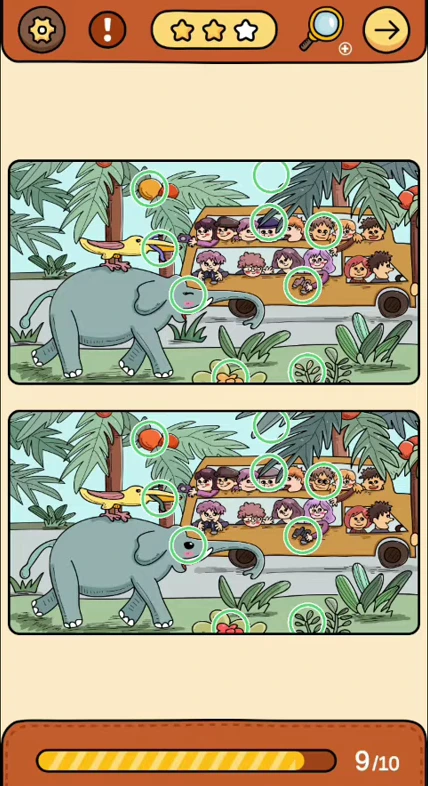 TRAVEL STORY REFERENCE 8, DIFFERENCES
10 pictured differences in Safari Tour
Open walkthrough →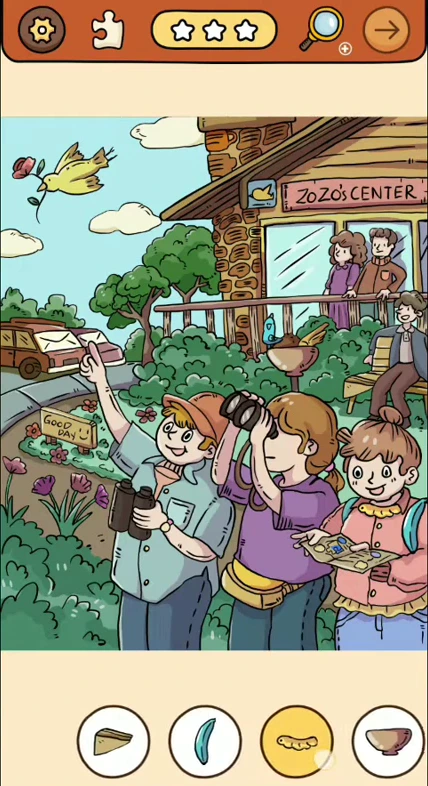 TRAVEL STORY REFERENCE 10, HIDDEN-OBJECTS
12 pictured hidden shapes in Zoo Entrance
Open walkthrough →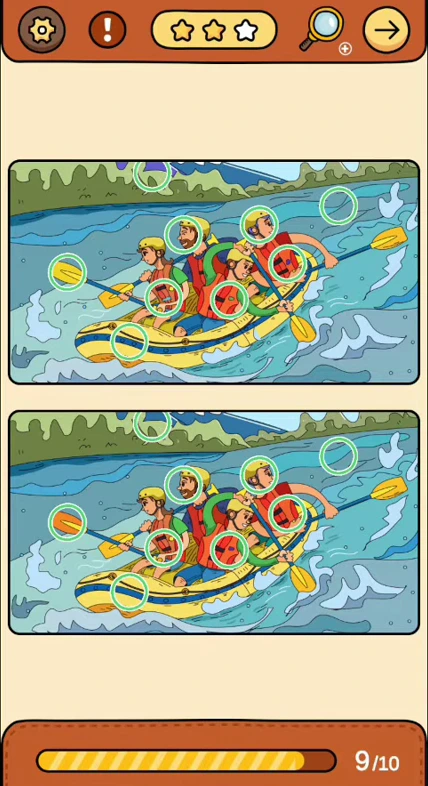 TRAVEL STORY REFERENCE 11, DIFFERENCES
10 pictured differences in River Rafting
Open walkthrough →Verified scene coverage
Three checked interactive rooms: Solitary Lady, Haunted Room and Troublemaker. Skeleton and Candy Carnival are not included yet.
Browse Horror Scenes →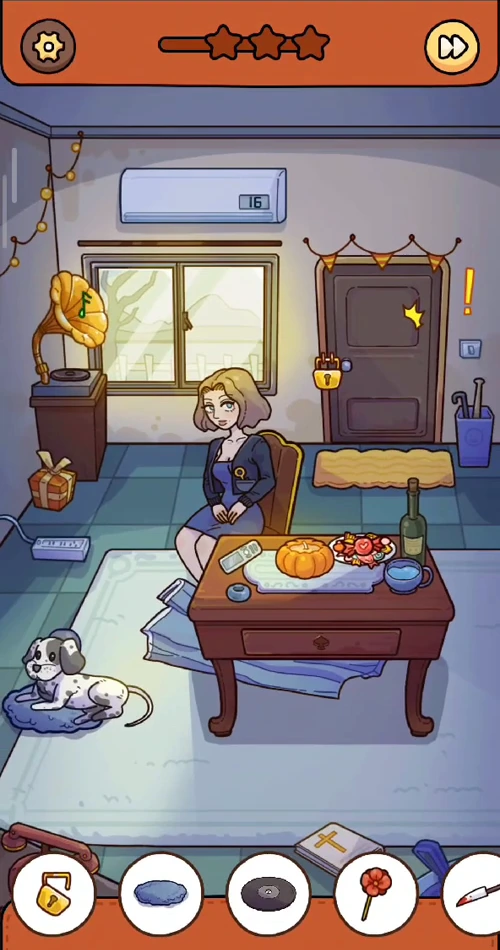 HORROR REFERENCE 1
Warm the room to 29 degrees for the door key, then darken the window to reveal the supernatural version of the room.
Open walkthrough →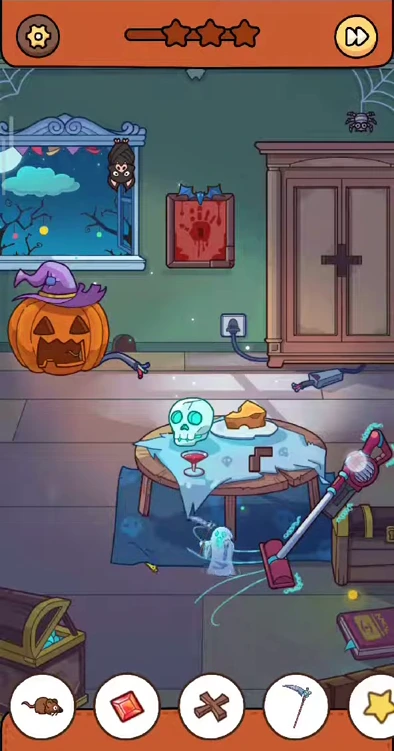 HORROR REFERENCE 3
Use three simultaneous touches for the glowing pumpkin, and combine the two L-shaped pieces to open the wardrobe.
Open walkthrough →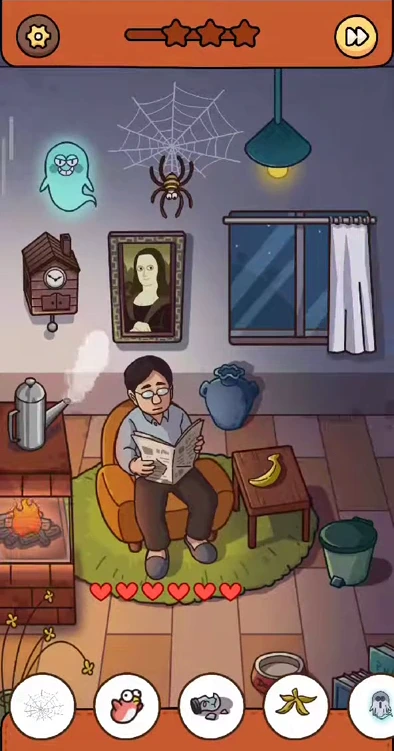 HORROR REFERENCE 5
Possess the room's objects to frighten the reader; use the bin's cork and scissors to finish the window and ghost targets.
Open walkthrough →Picture-first puzzle help
Find Out: Find Hidden Objects! is a visual puzzle game published by Focus apps / EYEWIND LIMITED. Its modes do not all play alike: Discovery rooms combine objects, gestures and changing states; hidden-object rounds disguise silhouettes in scenery; Differences asks you to compare a picture pair. The Story menus mix fixed pictures with timed rounds.
Choose the mode submenu, compare the scene image, then check the requested icons or difference total. Open the written route for object locations and interaction steps. The separate Video walkthrough tab loads the matched segment only after you request it. Older and newer editions can reuse a background while changing the requested objects; those are not interchangeable answers.
An object may be part of a sleeve, plant, seam or shadow rather than a loose item. Interactive rooms may require dragging, holding or simultaneous touches before a target exists. A next-stage button can appear before every icon has been credited, so unlocking progression is not proof that the target list is complete.
No. This release contains 148 verified scene guides. Not yet covered: remaining Hidden Objects scenes and chapters, Seek, timed Story rounds, Skeleton, Candy Carnival, and the separate Rooster Painter variant. This is not a complete-game walkthrough.
Updates can reorder scenes or replace requested shapes. Compare the screenshot and edition note. Do not force a solution for another target set onto your screen.
Use our Download Game page for the official Android and iPhone/iPad store listings.