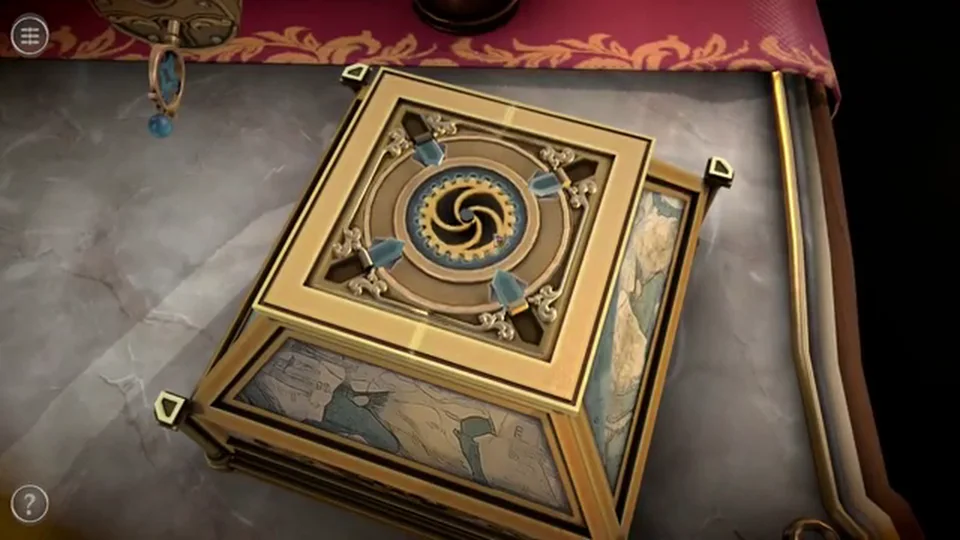
 CH 1 · BOX 1
Boxes Lost Fragments Chapter 1 Box 1: Compass and Zodiac Cube
Open the layered cube, build the compass, and use the zodiac door to claim the bear fragment.
Open walkthrough →Big Loop Studios game · complete five-chapter route
Open 20 intricate mechanical boxes across five chapters, then place each chapter's four fragments into a larger mansion mechanism to reach the next wing.
Each chapter has Box 1–4, followed by its mansion Hall Puzzle.
Mechanical puzzle solutions
Match the chapter, box label and unique gameplay image, then reveal the mechanism chain one phase at a time.
CH 1 · BOX 1Open the layered cube, build the compass, and use the zodiac door to claim the bear fragment.
Open walkthrough →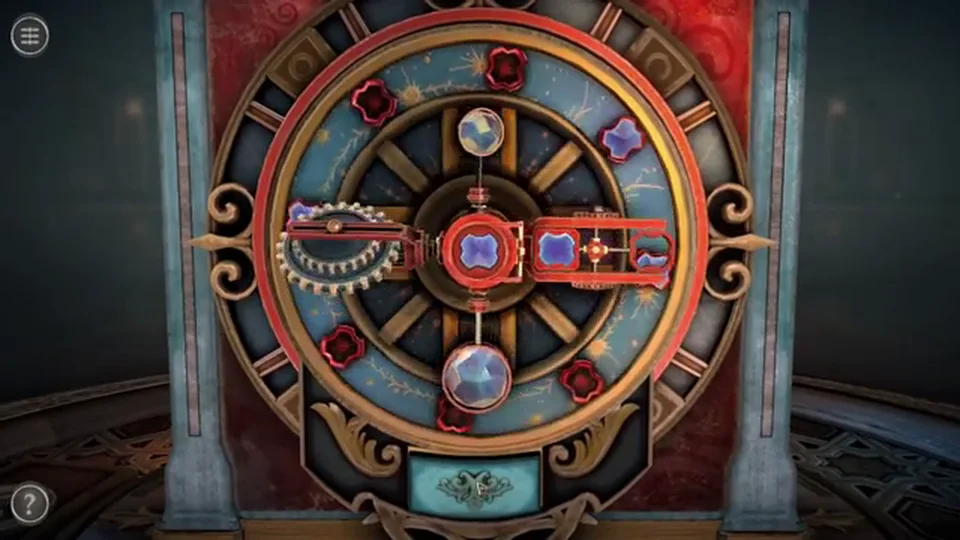 CH 1 · BOX 2
Collect three handles, rebuild the lower mechanism, and read the clock clues to release the hourglass.
Open walkthrough →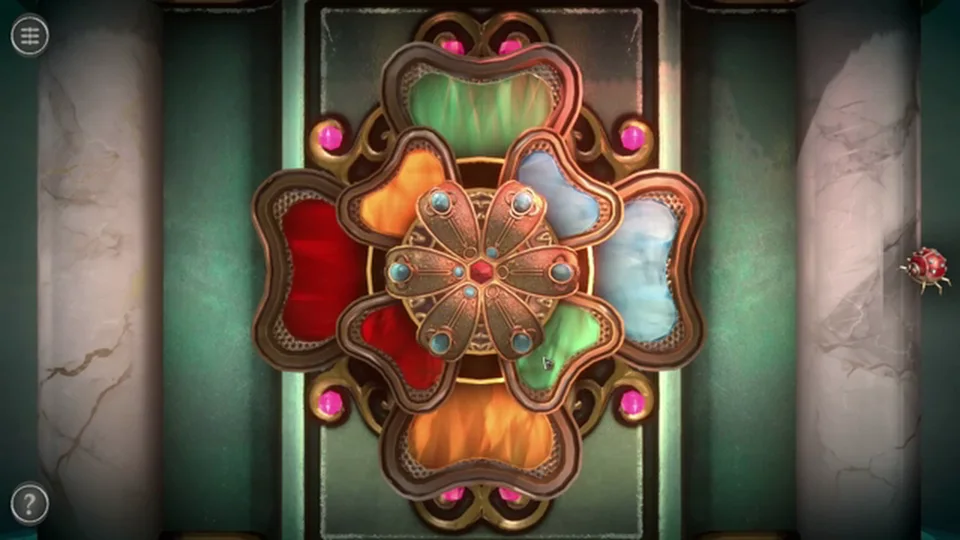 CH 1 · BOX 3
Open the flower mechanisms and guide the mechanical ladybird through the miniature course to retrieve the owl.
Open walkthrough →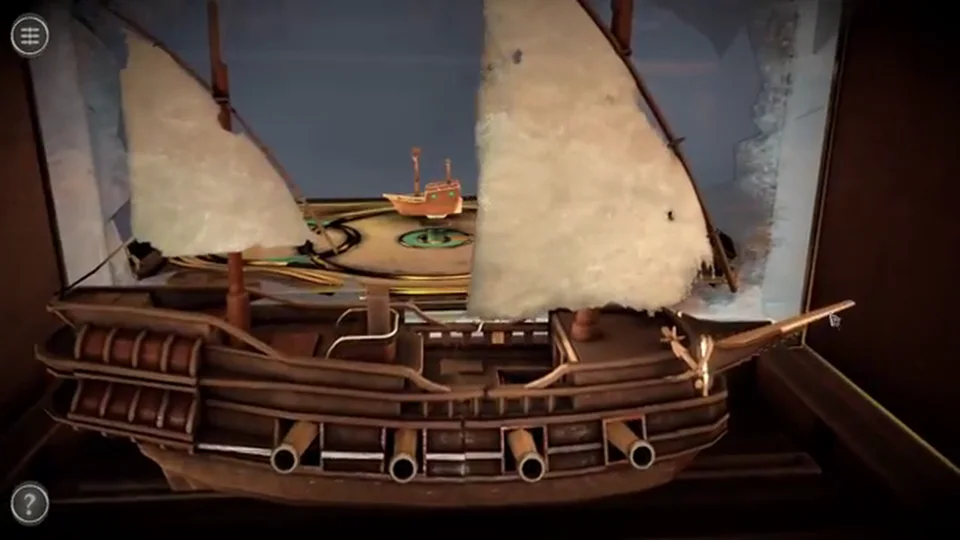 CH 1 · BOX 4
Turn the sea-monster chest into a working ship display and solve the cabin board for the prism.
Open walkthrough →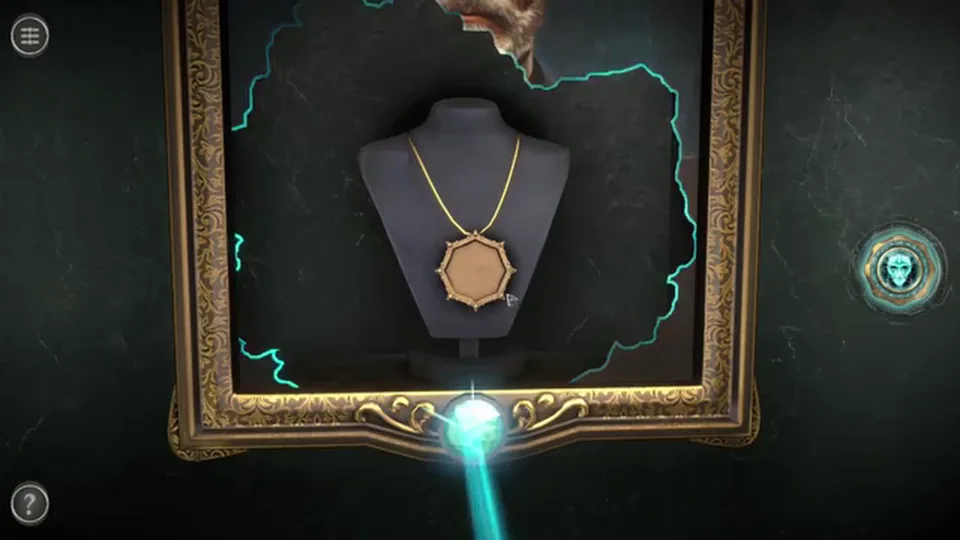 CH 1 · HALL PUZZLE
Place the bear, hourglass, owl and prism in the mansion hall to reveal the Chapter 2 token.
Open walkthrough →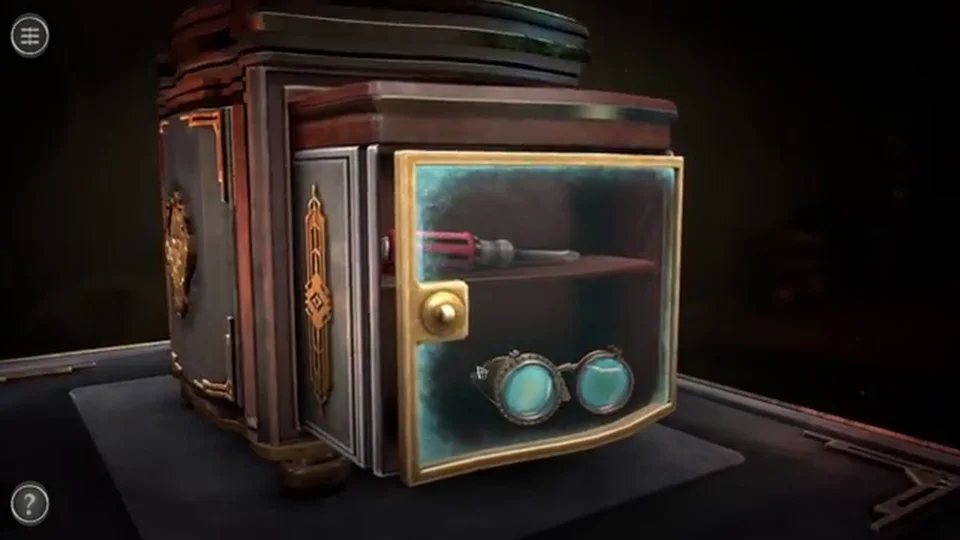 CH 2 · BOX 1
Repair the optical mechanism and route power through the laboratory box to create the electric key.
Open walkthrough →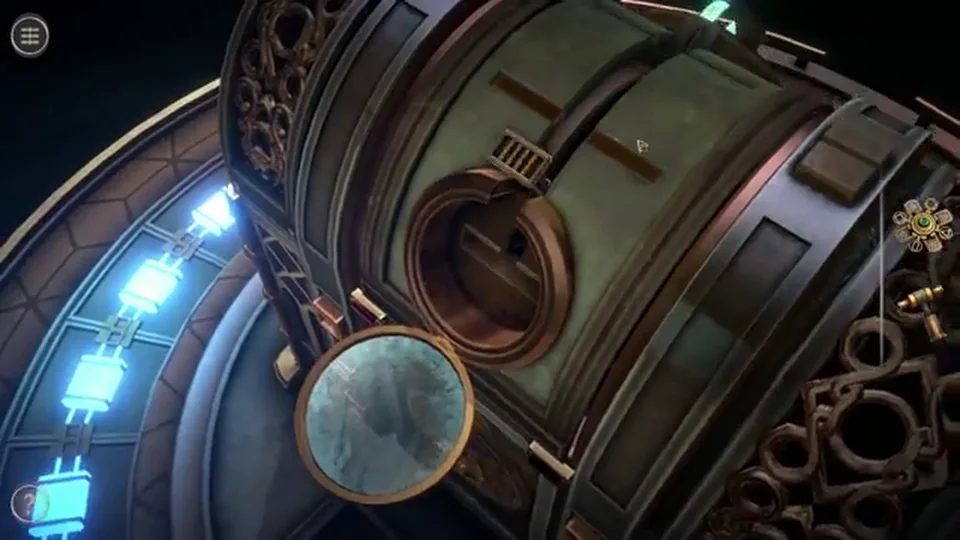 CH 2 · BOX 2
Power the globe box, solve its colour and picture discs, and recover the mechanical sphere.
Open walkthrough →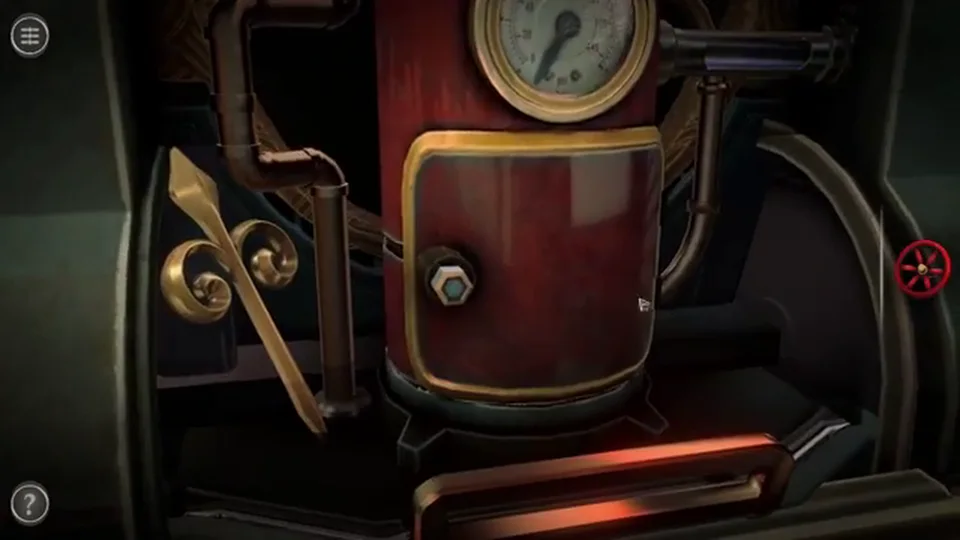 CH 2 · BOX 3
Restore the steam cart, set its pipes and gauges, and catch the passing gears to obtain the console.
Open walkthrough →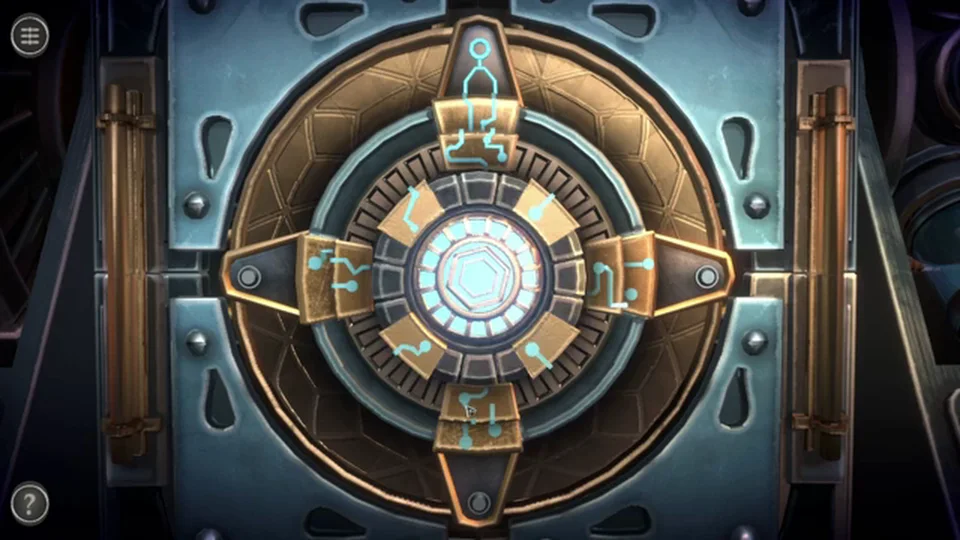 CH 2 · BOX 4
Complete the rotating panels, charge the plasma mechanism, and open the portal for the power source.
Open walkthrough →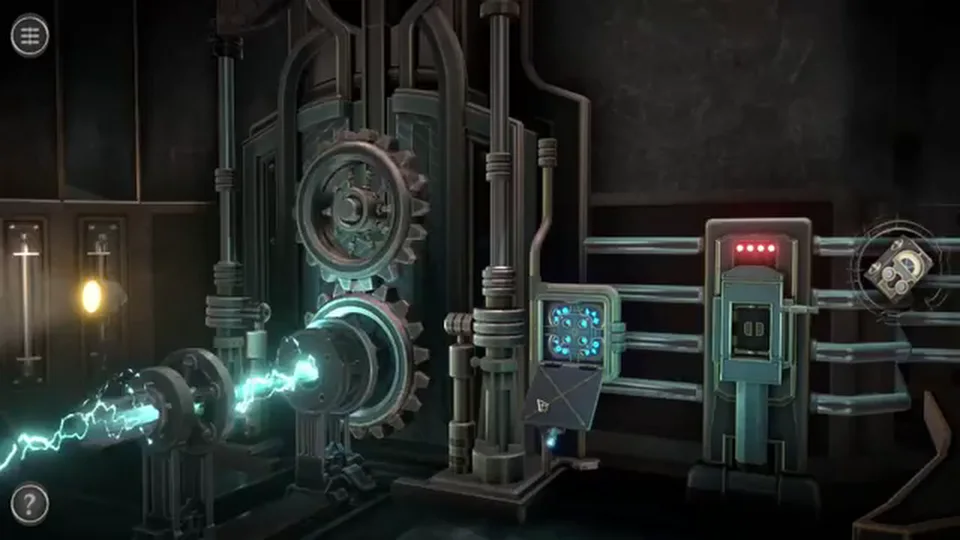 CH 2 · HALL PUZZLE
Install the sphere, electric key, console and power source to open the sarcophagus route.
Open walkthrough →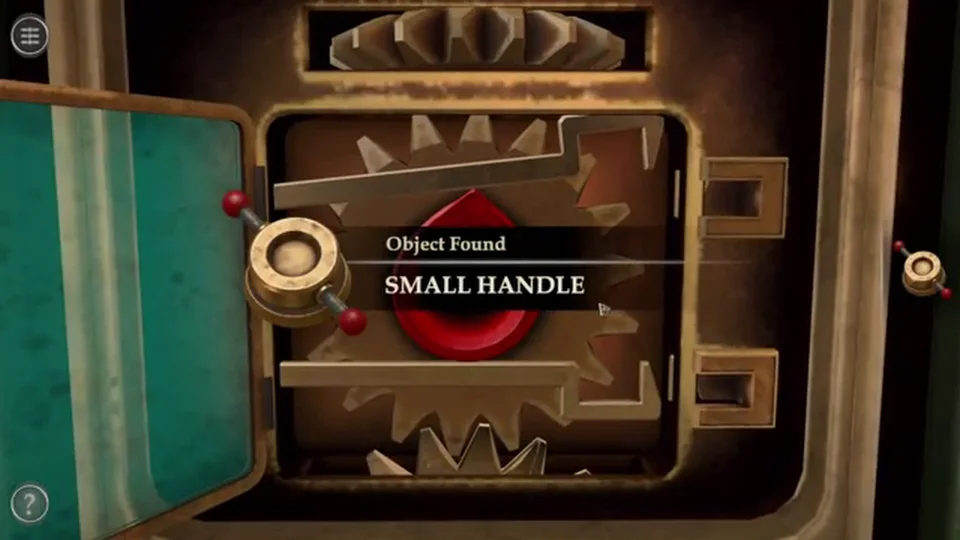 CH 3 · BOX 1
Open the suitcase safe, decode its moving machine parts, and crush the piggy bank for the intricate mechanism.
Open walkthrough →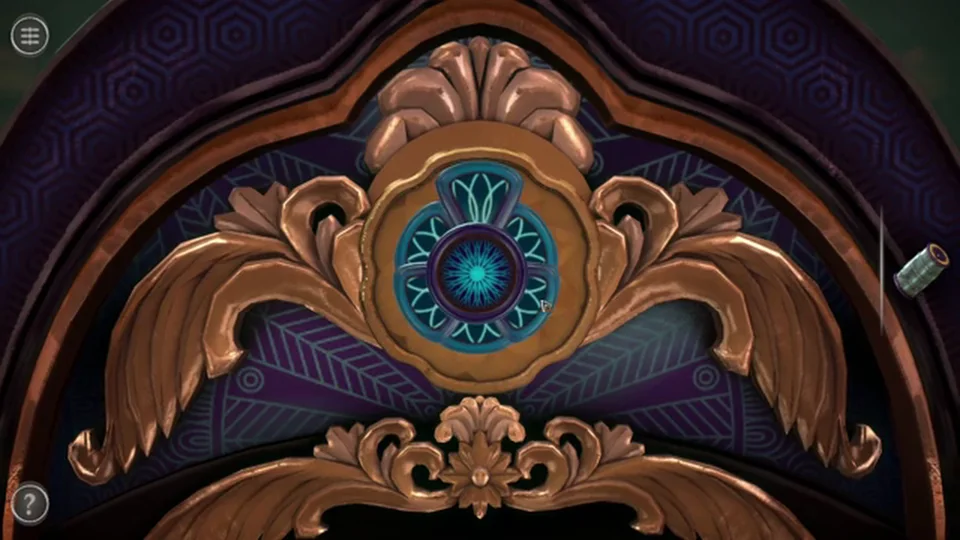 CH 3 · BOX 2
Tune the radio, assemble the musical mechanisms, and reproduce the melody symbols to release the piano key.
Open walkthrough →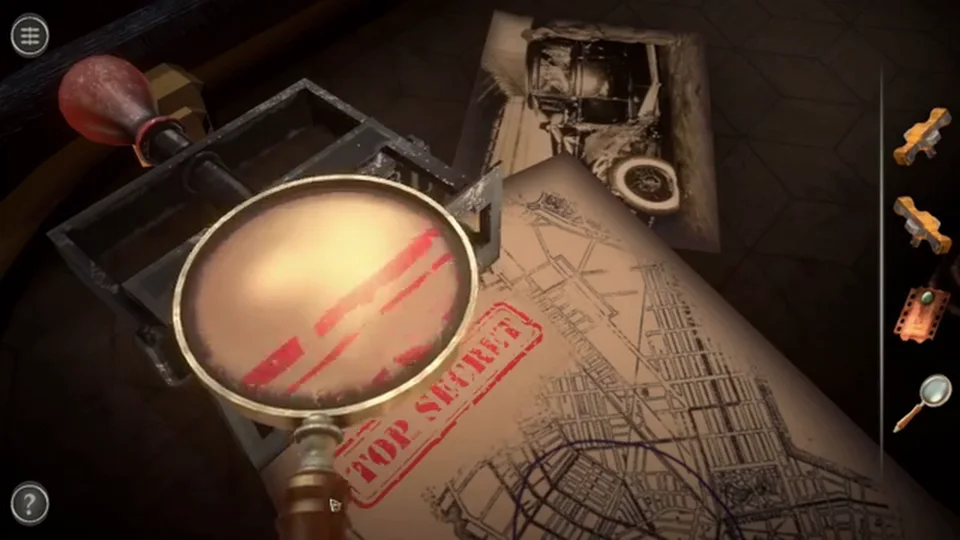 CH 3 · BOX 3
Develop the camera evidence, use code 4218, and solve the letter wheel to claim the film reel.
Open walkthrough →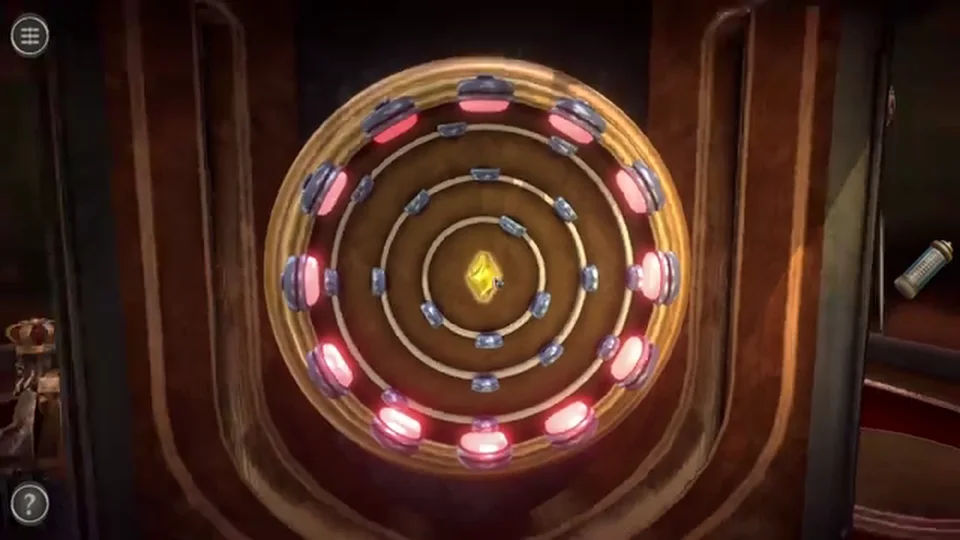 CH 3 · BOX 4
Clear the card tests, free the caged jester, and power the spotlight mechanism for the remote.
Open walkthrough →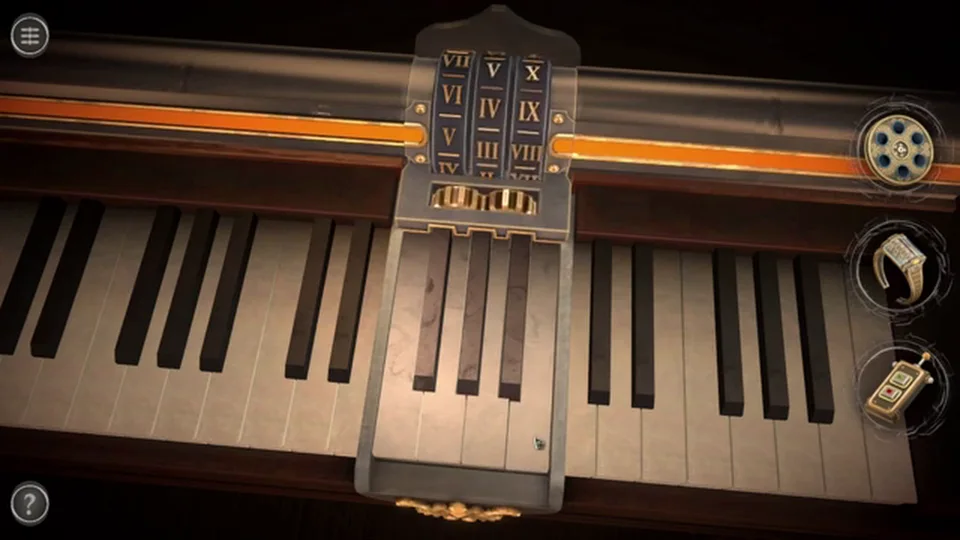 CH 3 · HALL PUZZLE
Use the piano key, film reel, mechanism and remote to project the fireplace pattern and reach Chapter 4.
Open walkthrough →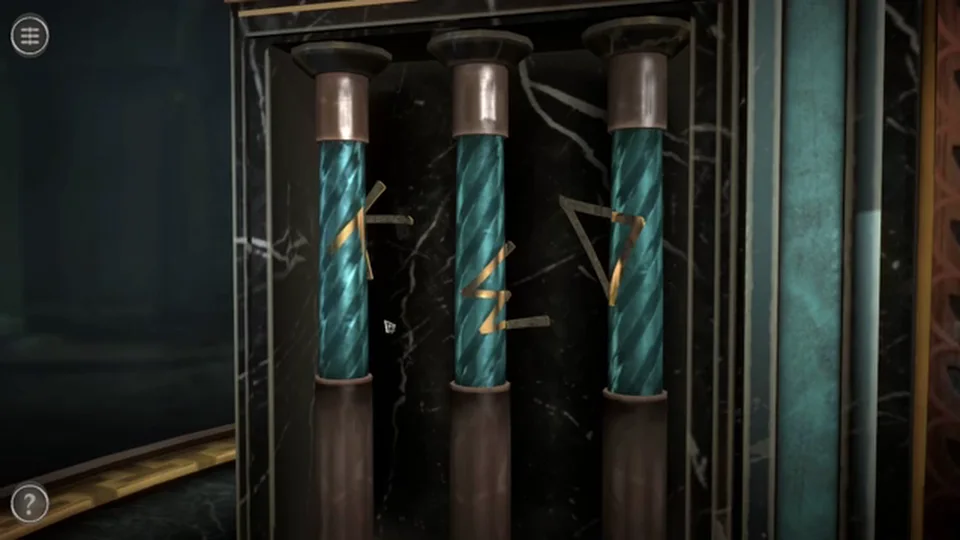 CH 4 · BOX 1
Open the ancient arena box and use the crossbow to defeat the moving minotaur for the wheeled horse.
Open walkthrough →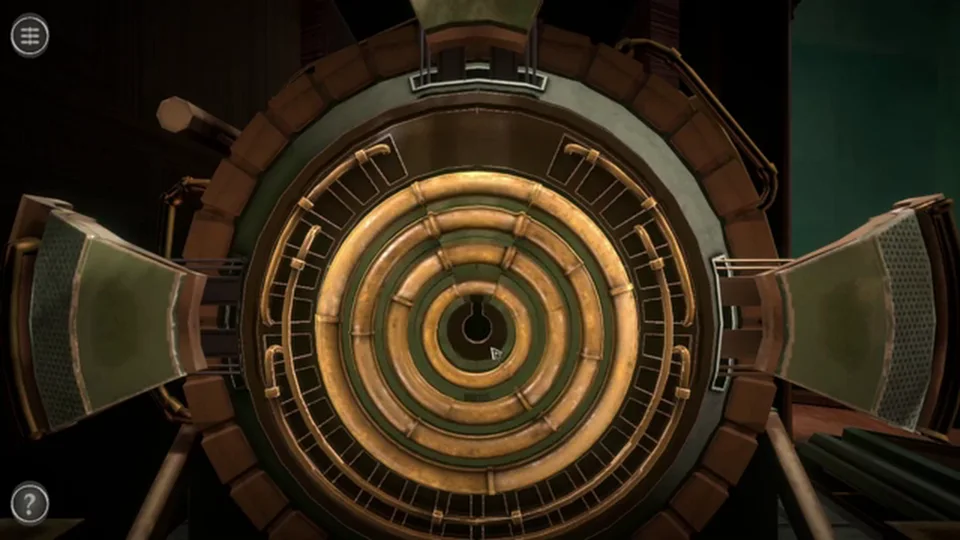 CH 4 · BOX 2
Collect both badges, open the station house, and solve the locomotive crane for the model.
Open walkthrough →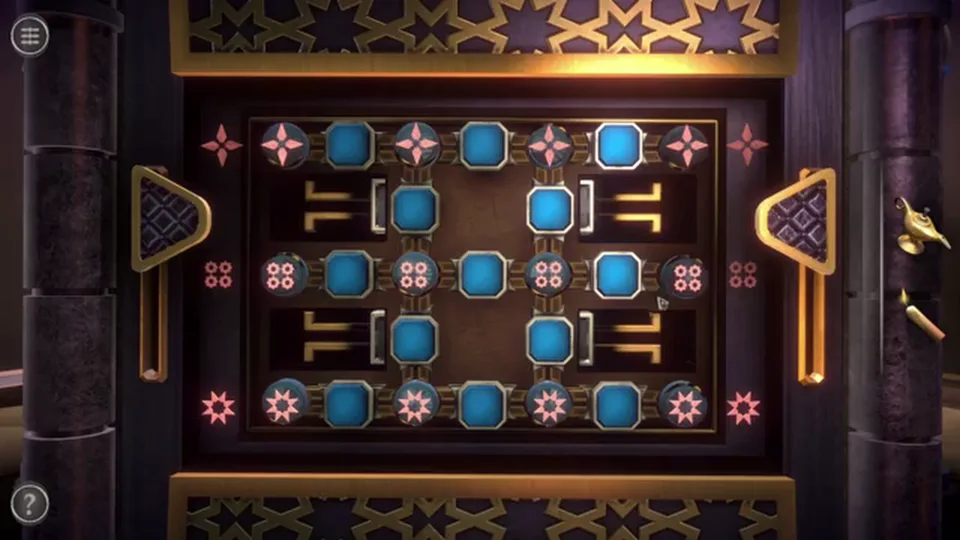 CH 4 · BOX 3
Light the desert mechanism, pass the red-blue timing test, and transform it into the tower model.
Open walkthrough →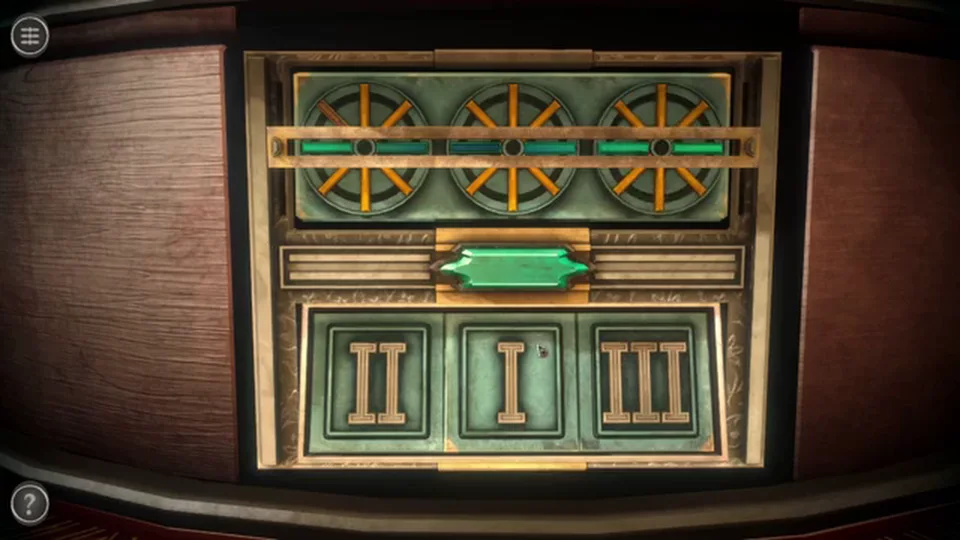 CH 4 · BOX 4
Open the palace turrets, solve the shield pattern, and ring the gong to hatch the dragon.
Open walkthrough →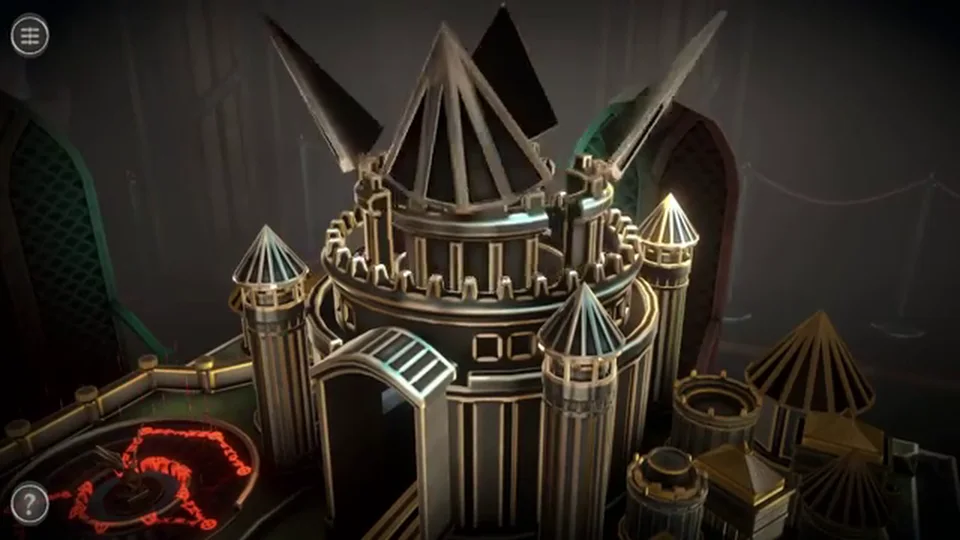 CH 4 · HALL PUZZLE
Carry the wheeled horse through the train, dragon and tower model route to unlock Chapter 5.
Open walkthrough →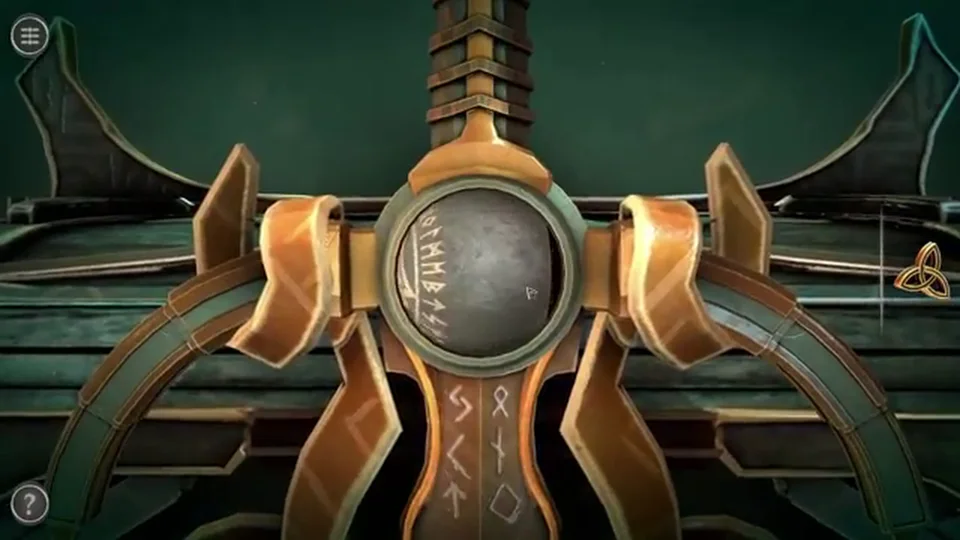 CH 5 · BOX 1
Open the horn gate, arm the four statues, and restore the frozen picture to obtain the cryptex.
Open walkthrough →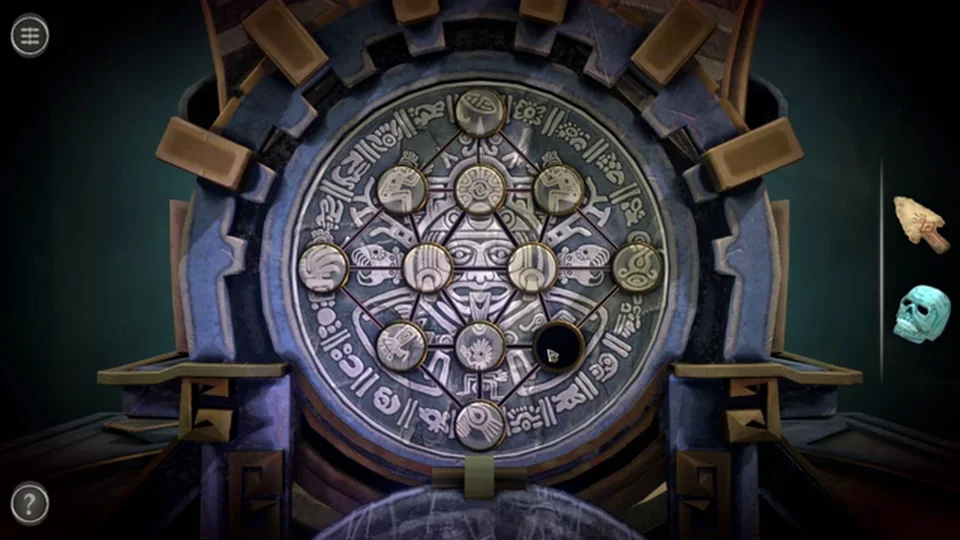 CH 5 · BOX 2
Solve the crystal rings and Aztec mechanisms to complete the pipeline and release the ancient key.
Open walkthrough →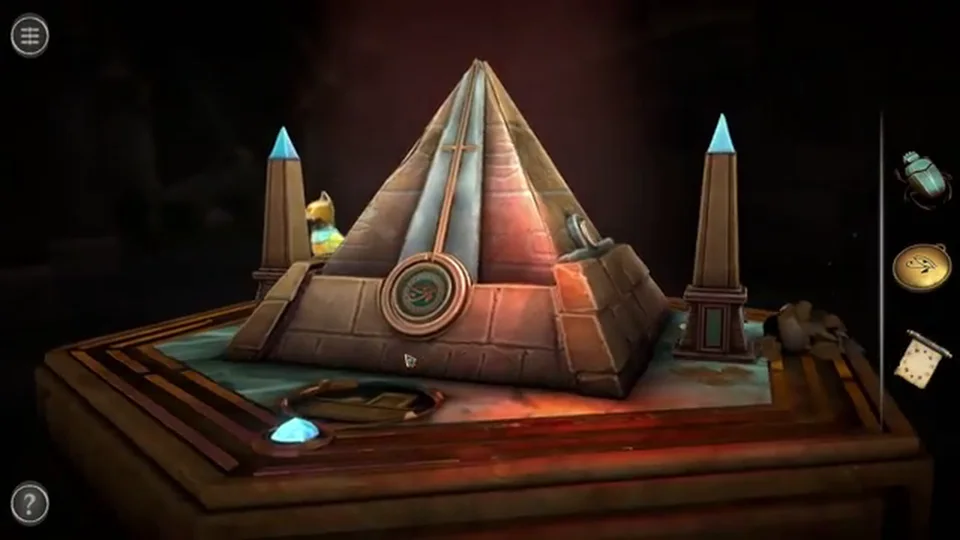 CH 5 · BOX 3
Open the tomb's layered picture mechanisms and place the crystal on the flower to recover the DNA container.
Open walkthrough →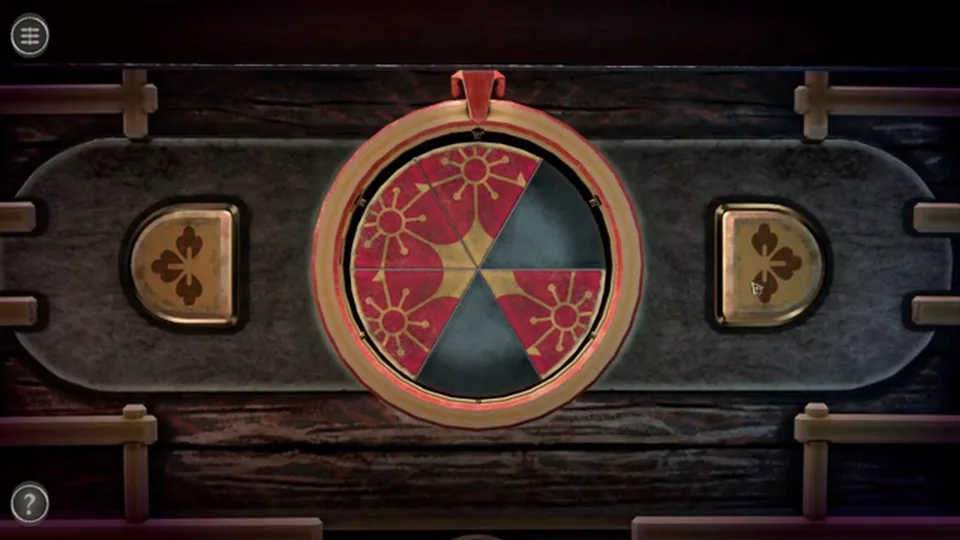 CH 5 · BOX 4
Read the cocoon numbers, pass through the tree portal, and open the slab for the energy source.
Open walkthrough → CH 5 · HALL PUZZLE
Use the cryptex, ancient key, DNA container and energy source to open the last chamber and awaken Aurora.
Open walkthrough →Five chapters, stable units
The game has 20 original puzzle boxes: four inside each of Initium, Nexus, Cognito, Fractus and Aurora. Level Clue adds each chapter's larger mansion assembly as a fifth guide unit, because those spatial puzzles have their own search intent and item sequence.
Every unit was mapped to its named chapter section in two complete written walkthroughs, then checked against the matching segment in Gameskeys' full-game video. Each card uses a separately captured frame from inside that exact segment; no AI-generated game art or repeated generic cover is used.