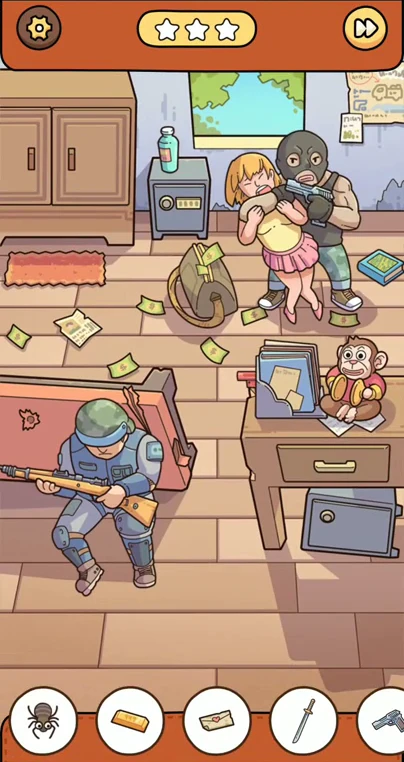
Find Out Discovery scene 8: Call the supply drop with the flare gun, move its crate to expose the gold, and wind the monkey to free the criminal's gun.
Last verified: · Verification method · Report a correction
Hostage Rescue step-by-step solution
Match this exact picture and requested target list first. Match the scene name and screenshot. Numeric order differs between source editions. This page is Discovery scene 8; its URL number is a Level Clue library ID, not current app numbering. 8 targets were checked for this reference variant. The overall game library is still in progress.
Step-by-step walkthrough
Match the pictured scene
Wait for the spider above the picture. Open the upper-left cabinet for the sword, the safe beneath the desk for the magazine, and the criminal's floor bag for the grenade.
If the solution does not advance
- Compare the picture, target icons and target total. The same background can have different requested objects in another version.
- Scroll the target strip to check its full length. A next-stage button can unlock before every requested icon is collected.
- For interactive scenes, finish the preceding drag, hold or combination before looking for the resulting target.
Video walkthrough
The clip begins at the verified scene checkpoint. Compare the opening scene with the screenshot before copying the inputs.
This tab contains the matching gameplay segment only. Return to Written walkthrough for the ordered route, troubleshooting, and evidence links.
Quick feedback
Did this walkthrough match your game?
Your anonymous Yes or No helps us identify routes that need another check.