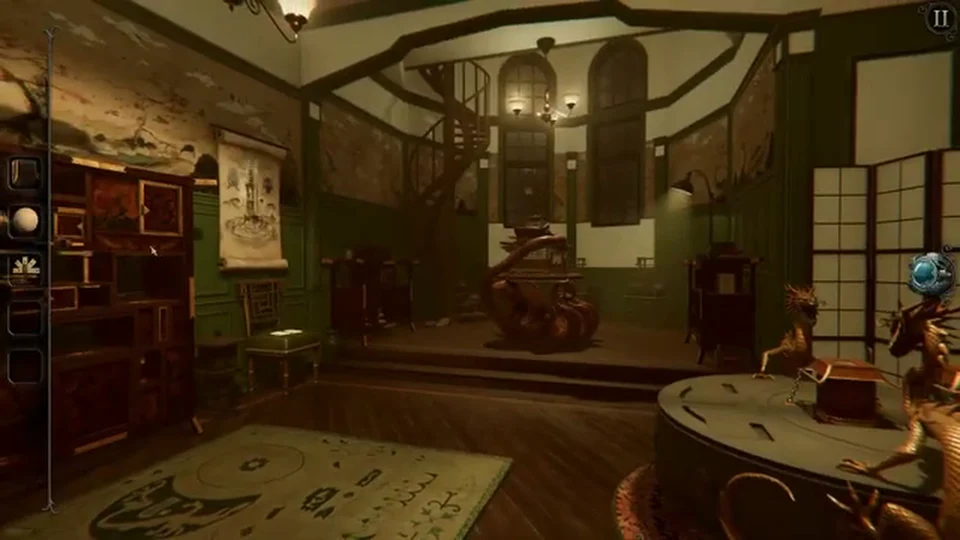
Confirm Japanese Gallery and the unique gameplay image before copying a dial, symbol or item route. Mobile and PC controls differ, but the core puzzle state is the same.
Last verified: · Verification method · Report a correction
The Room 4: Old Sins Japanese Gallery Walkthrough solution
Animate the mechanical cicada, raise both dragons and rebuild the miniature pagoda to open the artifact.
Quick route: Raise both dragons, use the released roof on the small sculpture, cross the eyepiece bridge, then pair all white pieces before all red pieces.
Step-by-step walkthrough
Open the room route
Open the artifact into a mechanical cicada and unfold both wings. Place it on the dragon table and use the eyepiece to reveal the hidden controls around the base.
Prepare the first mechanism
Clamp the left dragon mechanism and lift its chain. Rotate the base through the marked positions until the first dragon head reaches the correct height and faces inward.
Carry the item chain forward
Repeat the clamp-and-chain process on the right dragon. When both sides align, take the miniature pagoda roof released between their raised heads.
Solve the central control
Attach the roof to the unfinished sculpture and return the model to the dragon table. Adjust both dragon heads and press the two finger controls together.
Return to the linked room
Align the glowing blue doorway under the eyepiece and extend the miniature bridge. Enter the bridge scene and recover both the pagoda roof and its pointed spire.
Complete the final lock
Install the roof and spire on the large pagoda. Pair the white pieces first, then repeat the matching operation with every red piece exposed beneath them.
Claim the transformed artifact
Open the finished pagoda and collect the transformed artifact. Check that the paired pieces have locked flat before trying the central release.
Compiled and edited by Level Clue from the sources linked above. Gameplay images and videos belong to their credited creators. How we check guides.
The clip opens at 73:00 and covers the linked mechanisms used in this room phase.
Quick feedback
Did this route match your room?
Your anonymous Yes or No helps us find walkthroughs that need another check.