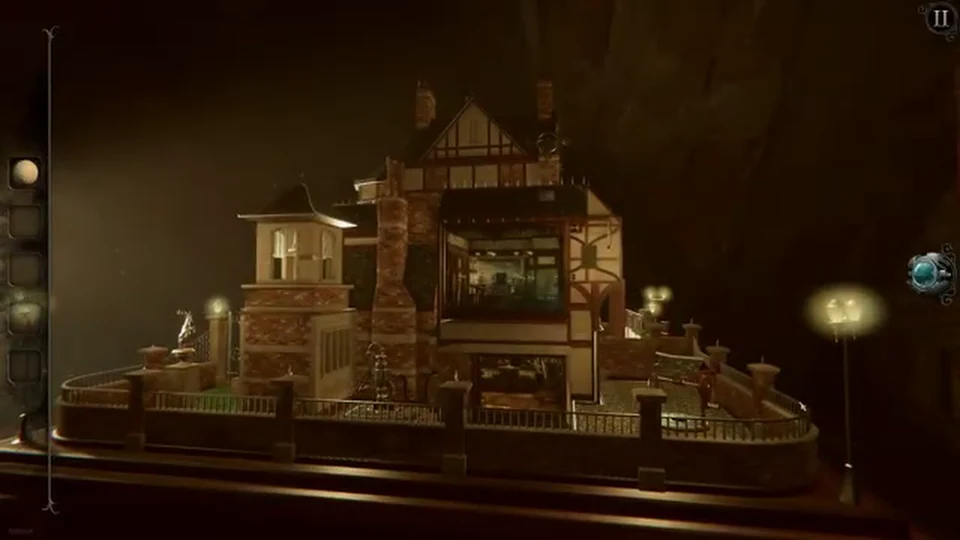
Confirm Garden and the unique gameplay image before copying a dial, symbol or item route. Mobile and PC controls differ, but the core puzzle state is the same.
Last verified: · Verification method · Report a correction
The Room 4: Old Sins Garden Walkthrough solution
Carry the parchment fan and colored eggs between rooms, then solve all three fountain mechanisms.
Quick route: Move the eggs green → blue → red between the Art Studio, Japanese Gallery and Garden, then match the final blue/purple pool pattern.
Step-by-step walkthrough
Open the room route
Open the artifact into a parchment fan. Take it to the Japanese Gallery, match its symbols on the pagoda and use the fan and bead controls to open the next compartment.
Prepare the first mechanism
Convert the released gear into the blunt knife. Open the clam, combine its pearl with the mechanism and take the circular casting that rises from the display.
Carry the item chain forward
Attach the casting to the unfinished sculpture, configure its moving sections and place it on the Maritime shelves. Follow the gold-triangle paths across the boxes to strike all three cube gongs.
Solve the central control
Collect the second stone octopus eye, finish the model spire and install it on the dollhouse. The completed spire opens the route into the Art Studio.
Return to the linked room
Carry the green egg from the Art Studio to the Japanese shelf, then move the resulting blue egg to the Garden bench. Return the red egg to the Art Studio for the small stone carving.
Complete the final lock
Place the carving on the Garden statue and set its mannequin and valve positions. Each correct pose feeds another section of the three-part fountain mechanism.
Claim the transformed artifact
Solve the three fountain gear-and-symbol panels in order. On the final pool, align the blue and purple patterns exactly, then collect the artifact from the opened center.
Compiled and edited by Level Clue from the sources linked above. Gameplay images and videos belong to their credited creators. How we check guides.
The clip opens at 64:00 and covers the linked mechanisms used in this room phase.
Quick feedback
Did this route match your room?
Your anonymous Yes or No helps us find walkthroughs that need another check.