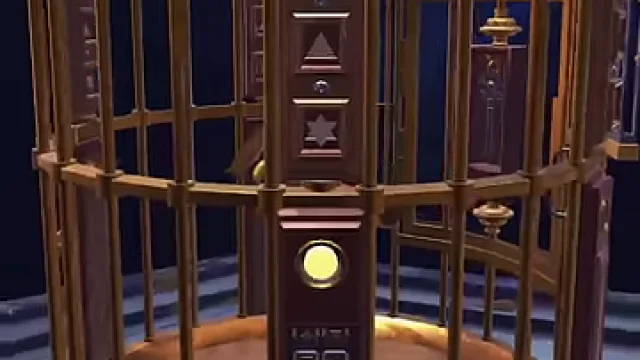
The Birdcage Level 8: Complete the star, diamond, triangle and square stations while collecting all items Use the lens to read their letters as O, H, D and A Enter the order square-diamond-triangle-star as AHDO Raise the inner lock piece, use the key, and open the cage
Last verified: · Verification method · Report a correction
Goldfinch Cage 3 step-by-step solution
The key sequence is the pipe route and mechanical claw; complete each unlocked interaction before moving to the next face or room.
Step-by-step walkthrough
Inspect the whole puzzle
Complete the star, diamond, triangle and square stations while collecting all items
Solve the primary clue
Use the lens to read their letters as O, H, D and A
Use the unlocked part
Enter the order square-diamond-triangle-star as AHDO
Confirm completion
Raise the inner lock piece, use the key, and open the cage
Compiled and edited by Level Clue from the sources linked above. Gameplay images and videos belong to their credited creators. How we check guides.
Video walkthrough
This tab contains the matching gameplay segment only. Return to Written walkthrough for the ordered route, troubleshooting, and evidence links.
Quick feedback
Did this walkthrough match your game?
Your anonymous Yes or No helps us identify routes that need another check.