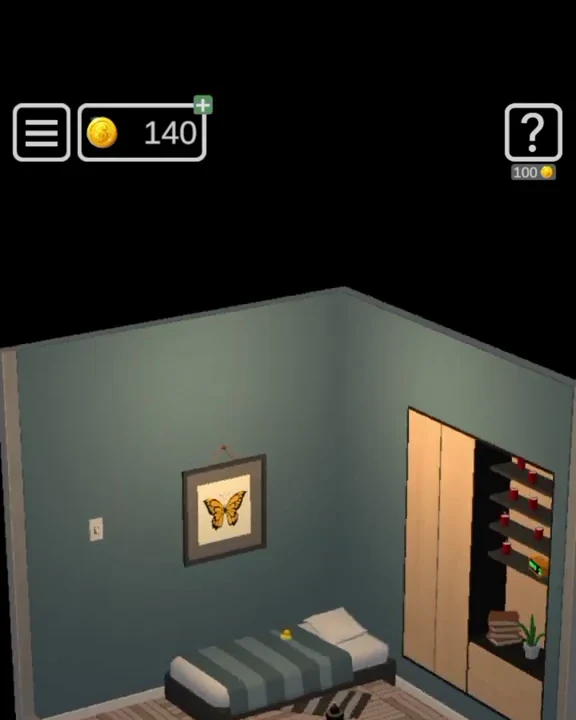
 LEVEL 1
50 Tiny Room Escape Level 1
The first room hides a four-digit door code inside a book and a bottle, but the bottle appears only after the candle puzzle is solved.
Open walkthrough →Independent player guide · All 50 verified
Rotate detailed 3D dioramas, inspect every object, solve layered locks, and open the next door. This complete 50 Tiny Room Escape walkthrough covers every room across all five acts with checked codes, item sequences, screenshots, and video checkpoints.
Enter any level number from 1 to 50 to open its room-matched solution.
Five acts · 50 verified rooms
Choose any 50 Tiny Room Escape Level guide below. Each room includes the exact item chain, code or pattern, a real frame from the matching video segment, and a concise answer before the full walkthrough.
Showing all 50 verified levels
LEVEL 1The first room hides a four-digit door code inside a book and a bottle, but the bottle appears only after the candle puzzle is solved.
Open walkthrough →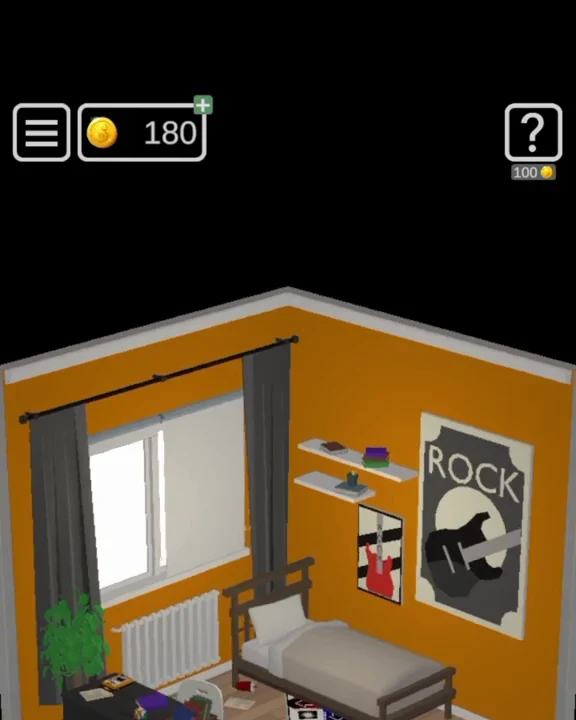 LEVEL 2
Repair the cassette player to learn the dance-pad sequence, then solve the cube-pattern drawer to build a complete door key.
Open walkthrough →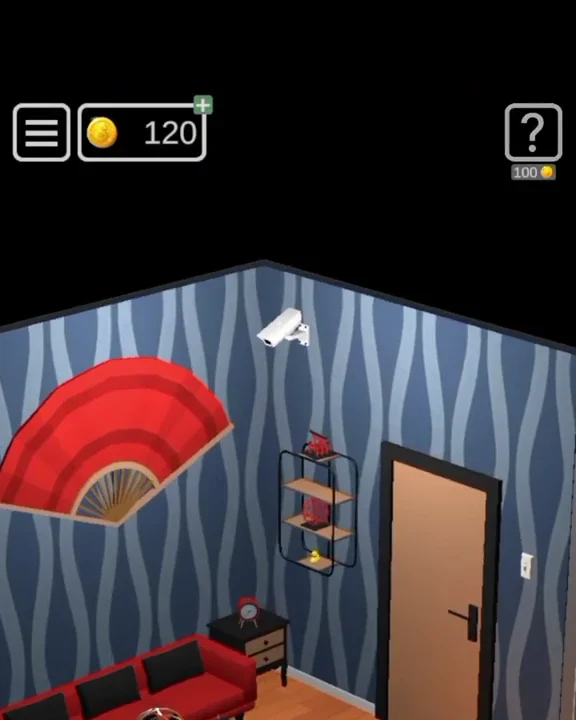 LEVEL 3
A hidden smartphone controls the robot vacuum, while figurines, blinds, the TV remote, and a phone call supply the chain that opens the door.
Open walkthrough →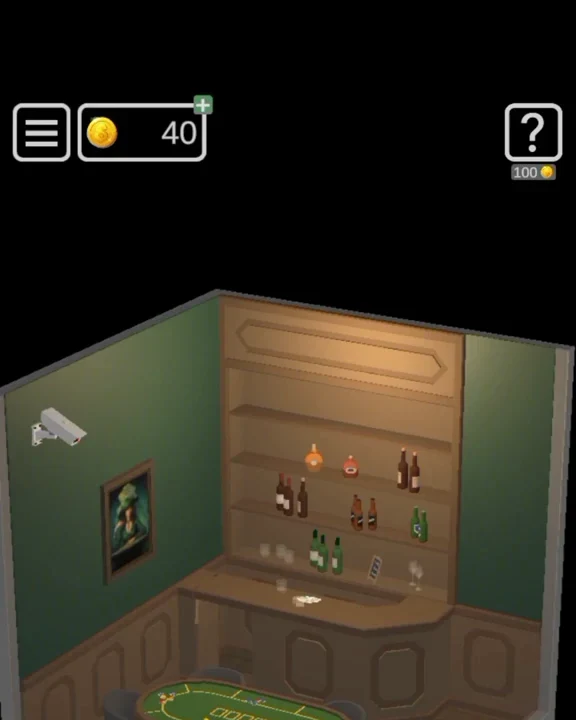 LEVEL 4
Five star pieces start a chain through the card table, clock, owl, books, playing cards, safe, and final door key.
Open walkthrough →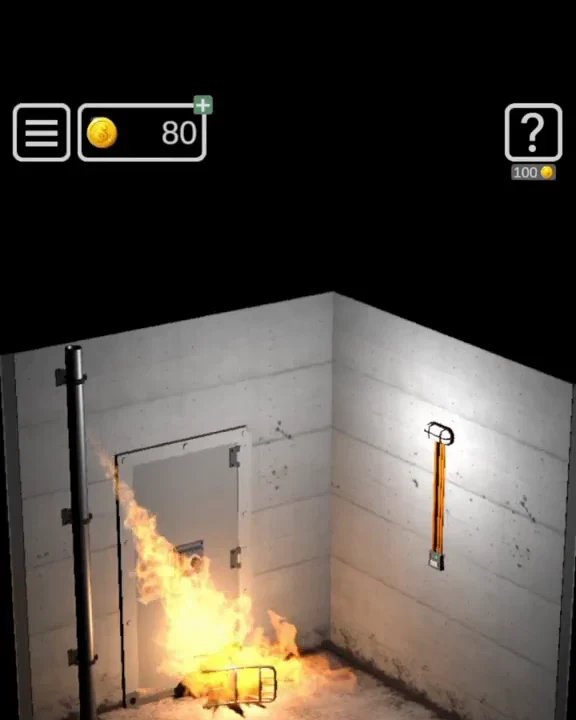 LEVEL 5
The burning utility room is escaped by reading shape digits, opening the gate, shutting off the gas, cooling the chair, and retrieving a pipe from the drain.
Open walkthrough →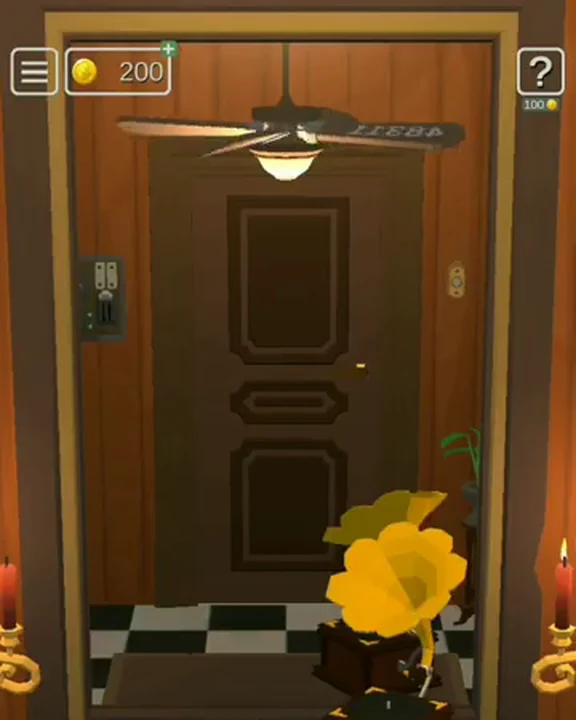 LEVEL 6
Three cabinet locks feed the same gramophone escape: a chessboard floor pattern, candle counts, and a mirror code revealed only after the fan stops.
Open walkthrough →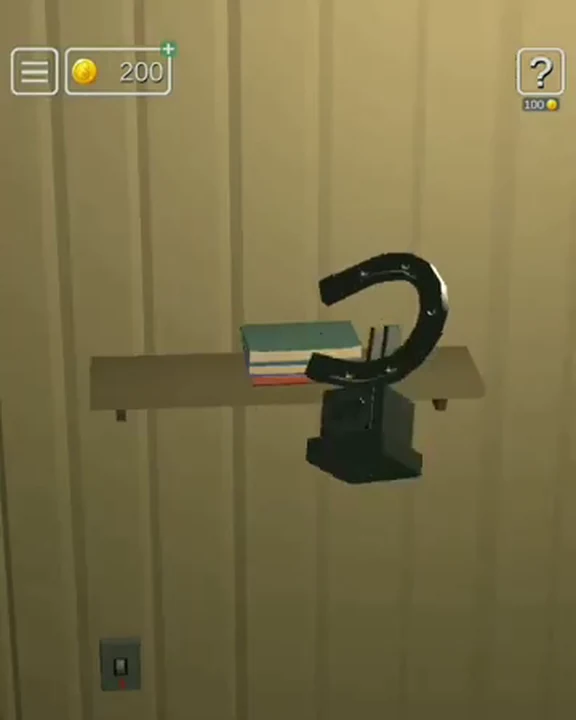 LEVEL 7
Five horseshoes are hidden behind direct searches and three linked puzzles involving a fish, labeled cans, moving fishing rods, and a burning stove.
Open walkthrough →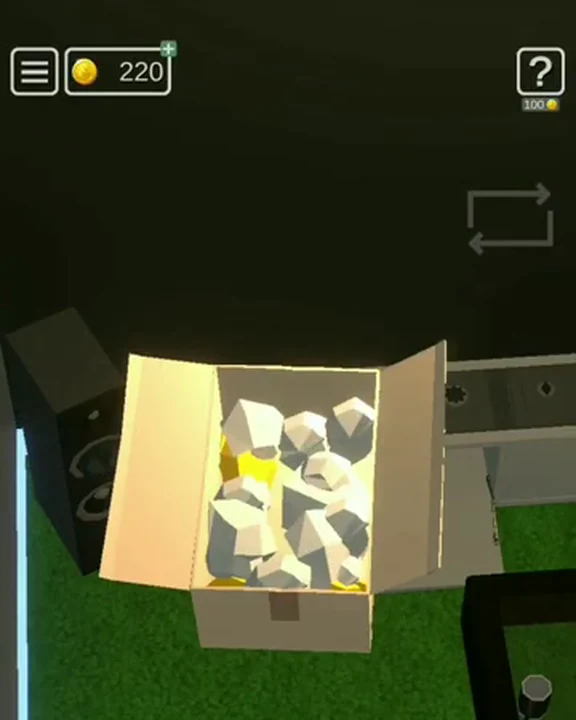 LEVEL 8
A cinema with no visible exit uses a receipt, projector, six statues, a laptop code, and a maze to turn the screen wall into the door.
Open walkthrough → LEVEL 9
A Japanese-number padlock, blocked sink, rechargeable remote, television count, taped parcel, and ventilation panel form one long route to the exit keycard.
Open walkthrough →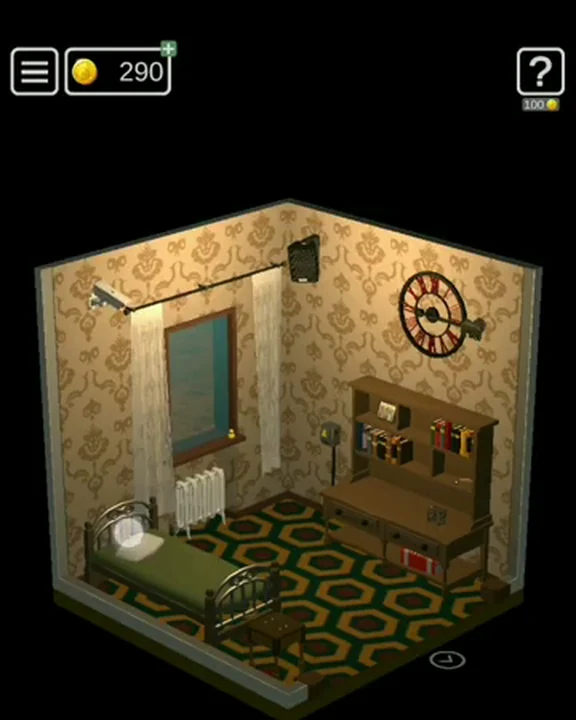 LEVEL 10
The Act 1 finale hides five keys behind a photo frame, jack-in-the-box, radiator pattern, dark-room code, and a four-animal clock puzzle.
Open walkthrough → LEVEL 11
A reflector projects number paths that translate two filing-cabinet labels into keypad codes and the tools needed for the exit.
Open walkthrough →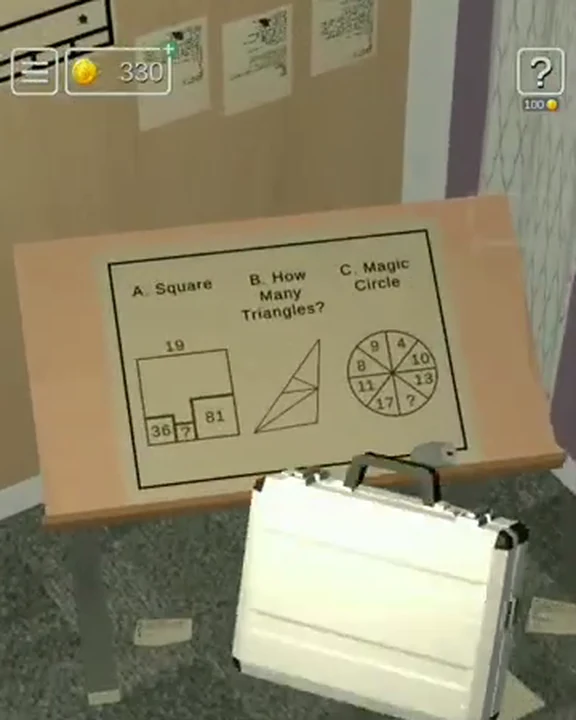 LEVEL 12
Three poseable statues hide three keys, while geometry answers and a USB file drive a 3D printer that makes the exit handle.
Open walkthrough →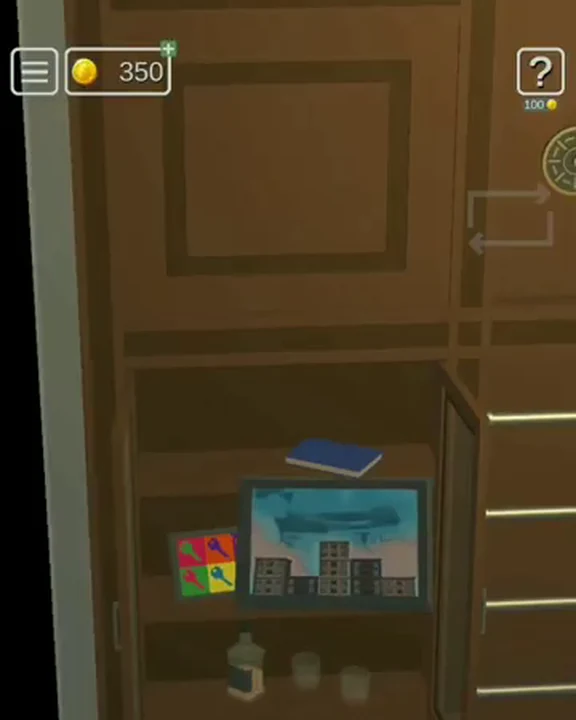 LEVEL 13
World clocks, a weekday mosaic, color-sorted books, and three valves combine to reveal a concealed exit.
Open walkthrough →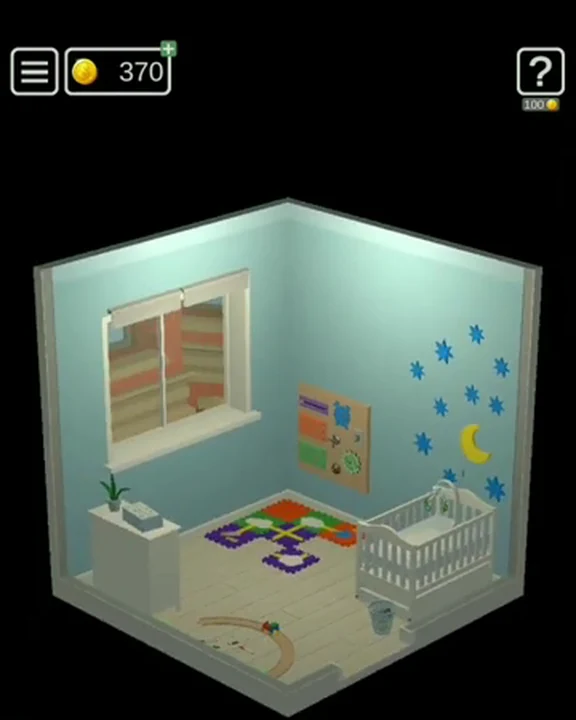 LEVEL 14
A nursery route uses a toy train, star and moon decorations, a completed play mat, cloud pulls, and a repaired track.
Open walkthrough →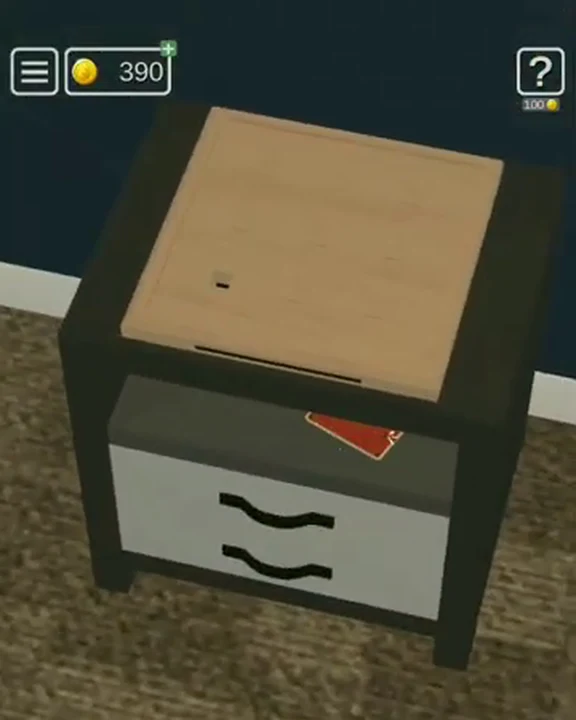 LEVEL 15
Controller symbols, a phone-style password, two games, and a final knight-movement pattern operate the door keypad.
Open walkthrough →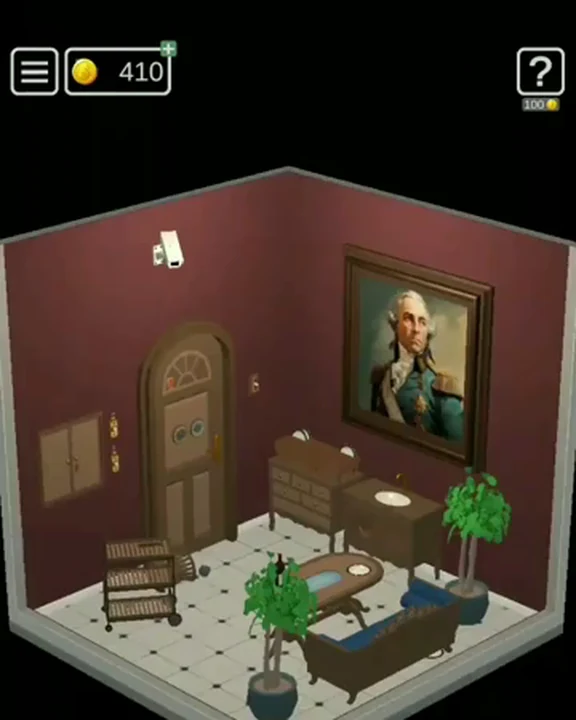 LEVEL 16
Eight plates, five wine bottles, UV sword markings, and a hot-water release provide the final door mechanism.
Open walkthrough →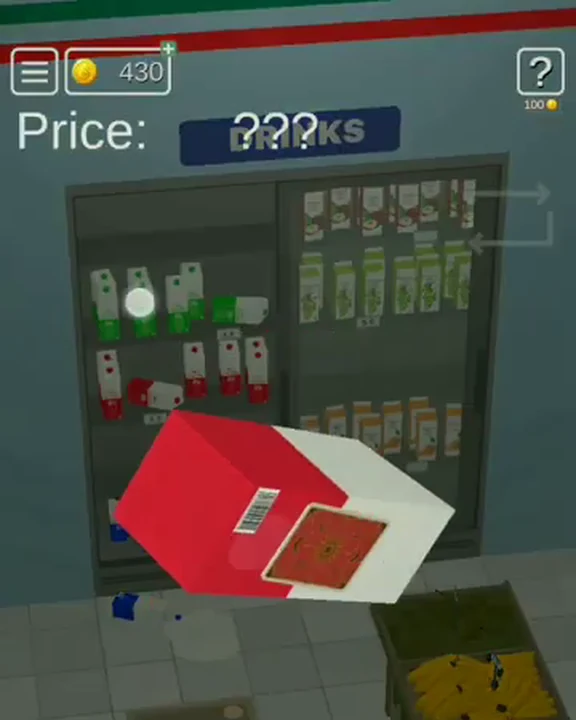 LEVEL 17
A supermarket total, staff-room floor pattern, tip-jar coin, and vending-machine rule hide the exit key inside a drink carton.
Open walkthrough →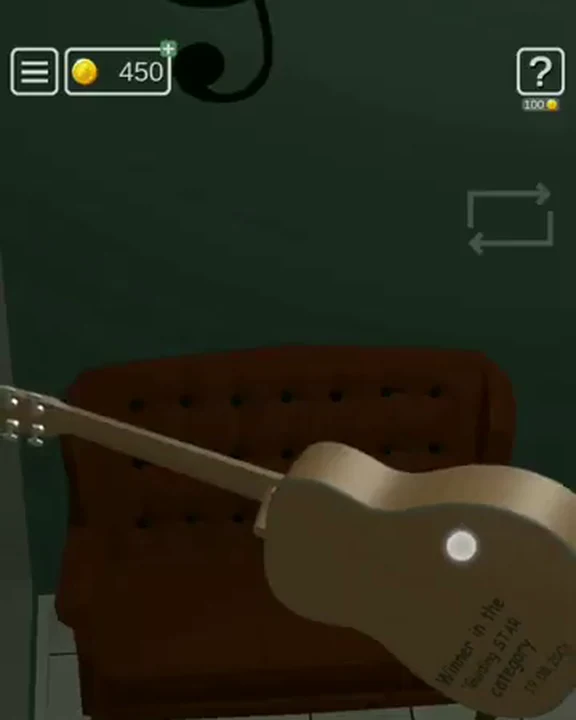 LEVEL 18
Two hidden piano strings, a bookshelf chronology, and fairy-light notes restore the instrument and release the door.
Open walkthrough →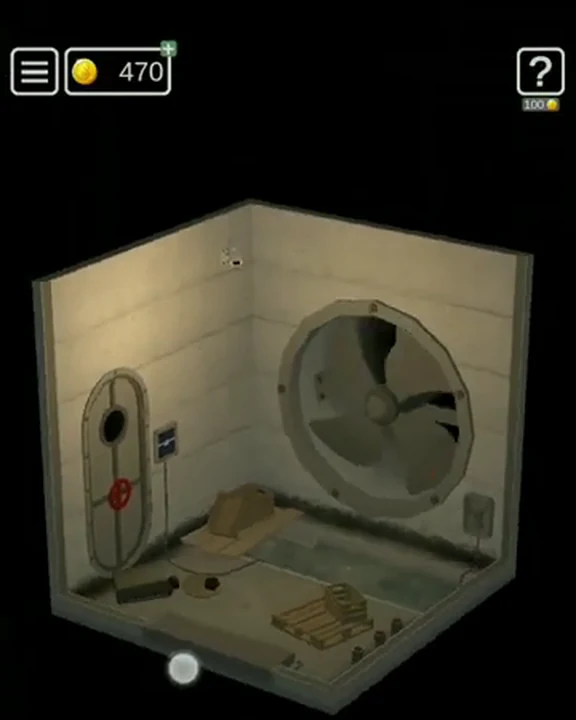 LEVEL 19
An industrial machine must be powered down, calibrated, drained, and cooled before its submerged code can be recovered safely.
Open walkthrough →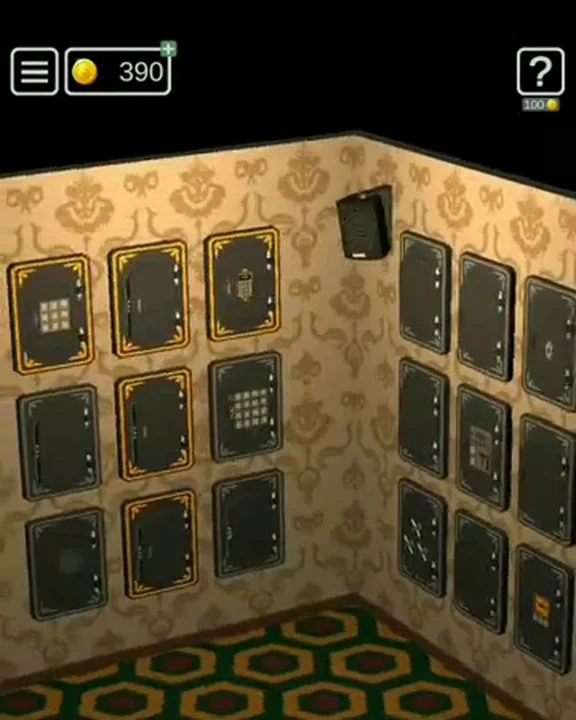 LEVEL 20
Camilla's finale is a chain of safes: T-shape, book version, numeric and alphanumeric codes, gears, symbols, screen, animals, and a final grid.
Open walkthrough →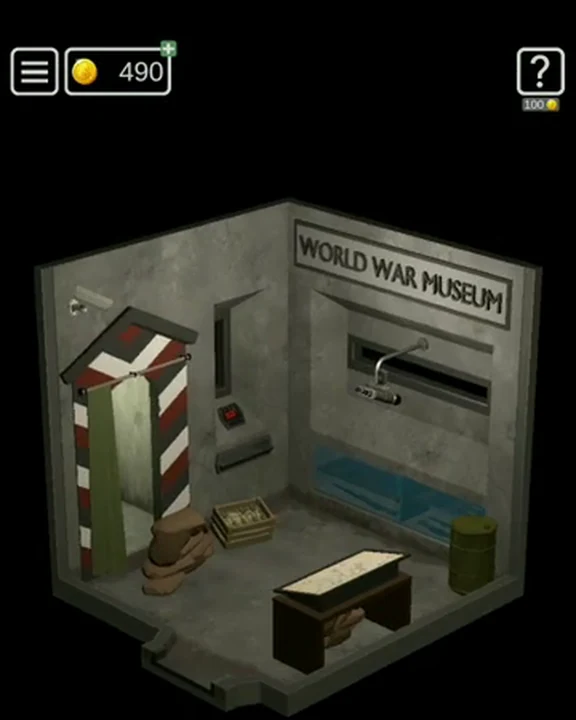 LEVEL 21
Open the barrel for the rocket launcher, tune the radio with 90-20-60-20-20, collect seven rockets, complete the world map, fire at every red target, then use 1939-1945 on the exit keypad.
Open walkthrough →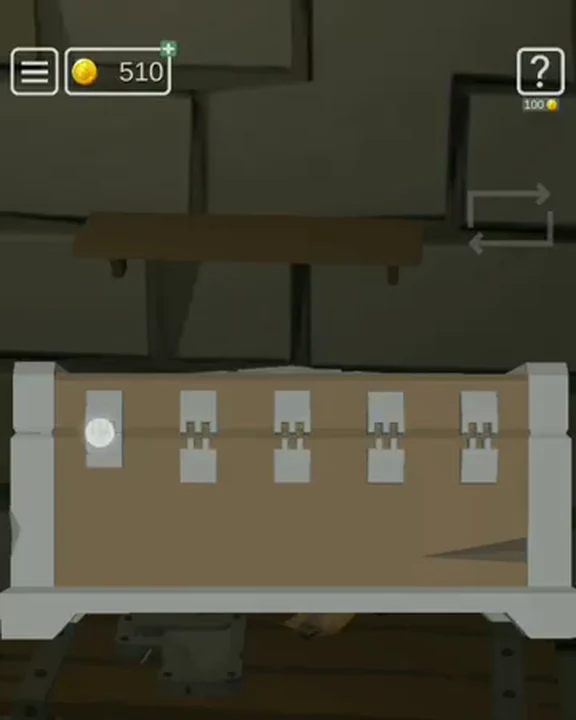 LEVEL 22
Set the box clasps to 3 and 4, read the pulley symbols as blue R, green X, yellow fish, red B, cast and cool an axe head, attach the handle, sharpen the axe, and break the door plank.
Open walkthrough →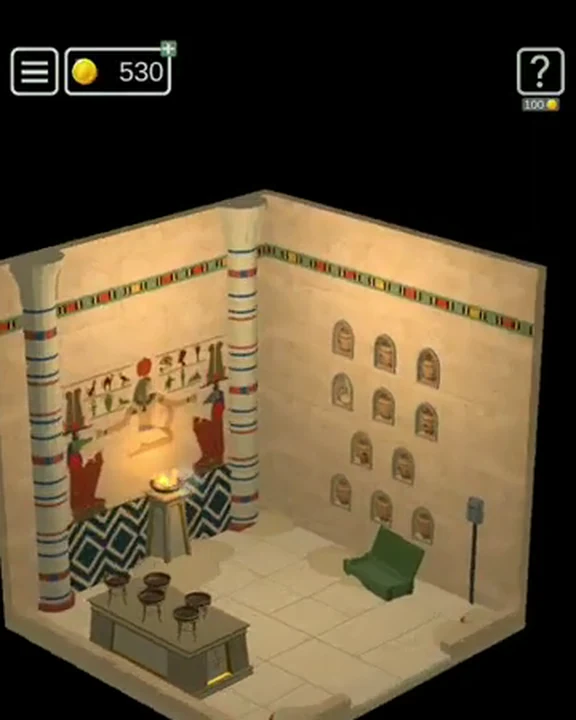 LEVEL 23
Light the three correct bowls, enter 108 for the eye and 126 for the ankh, place Cat-Eye-Ankh-Wolf in the four gizmo corners, finish the center pattern, and insert the scarab.
Open walkthrough →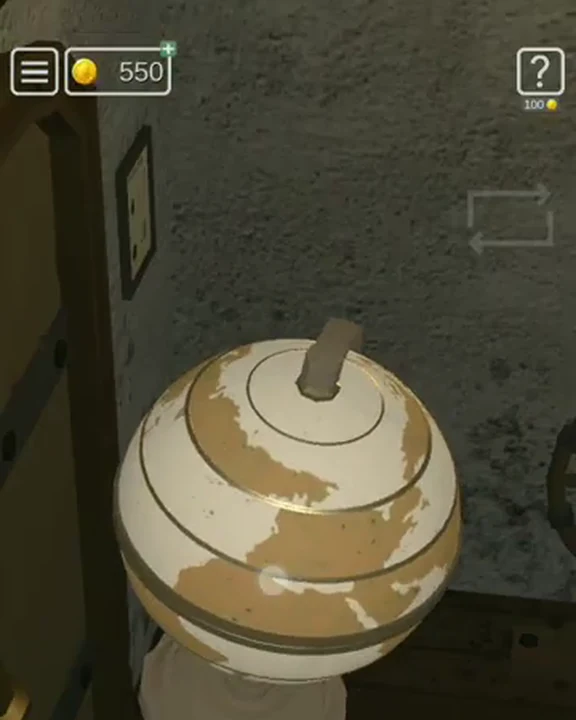 LEVEL 24
Follow the map north, southeast, east, northwest, north; set the wardrobe to red bandana, bearded skull, cutlass, telescope; then load the cannon in full order and blast the exit.
Open walkthrough →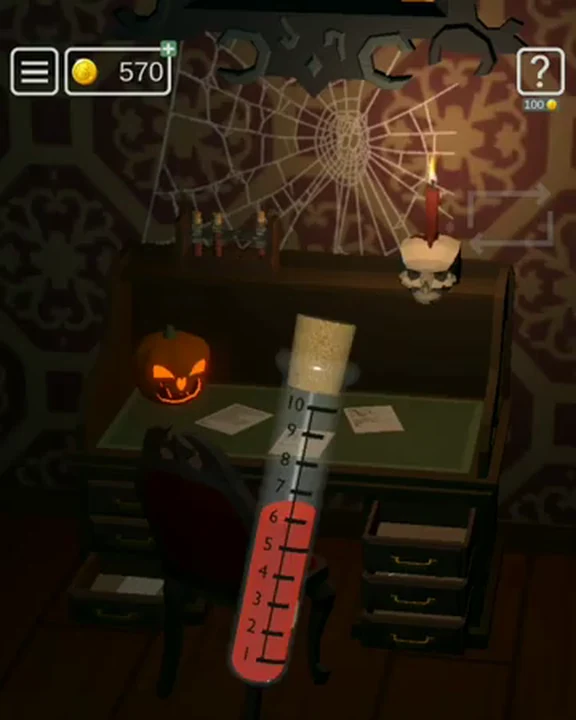 LEVEL 25
Enter 86533 at the gate, press pumpkins top-left, bottom, middle, top-left, top-right, copy the cushion and headstone sequences, and use the final released key on the haunted exit.
Open walkthrough →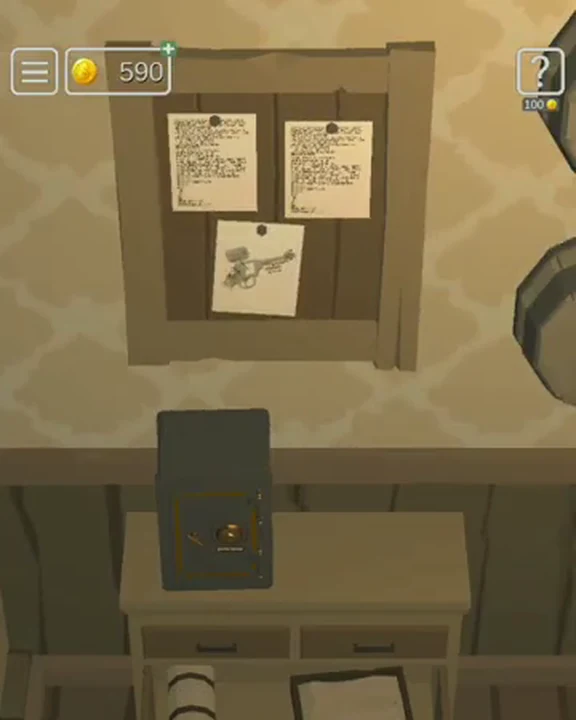 LEVEL 26
Play piano song four to reveal 246264, set the safe dial to 10-50-20-40, take the TNT, place it at the blocked exit, and light the fuse.
Open walkthrough →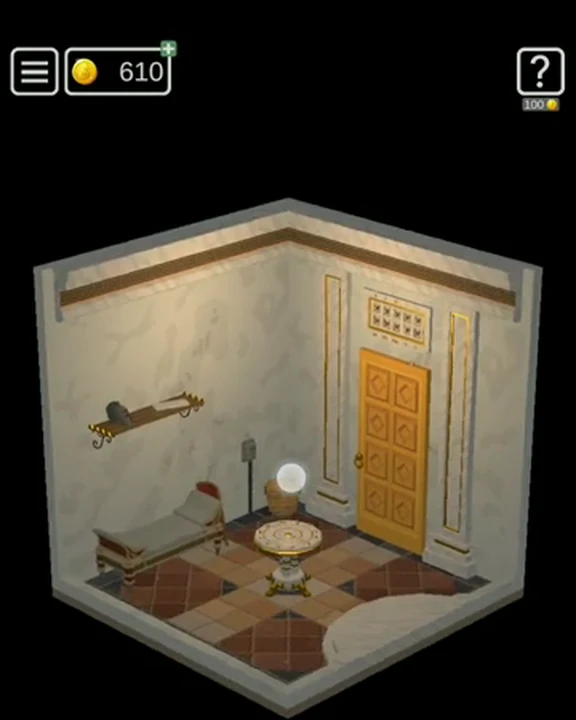 LEVEL 27
Stop the pool, complete columns 2, 5, 6, and 7, enter Roman sequence I-X-X-V-I-V-I, then build the final door symbols from the scroll, helm, shield, and Beginning tree clue.
Open walkthrough →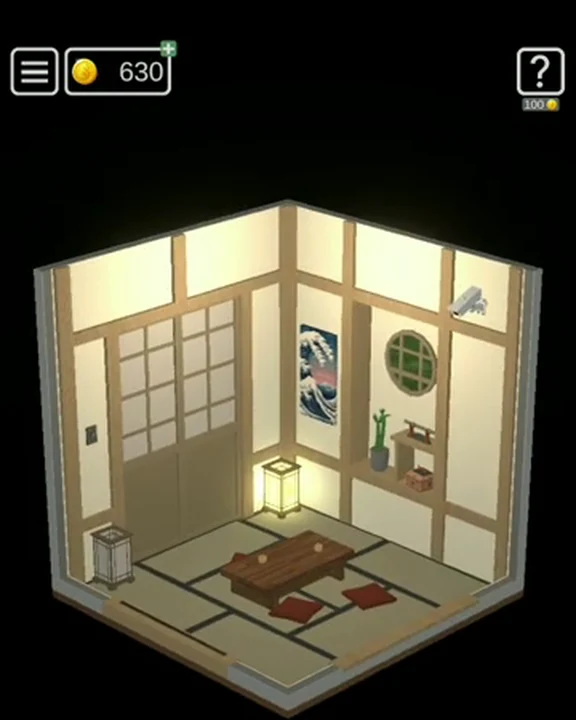 LEVEL 28
Match Fire, Water, Wind, and Earth to the lamp, painting, banner, and bonsai; light windows 1, 2, 4, 6, 8; enter 6253 on the sword lock; then reproduce the paper's 4x4 grid.
Open walkthrough →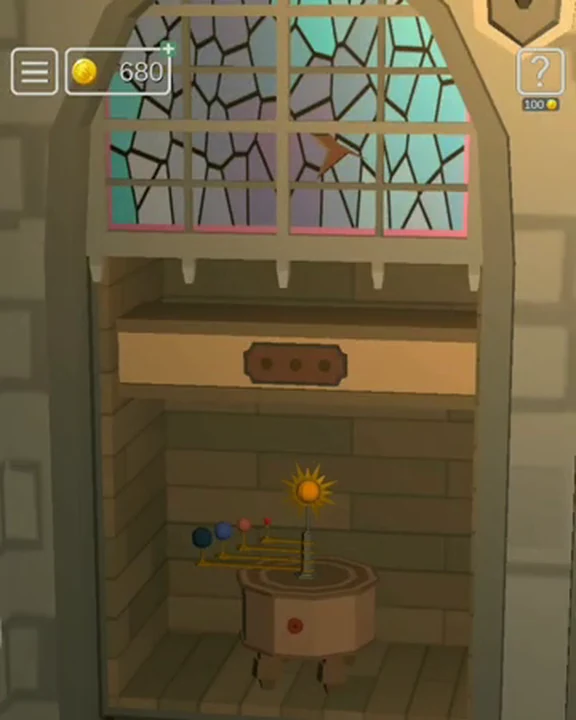 LEVEL 29
Sort toys by round, triangle, and square bases, use the throne pattern and armor taps, order weapons 2-5-4-3-1, enter planet code 6431, set gems red-green-blue, and fit the three window keys.
Open walkthrough →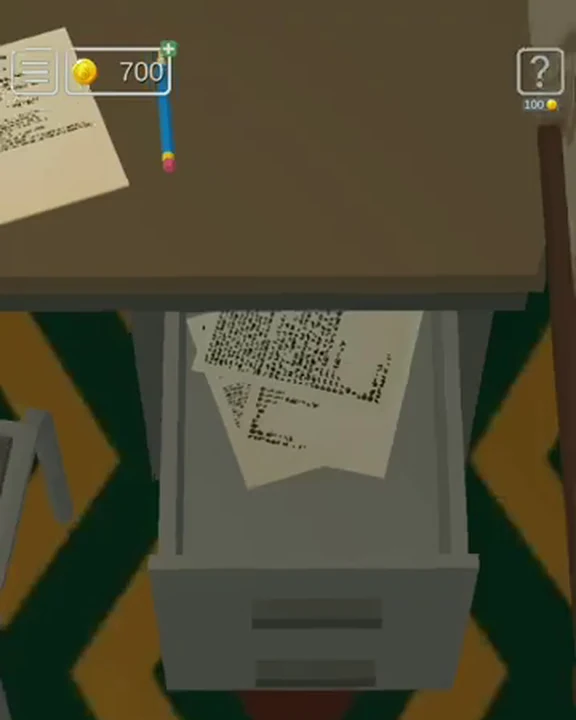 LEVEL 30
Open the bomb, cut wire 7, enter fan sequence 1-3-2-3-1-2-2-2-3, use keypad 92715, set the four red switches to blueprint two, then finish the seven-switch sequence before time expires.
Open walkthrough →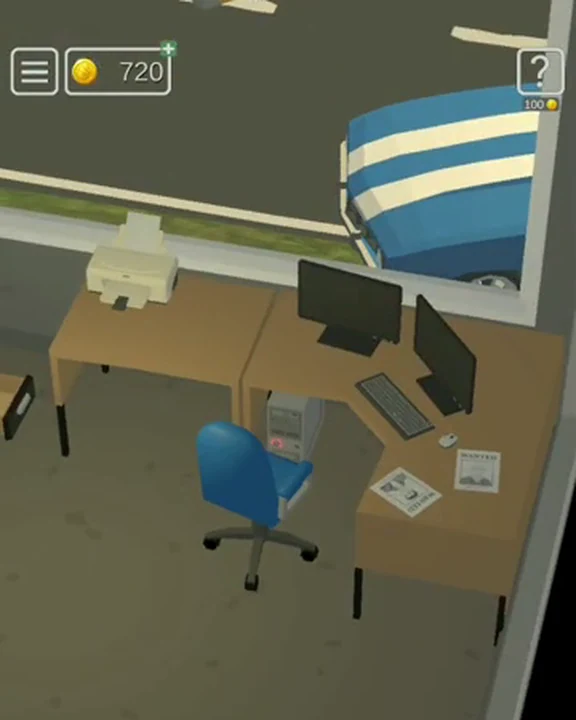 LEVEL 31
Take the shirt-pocket key, press the award case back-under-side-back, repair the wires, enter computer password 22541, use STONE2 and the map, open the safe with 29-2, then scan the access card.
Open walkthrough →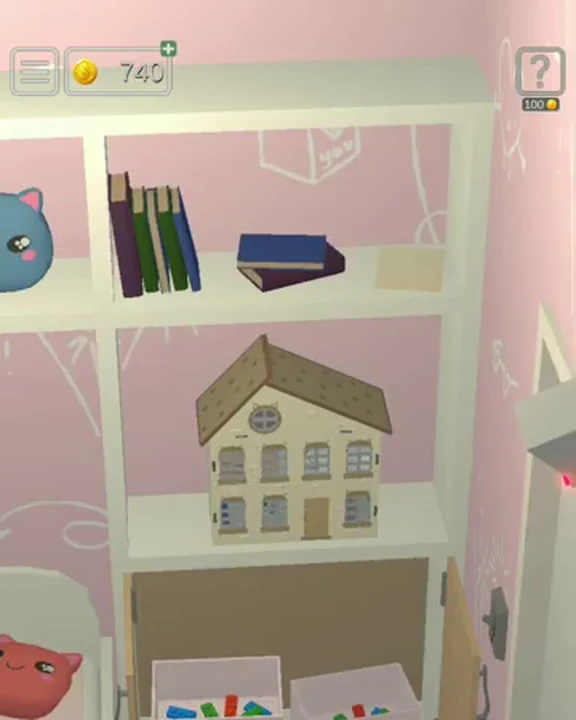 LEVEL 32
Use fruit values apple 1, orange 2, watermelon 3; set columns 2-7-5-1; copy the bunny-TV and desk-symbol patterns; use the cat-eye window clue; place bed, bath, and sofa correctly; then pull the attic handle.
Open walkthrough →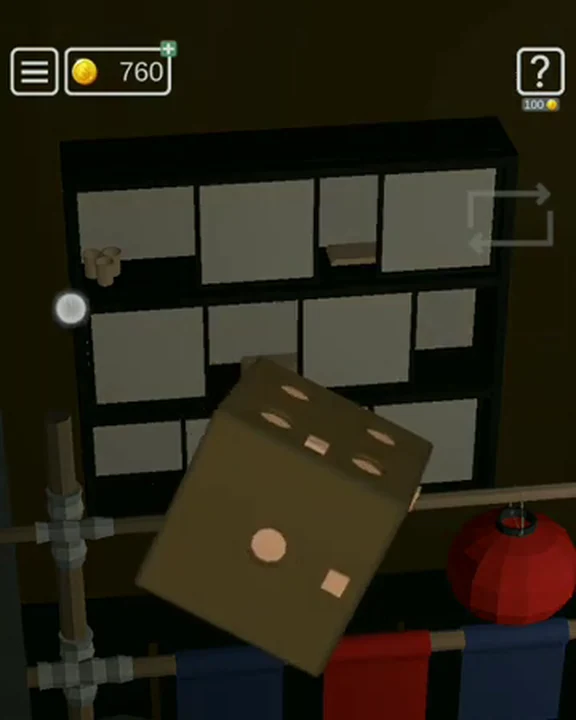 LEVEL 33
Collect five chopsticks, switch off the lights to read 53775, set the maneki-neko figures, press the dice buttons from one through six, enter door code 359, and leave the restaurant.
Open walkthrough →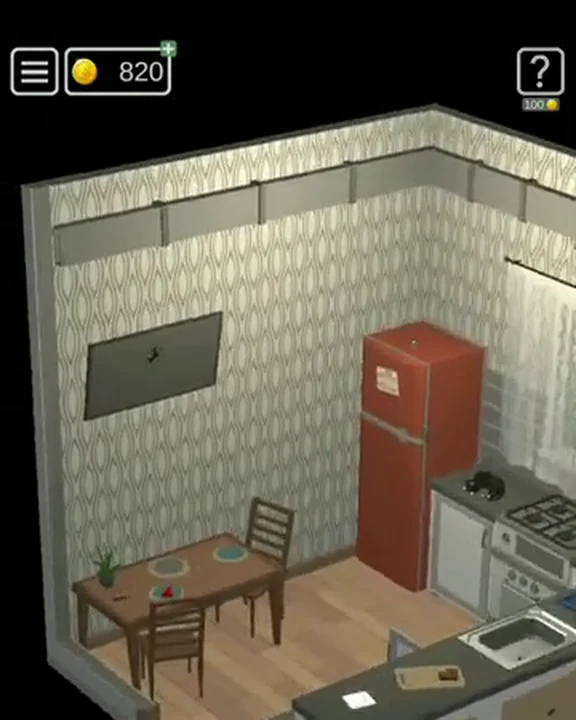 LEVEL 34
Set oven knobs 1-5-7, solve the fruit scale, enter 0315 on the safe and 283236 on the freezer, melt the frozen F in a pot, place it under the plate, and take the key.
Open walkthrough →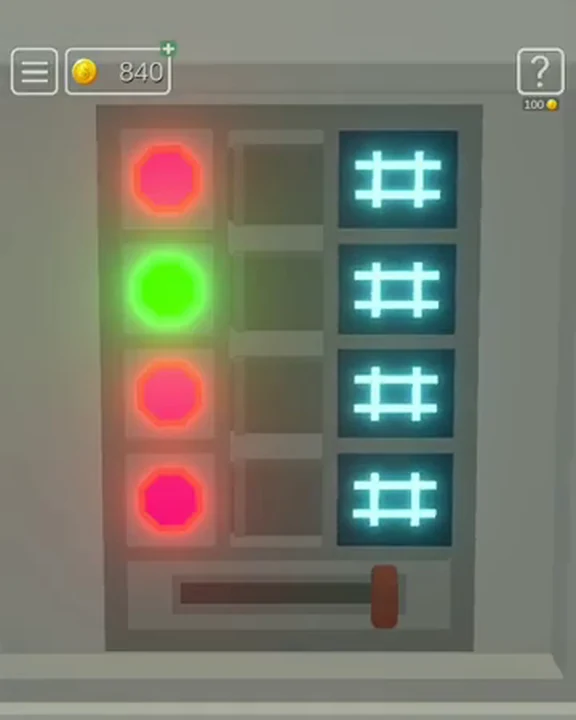 LEVEL 35
Open the briefcase with line shapes 13-21, derive card PIN 2853, visit ticket windows 1-3-2-4, enter 1046 from the TV map, use ATM sequence 1046 then 2853, and scan receipt 981534.
Open walkthrough →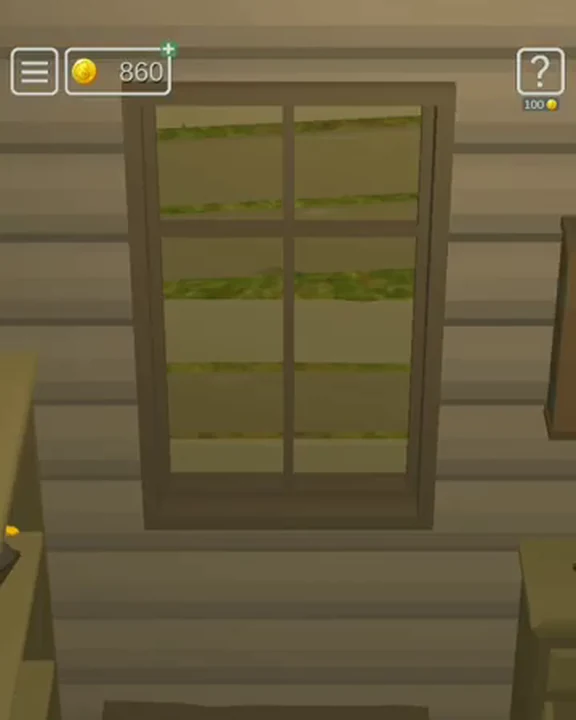 LEVEL 36
Match the safe dial to the door pattern, assemble the gun with magazine and scope, shoot the outdoor cans for 7+1+3=11, score 11 on the dart board, solve the animal-trophy gizmos, assemble the key, and unlock the cabin.
Open walkthrough →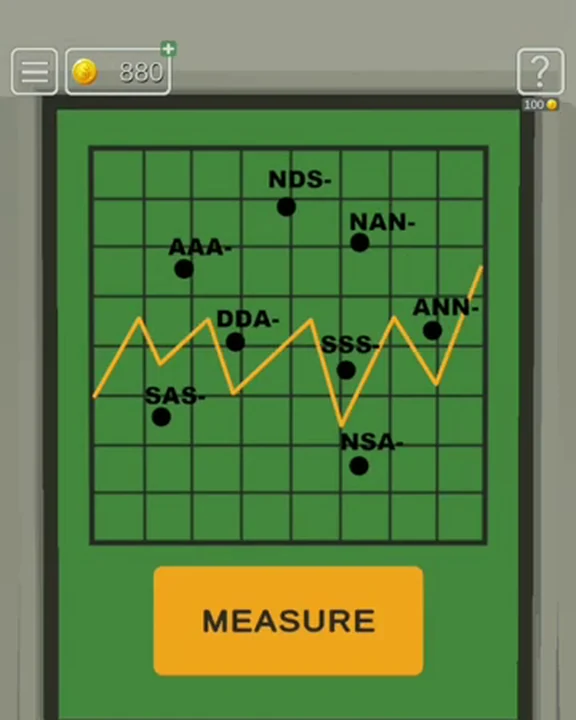 LEVEL 37
Test three blood samples to derive DDA and platelet value 6 for DDA-SNS, enter X-ray code 4724, add printer paper, use Wednesday 8:30-15:00 as DAEFG, print the chemical route, make acid, and dissolve the door wire.
Open walkthrough →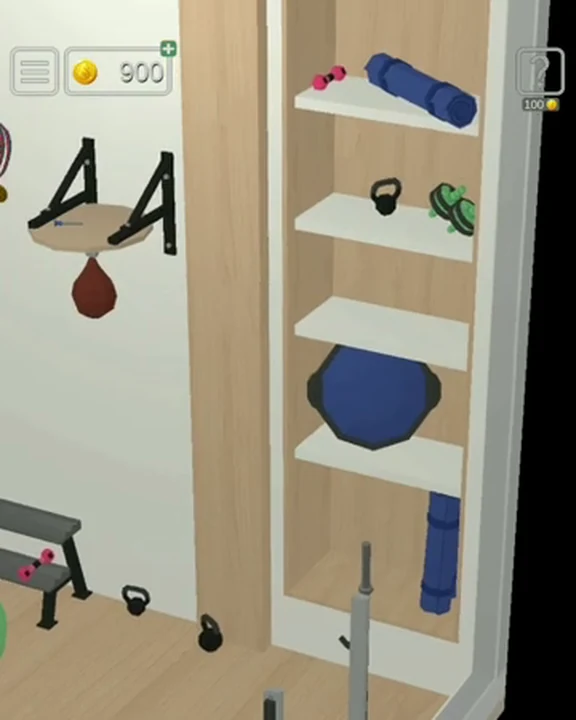 LEVEL 38
Collect four small and two large plates, use locker codes 0417, 843, and 2133, move green balls to glowing circles in darkness, assemble the barbell for the pedal, rebuild the bike, and pedal to open the exit.
Open walkthrough →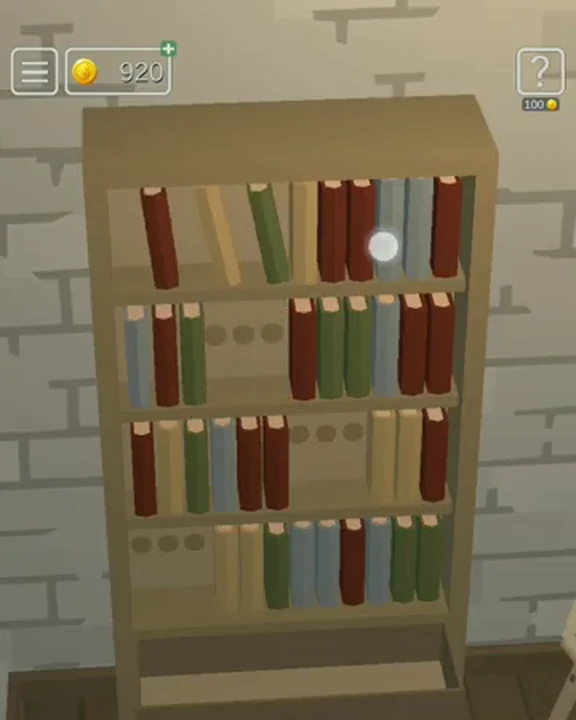 LEVEL 39
Solve the dot panel for the window handle, use the spatula and shape box, collect five brushes, open the vase with 4752, paint hidden letters A-L-N to get safe code 306, then insert the brushes into the sculpted head.
Open walkthrough →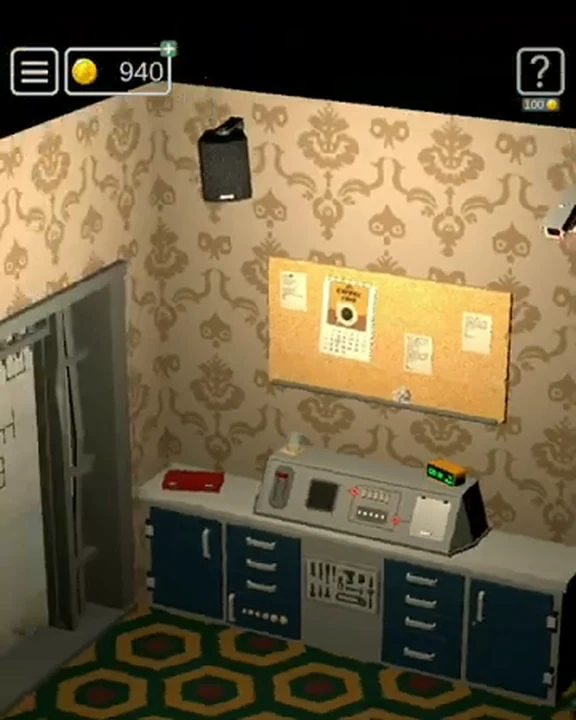 LEVEL 40
Collect seven resistors, solve the tool-board differences, float the key through the dark pipe puzzle, enter drawer digits 3092, place the resistors, mark 2-5-11-16-24-28, use safe 62840, fuel the generator, and follow the cat count 683.
Open walkthrough →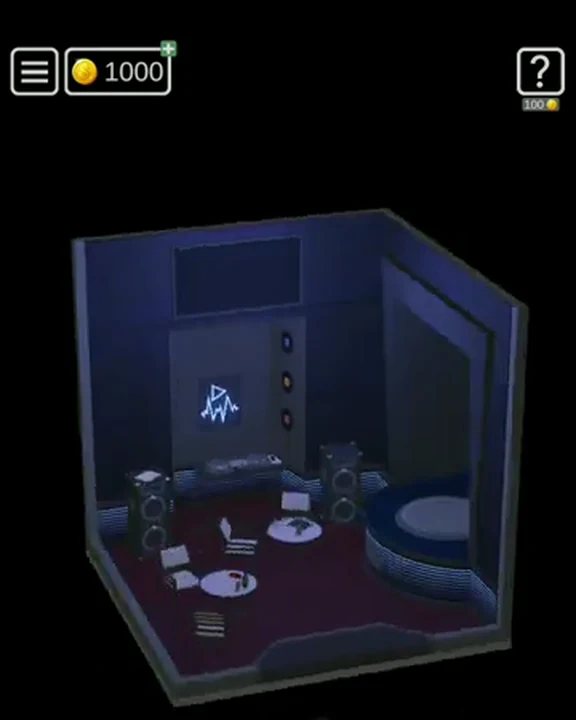 LEVEL 41
Use the crowbar under the stage, read the glow-stick hologram, enter remote code 1429, align all four speakers from the records, solve the equalizer, hang the glasses to match the mirror, and copy the dance sequence on the EXIT tablet.
Open walkthrough → LEVEL 42
Use the chair-button sequence for the chessboard, open the coin unit with the ruler, place the chess pieces, set the clocks to 18:50, 10:15, and 12:10, retrieve both balls, cut the lamp wires, arrange the balls from the lit pictures, and call 67485.
Open walkthrough → LEVEL 43
Use shelf-weight code 05098, enter horse name SHADOW as 523145, feed the horse sugar for a wheel, restore cellar power for the second wheel, then rotate both door wheels to match the windmills.
Open walkthrough → LEVEL 44
Read the zodiac and number papers, solve the rotating constellation rings, use the moon phases and symbol-equation board, recover both cross-shaped pieces, then match the eight-direction floor emblem to open the occult door.
Open walkthrough →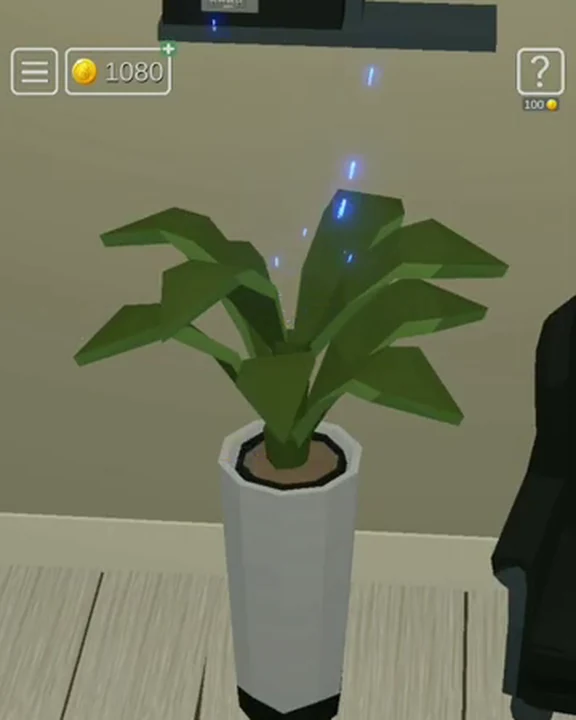 LEVEL 45
Open the first safe with 8293 for the access card, use 9899 for cash and a receipt, soak the check to reveal 86956, log in with case-sensitive Acc1F25, earn 200k, 150k, 250k, and bank funds until the one-million-dollar exit opens.
Open walkthrough →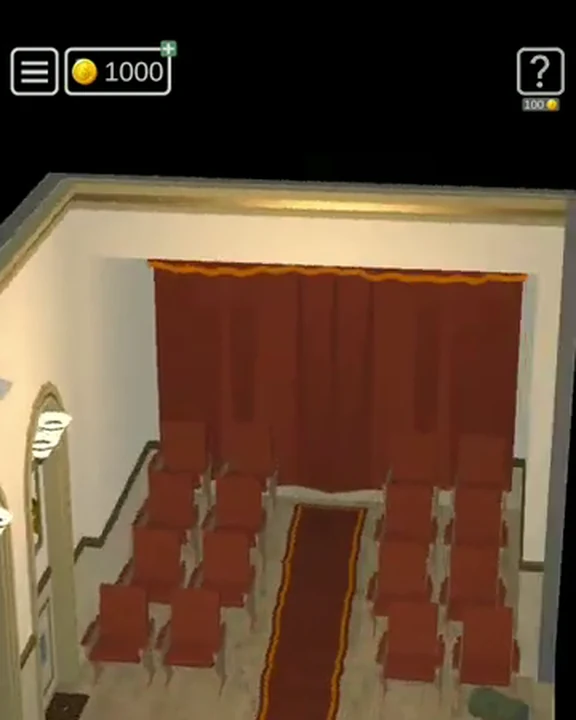 LEVEL 46
Read the grille arrows for toolbox code 1832, flip the chairs to spell THEATER, repair the stage mechanism and weights, use the hammer, then build the tent scene, sailboat scene, and living-room scene to open the theater exit.
Open walkthrough →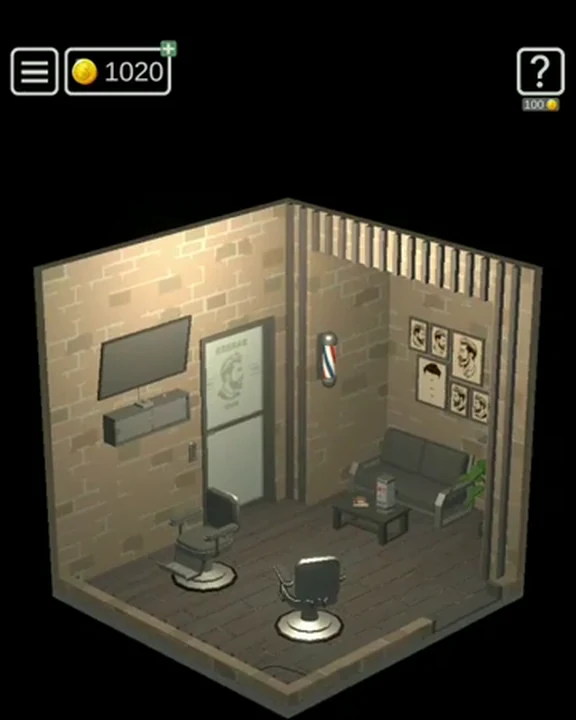 LEVEL 47
Add glasses, mustache, and beard to the portrait, solve the arrow panel, collect three bulbs, copy the picture marks to the scissors switches, unlock the mirror drawer for the remote, log in with SCISSORS and the bar password, then map football digits 97958 through the bin clue.
Open walkthrough →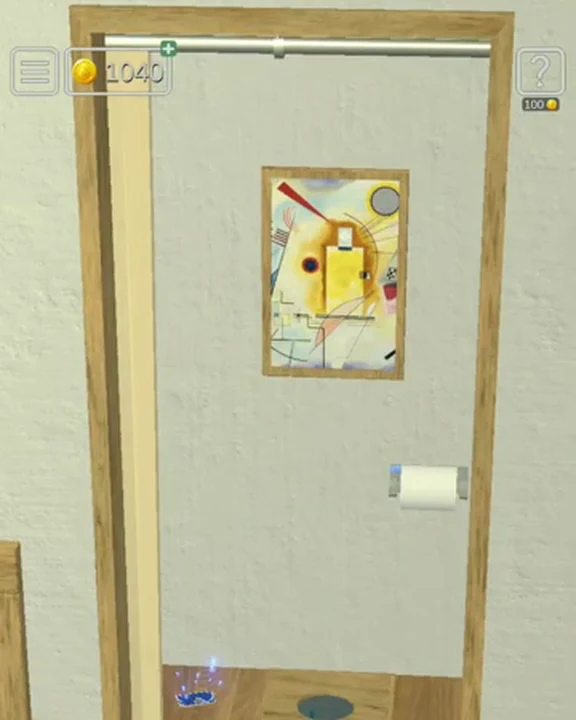 LEVEL 48
Count fish directions for 3638, use the cutters, collect five crystals, activate the medallion for the magnet, retrieve the thermos, press planks 1-3-2-10-0-1, copy the rug-safe pattern, enter 5839, and cut the red wire.
Open walkthrough →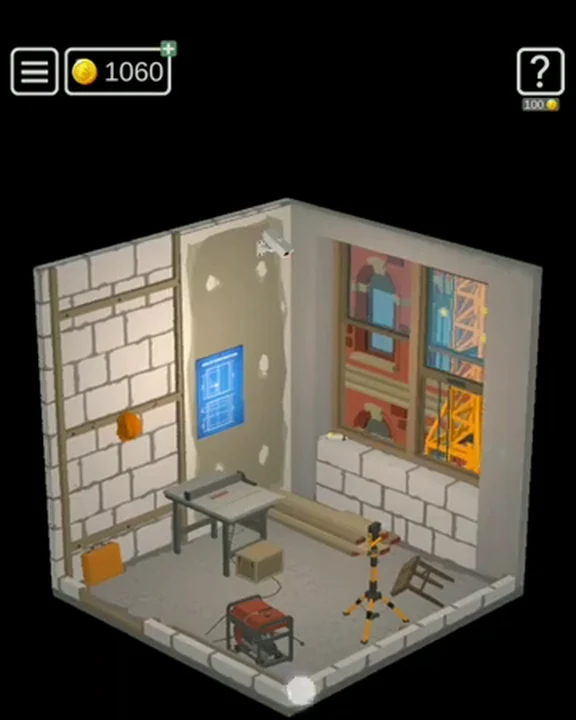 LEVEL 49
Solve the shape box for the drill, use the tripod light clue for suitcase 1657, fuel the generator and charge the battery, drill the floor box for the saw blade, repair the stool, hammer nails 3-4-9, and copy the window blocks to the sliding door.
Open walkthrough →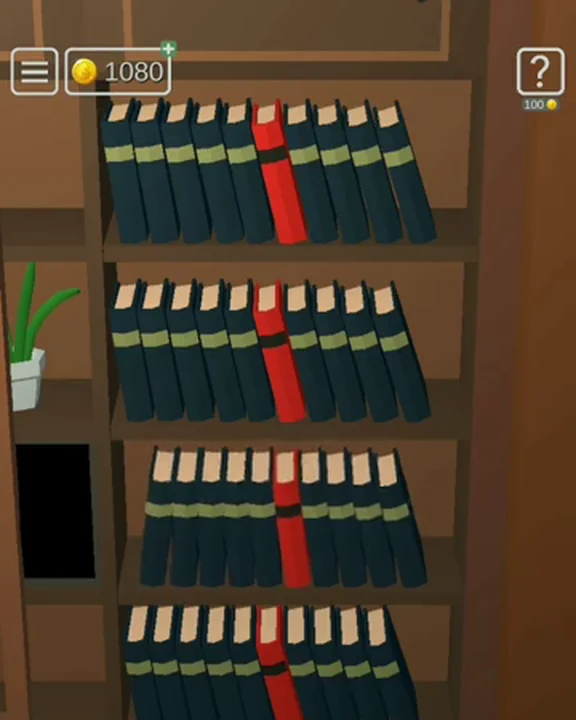 LEVEL 50
Use the red button to extend time, combine book year 1991 with time 23:43, set the floor levers, solve fireplace symbols, enter safe 2030 for the lens, ring bells III-IV-I-IV-III, use SLIDE, power the crow wall, and finish the six-panel sequence.
Open walkthrough →Search the whole diorama
The opening five levels introduce the inspection habits used throughout the complete 50-room story.
LEVEL 1 GUIDECombine information from separate inventory objects instead of expecting one complete code.
LEVEL 2 GUIDEBuild working tools, replay instructions, and transfer patterns into another part of the room.
LEVEL 5 GUIDERemove hazards in the correct order so the final escape item becomes reachable.
Room-by-room escape guide
50 Tiny Room Escape is a point-and-click room escape game from Kiary Games. Its 50 levels are presented as compact 3D isometric dioramas that can be rotated to reveal hidden walls, shelves, drawers, switches, and locks. Tapping a detail moves into a close inspection view, where objects can be collected, turned, combined, or used on another mechanism.
The story follows Peter, Camilla, Richard, Eve, and Michel across five connected acts. Every 50 Tiny Room Escape walkthrough on this page is mapped to the displayed level number, official title, matching gameplay frame, and a bounded video chapter.
Drag to rotate the entire room, tap a wall or object to zoom in, and use the back control to return to the diorama. Inventory items appear along the bottom or side of the interface. Select an item before tapping the place where it belongs; inspect it separately when a screw, label, hidden digit, or second component may be attached.
The first five solutions show the full grammar. 50 Tiny Room Escape Level 1 joins a book number to a bottle number. 50 Tiny Room Escape Level 2 repairs a cassette player and combines two key halves. 50 Tiny Room Escape Level 3 uses a smartphone as both a clue and a remote-control hub. Later rooms extend the same pattern into longer dependencies.
The room is physically small but information is distributed across angles and inspection layers. A code may depend on an object found on one wall, an order clue on another, and a pattern visible only after the light changes. The hard part is usually not the final keypad; it is recognizing which clues belong together and which collectible is optional.
Our 50 Tiny Room Escape walkthrough separates those jobs. The quick answer gives the complete dependency chain, while the detailed steps preserve the order that prevents an item from appearing too early or a hot object from remaining unusable.
Levels 1–10 cover Peter, Levels 11–20 follow Camilla, Levels 21–30 follow Richard, Levels 31–40 follow Eve, and Levels 41–50 complete Michel's act. Each guide keeps its own screenshot, title, answer chain, codes, collectibles note, and bounded video chapter so a search for one level never lands on a neighboring room.
Use the numbered search field or the five range links above to jump directly to the room shown in your game. If an interface detail differs between Android and iPhone, match the official level title and screenshot first, then follow the same puzzle logic.
Frequently asked questions
The game contains 50 puzzle rooms, and Level Clue now publishes a separate verified walkthrough for every level.
Yes. Each image was extracted from the matching bounded level segment in the credited full walkthrough and manually checked against the room title and solution sequence.
No. Cards are optional collectibles. Each guide clearly separates them from required puzzle objects.
The puzzle logic is shared across the official mobile versions. Interface spacing can differ, so match the level title and room image before following the steps.