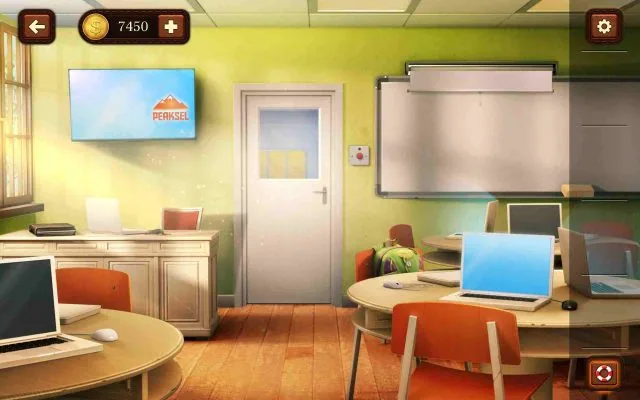
 LEVEL 1
100 Doors Escape from School Level 1
Press to Begin — Getting started could not be easier. You will find a bright red button right next to the door.
Open walkthrough →Independent player guide · 140 verified
Help Mya escape 140 school rooms by finding hidden objects, solving classroom puzzles, and unlocking every door. Each guide starts with a room-matched image and a short clue, then reveals the remaining steps only when you ask.
Enter a door number, then confirm the room and puzzle title against the screenshot.
140 classroom doors
Start with 60 featured doors or choose a 20-level range. Every page gives a quick clue before the full sequence.
Showing 60 featured levels
LEVEL 1Press to Begin — Getting started could not be easier. You will find a bright red button right next to the door.
Open walkthrough →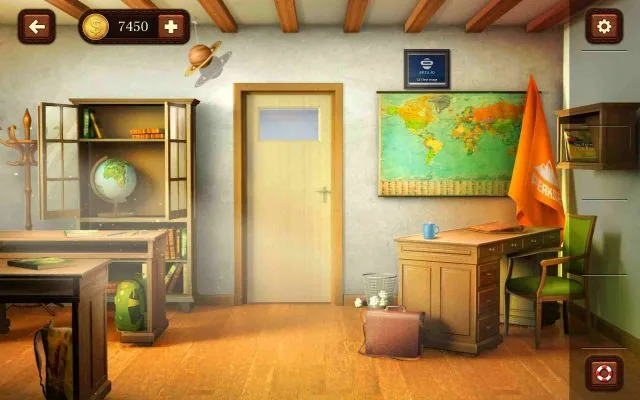 LEVEL 2
Rolling the Globe — Interact with a globe sitting atop a pedestal. Click the globe and drag it gently to the right.
Open walkthrough →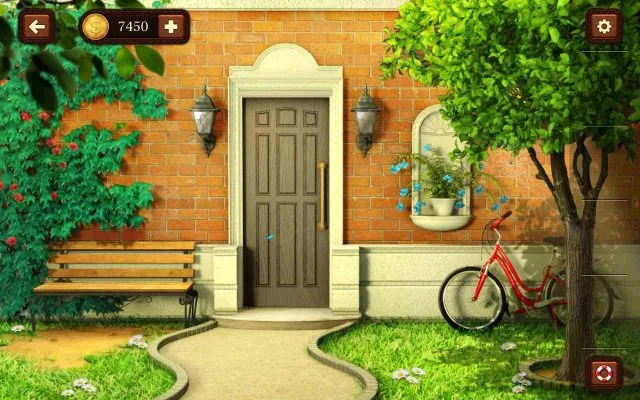 LEVEL 3
Shake the Tree — a tree stands mysteriously still… until you stir things up. Click and move your cursor or finger back and forth rapidly over the screen — this shaking motion makes a hidden key drop from the branches.
Open walkthrough →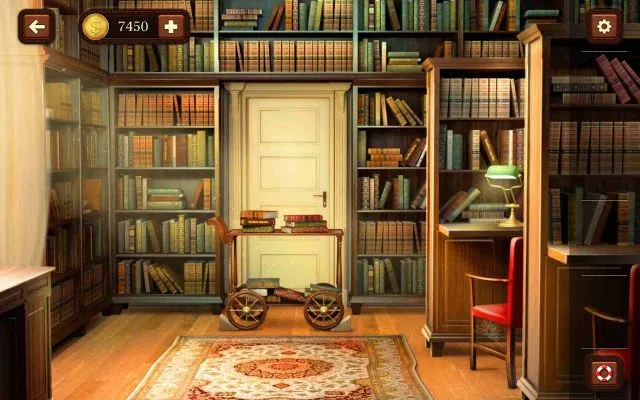 LEVEL 4
Clear the Path — Look closely at the cart blocking the door. It’s resting on two wooden blocks.
Open walkthrough →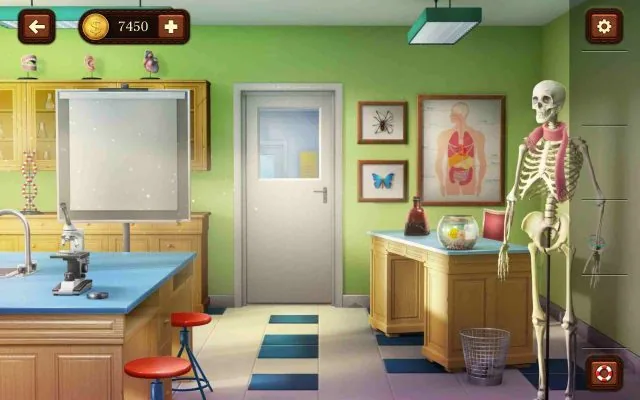 LEVEL 5
Bottle Break Trick — On the desk sits a brown bottle — seemingly unimportant at first glance. Slide or push the bottle until it falls off and shatters on the ground.
Open walkthrough →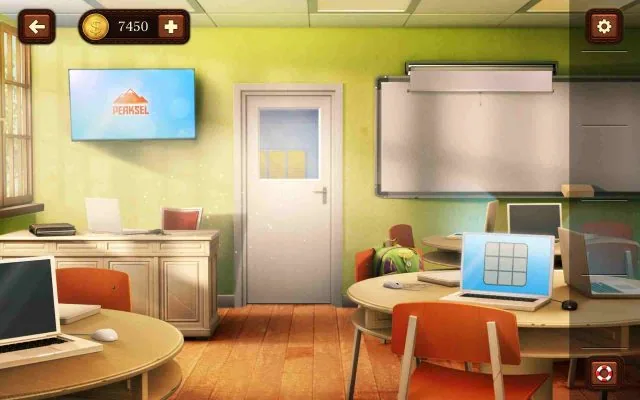 LEVEL 6
Tic-Tac-Toe Time — This level is a clever twist. Click on the laptop located on the desk to start a game of tic-tac-toe.
Open walkthrough →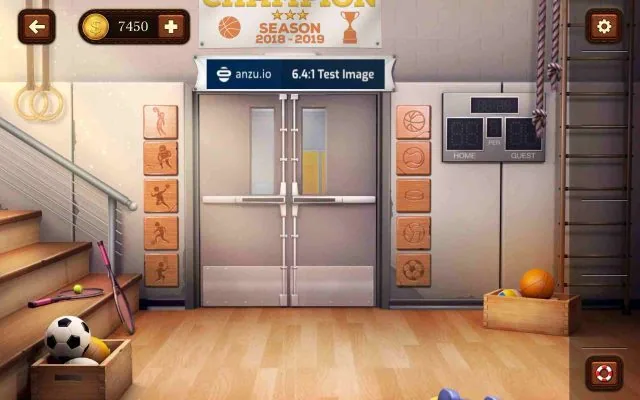 LEVEL 7
Match the Sports Gear — This level challenges your association skills. Match each athlete standing on the left side of the room with their corresponding sports equipment on the right.
Open walkthrough →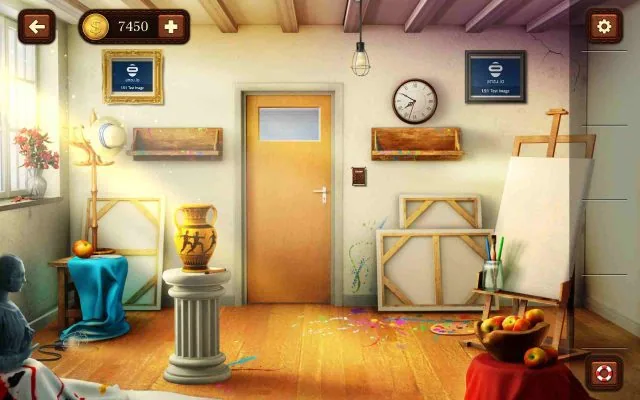 LEVEL 8
Reveal the Hidden Code — Notice the pencil on the pedestal next to the vase? Grab it and drag it over the blank canvas nearby.
Open walkthrough →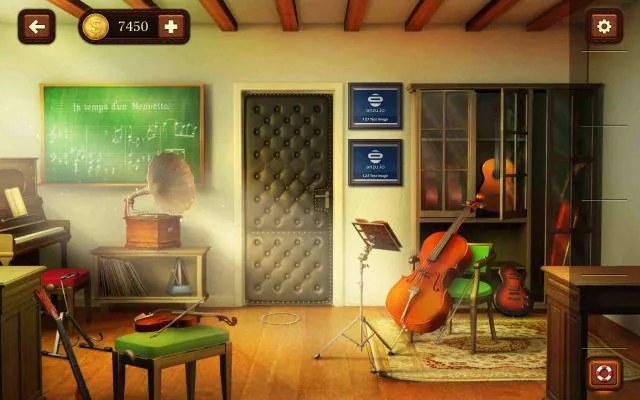 LEVEL 9
Assemble the Guitar — You need to build a guitar using its scattered parts: The body of the guitar is on the bottom right, near the green chair. The neck is resting against the lower left counter.
Open walkthrough →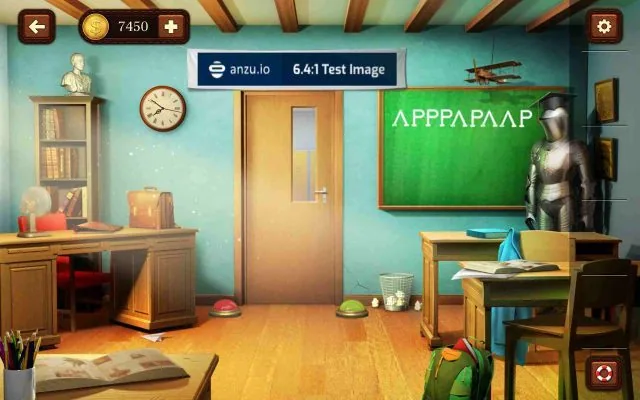 LEVEL 10
Follow the Color Pattern — Take a look at the chalkboard in the room — it displays a sequence of colors that you must replicate using the floor buttons. The correct pattern is: Red, Green, Green, Green, Red, Green, Red, Red, Green Click the buttons on the floor in this exact order.
Open walkthrough →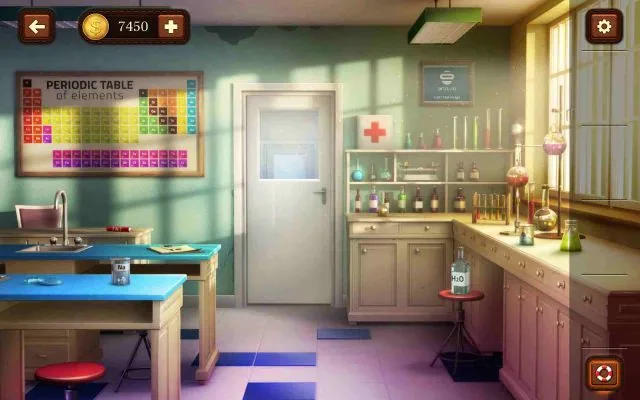 LEVEL 11
Create a Controlled Explosion — Things heat up — quite literally! Your objective is to simulate a chemical reaction powerful enough to open the door.
Open walkthrough →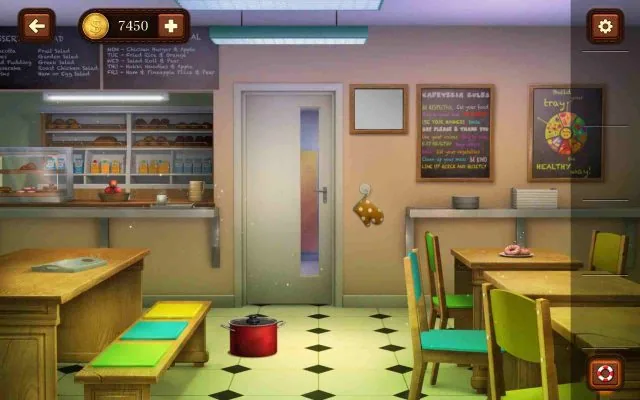 LEVEL 12
Hidden Key in the Red Pot — Time to find a hidden key using a little kitchen creativity. First, click the red pot to remove its lid.
Open walkthrough →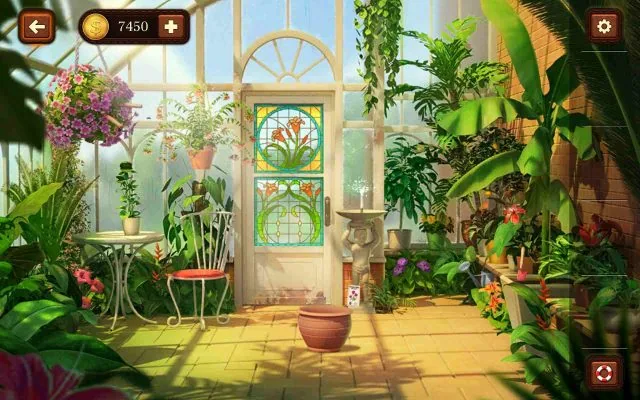 LEVEL 13
Grow a Plant to Retrieve the Key — This one’s all about nurturing nature. Begin by gathering essential gardening tools: Shears — Hanging from the large plant on the left.
Open walkthrough →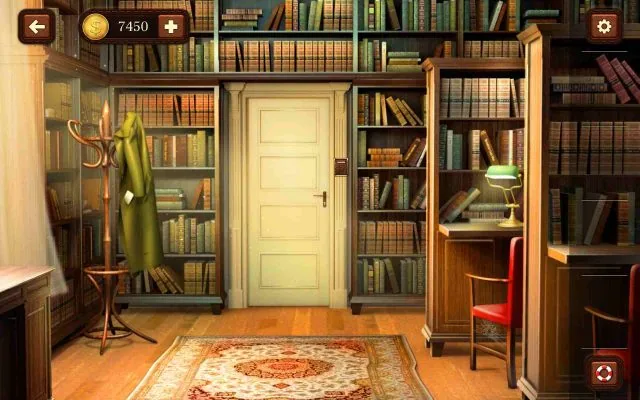 LEVEL 14
Discover the Code in the Coat Pocket — Time to put on your detective hat. Click the coat hanging near the door.
Open walkthrough →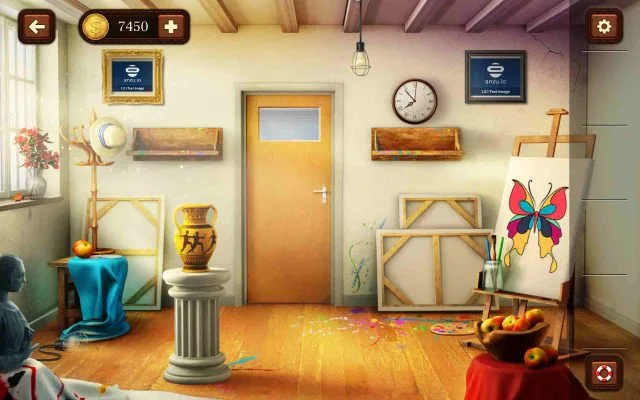 LEVEL 15
Paint the Butterfly Correctly — In this colorful challenge, You will need to recreate a butterfly painting to match a reference artwork. Click on the canvas to zoom in.
Open walkthrough →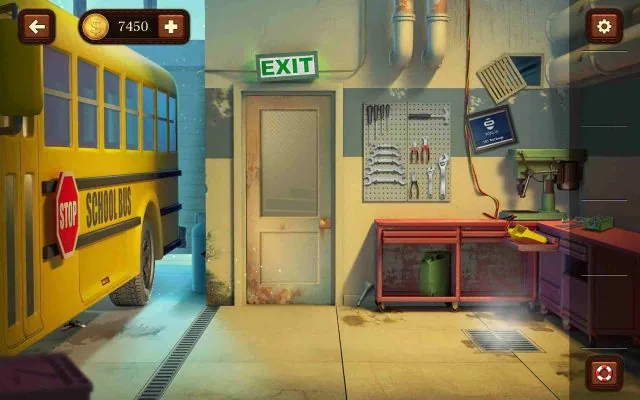 LEVEL 16
Move the Bus to Reveal the Key — This is a multi-step mechanical puzzle. Start by collecting the necessary tools: Funnel — Lying on the ground near the door.
Open walkthrough →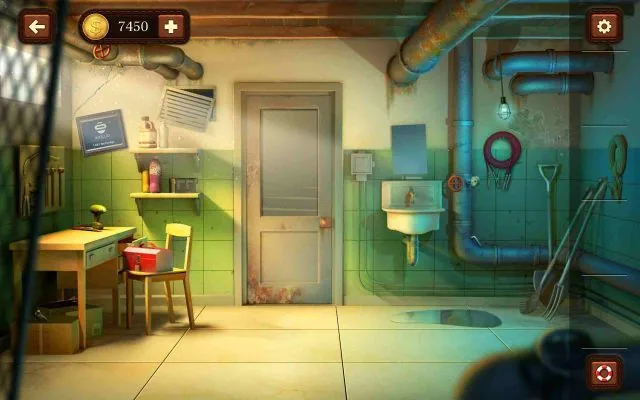 LEVEL 17
Unlocking the Grey Box — This level involves multiple tools and precision work. Here’s the step-by-step: Open the box under the desk to collect bolt cutters.
Open walkthrough →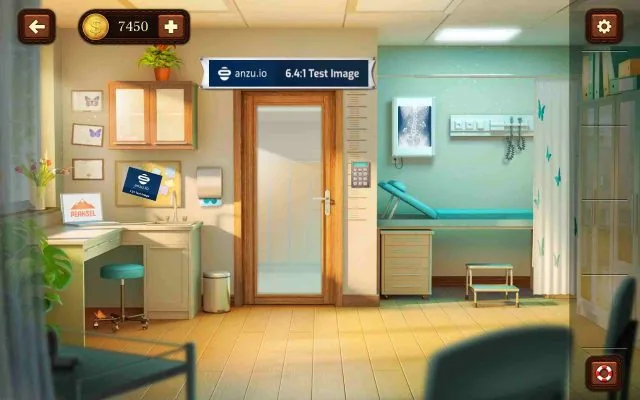 LEVEL 18
Count the Butterflies — Time for a visual counting puzzle. Click on the paper towel holder to reveal a blue butterfly marked with “x12”.
Open walkthrough →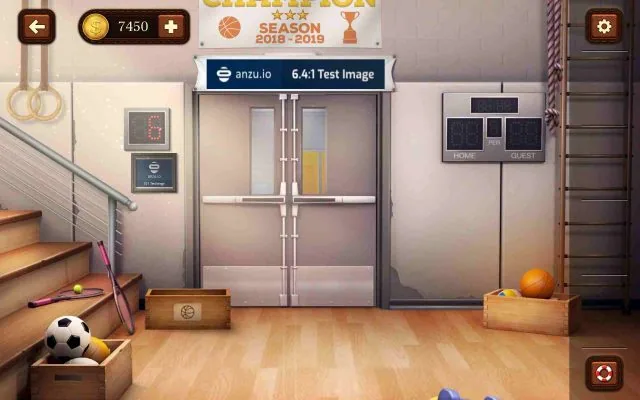 LEVEL 19
Catch the Basketballs — This is a fun reflex-based level. A box slides across the screen, and balls drop from the ceiling.
Open walkthrough →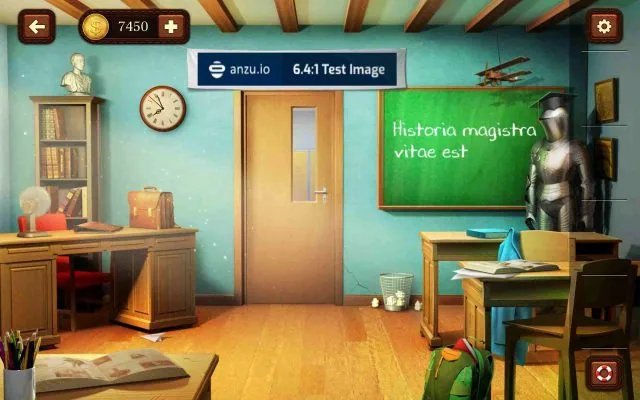 LEVEL 20
Match Weapons with Ammunition — Click on the book lying open on the right desk. It contains images of various weapons and their corresponding ammunition types.
Open walkthrough →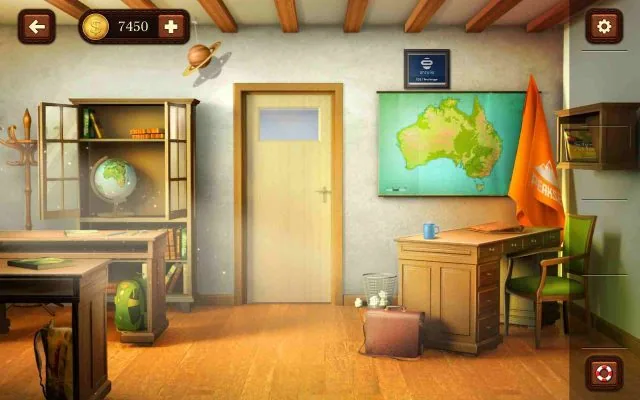 LEVEL 21
Reconstructing the Map of Australia — This geography-based level challenges your visual-spatial skills. Begin by clicking on the large map of Australia displayed on the wall or board.
Open walkthrough →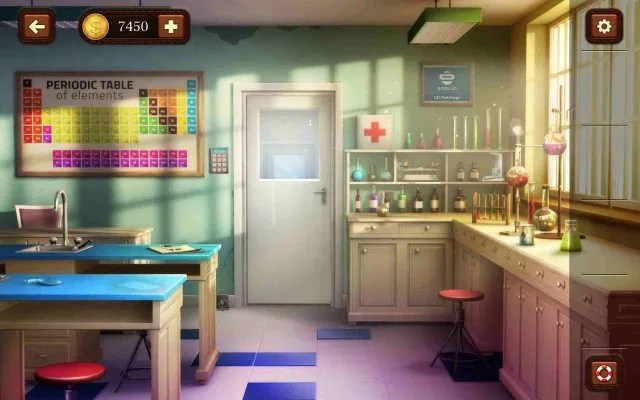 LEVEL 22
Rebuild the Microscope for a Hidden Code — This level revolves around assembling a scientific tool to reveal a numerical code. First, collect the three microscope parts located in the following areas: Inside the sink (left side).
Open walkthrough →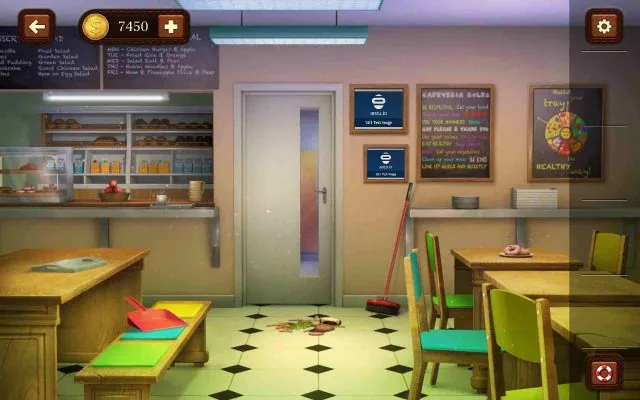 LEVEL 23
Clean Up the Mess to Proceed — It’s time for a bit of janitorial work. The area in front of the door is blocked by a mess that must be cleaned.
Open walkthrough →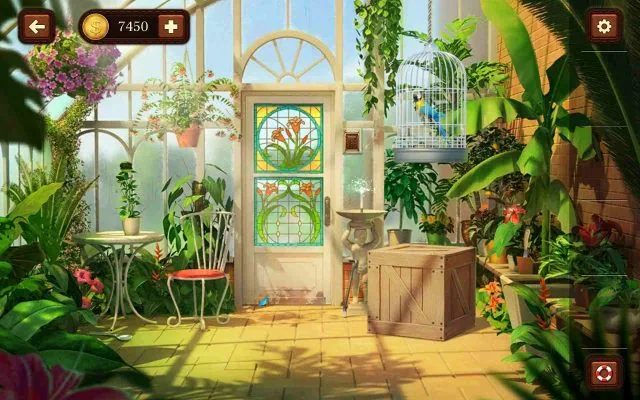 LEVEL 24
Feed the Parrot to Reveal the Code — This level is both creative and interactive. You will need to gather and use items to coax a parrot into revealing the door code.
Open walkthrough →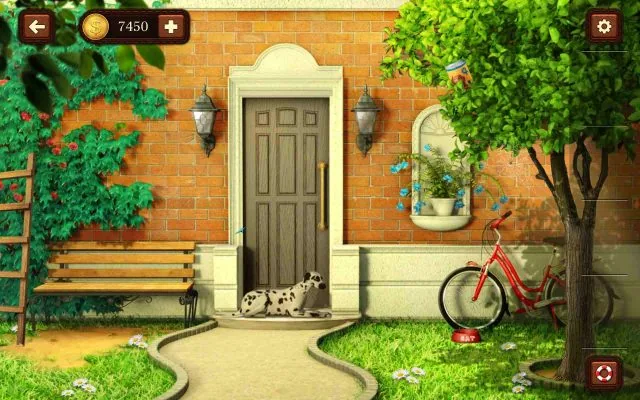 LEVEL 25
Move the Dog Blocking the Door — In this lighthearted level, a dog refuses to budge from in front of the door. The trick?
Open walkthrough →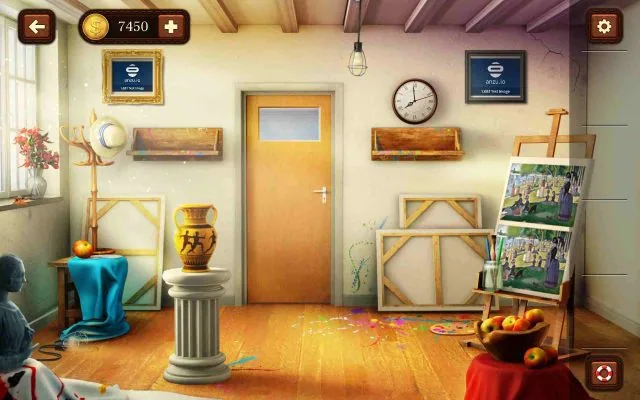 LEVEL 26
Spot the Differences Between Pictures — This is a classic “find the difference” level. Click on the easel displaying two similar pictures.
Open walkthrough →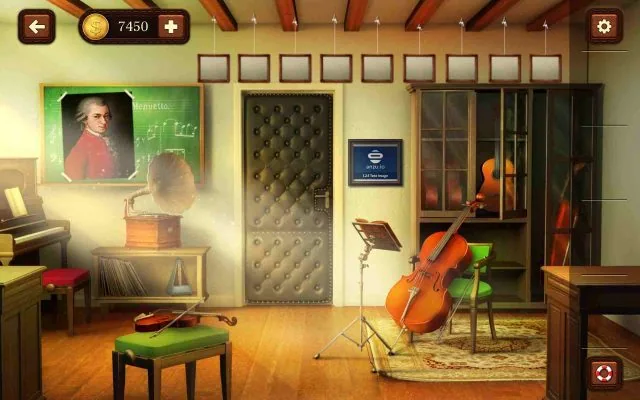 LEVEL 27
Spell the Composer’s Name — This level tests your knowledge of classical music. The objective is to spell the name of the famous composer using tiles at the top of the screen.
Open walkthrough →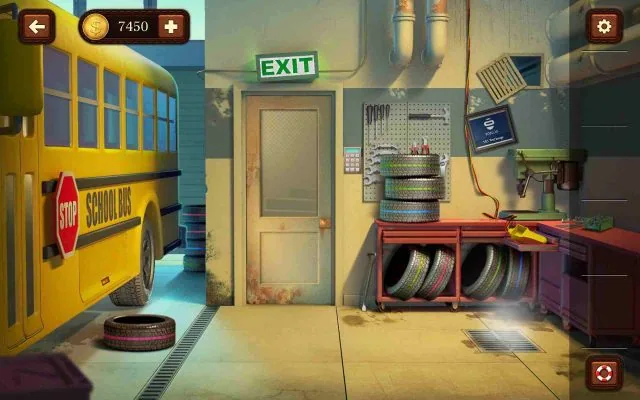 LEVEL 28
Decode the Colored Tires — Here's a logic puzzle involving hidden tires and color matching. First, move the stack of tires on the counter.
Open walkthrough →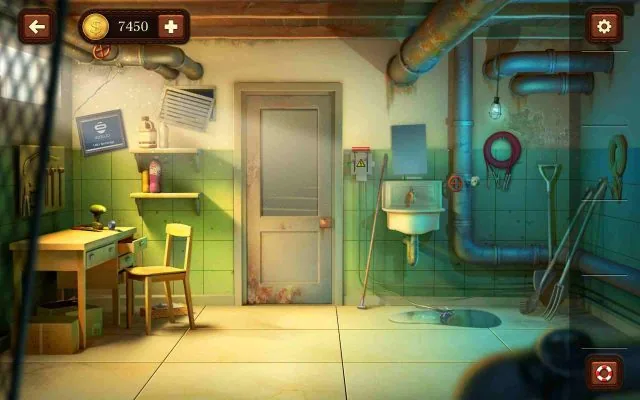 LEVEL 29
Fix the Power System — This level involves multiple item combinations and tool use. Start by collecting the following: Electrical Tape — Found on the table.
Open walkthrough →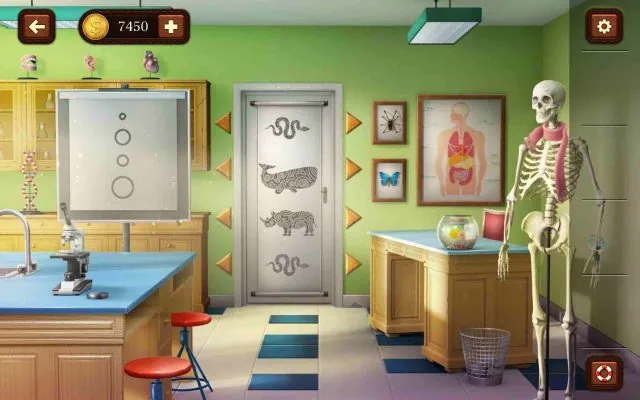 LEVEL 30
Order the Creatures by Size — This level presents you with a selector of four creatures: a frog, a snake, a rhino, and a whale. Using the triangle buttons, you must arrange them in order of size according to the circles shown beside the selector.
Open walkthrough →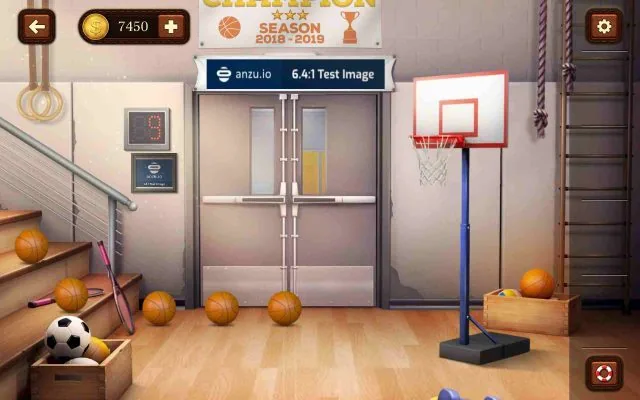 LEVEL 31
Score Quickly with Basketballs — This level is a time-based mini-game. You will see five basketballs scattered on the floor and steps.
Open walkthrough →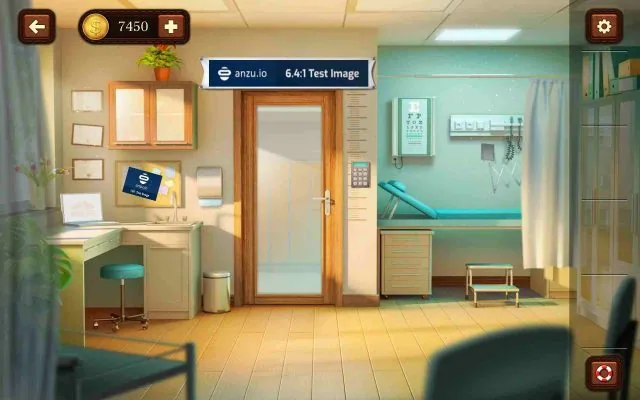 LEVEL 32
Patch Together the Code — Start by clicking the trash can in the room to retrieve a crumpled piece of paper. Next, open the drawer in the nearby desk to find a bottle of glue.
Open walkthrough →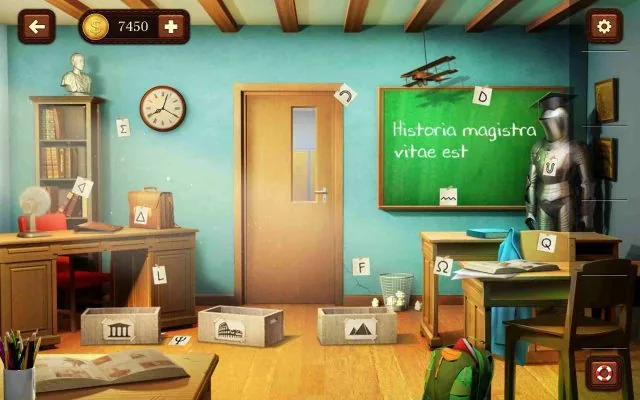 LEVEL 33
Match Ancient Alphabets to Civilizations — This cultural puzzle requires matching symbols and letters to their historical origin. You will find three boxes, each depicting a famous landmark: the Parthenon (Greece), Roman Colosseum (Italy), and Egyptian Pyramids.
Open walkthrough →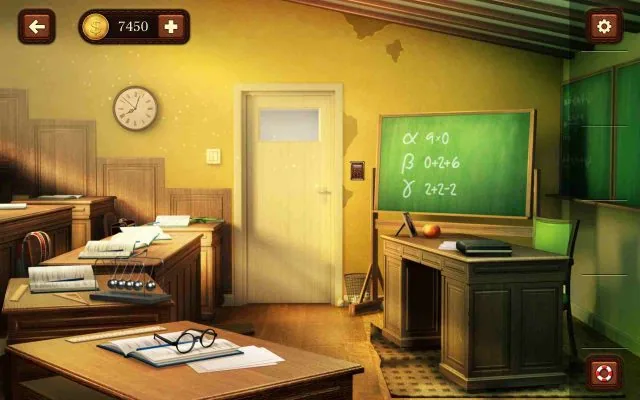 LEVEL 34
Solve the Chalkboard Equations — Focus your attention on the chalkboard. It displays three Greek-lettered math equations: Alpha, Beta, and Gamma.
Open walkthrough →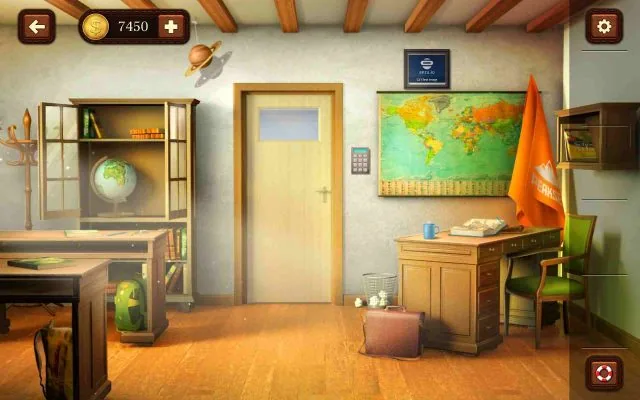 LEVEL 35
Count the Color Stripes — Click on the book placed on the desk to view two pages filled with various flags and colored stripes. Above, You will see a sequence of colors in a specific order: Green, Yellow, Pink, Red, White, Blue.
Open walkthrough →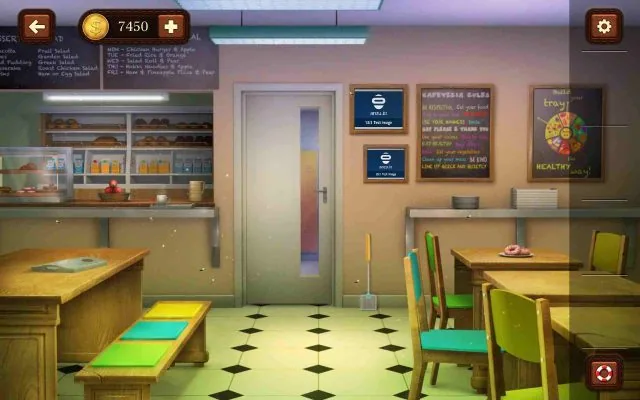 LEVEL 36
Swat the Flies — This level puts your reflexes to the test. Pick up the flyswatter near the door.
Open walkthrough →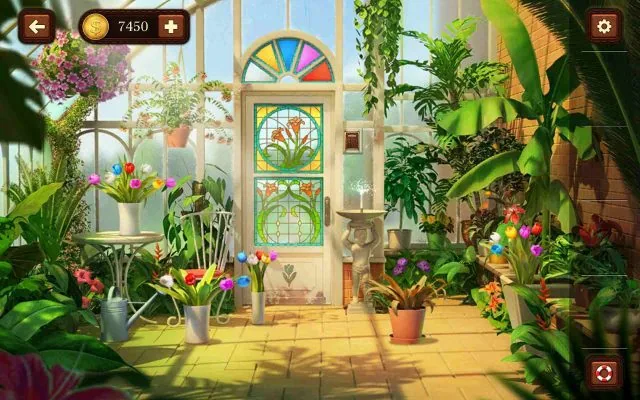 LEVEL 37
Count the Colored Tulips — Start by picking up the watering can near the white table. Use it to revive the wilting tulip plant.
Open walkthrough →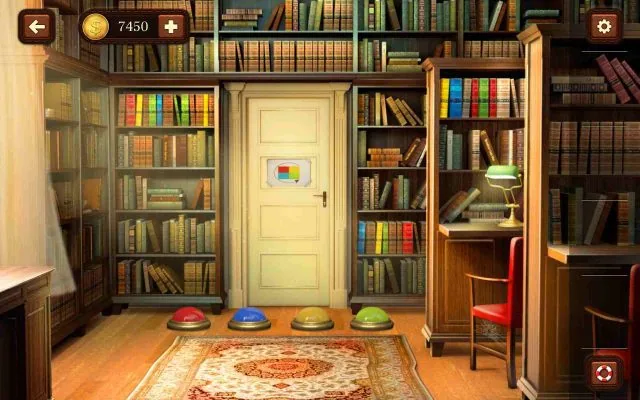 LEVEL 38
Count the Books for Button Presses — Observe the door image closely. It shows four colored buttons: yellow, red, blue, and green.
Open walkthrough →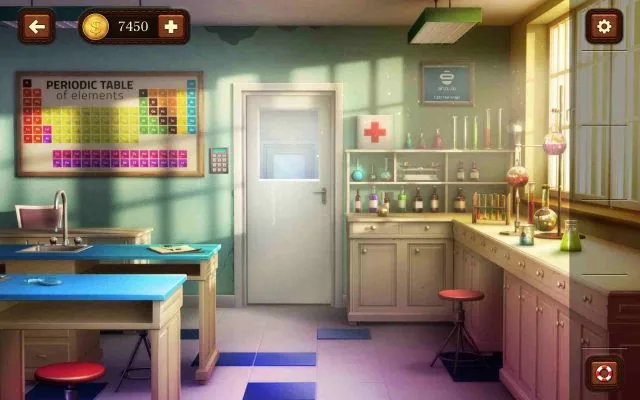 LEVEL 39
Hidden Code in Chemical Chart — Click on the clipboard resting on the counter. You will see a cluster of letters — mostly Hs and Os.
Open walkthrough →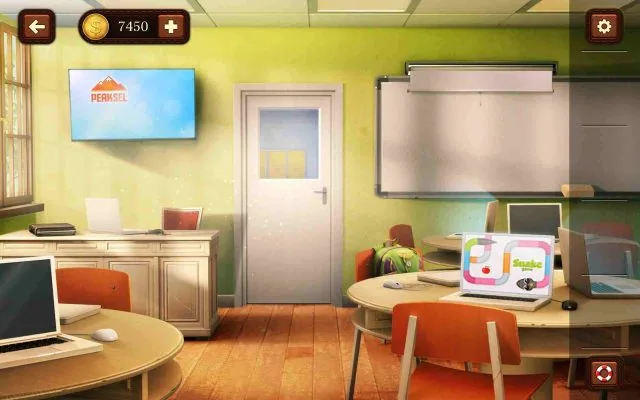 LEVEL 40
Play Snake and Eat 15 Apples — Level 40 brings back retro fun! Click on the laptop placed on the table, and it will launch a version of the classic Snake game.
Open walkthrough →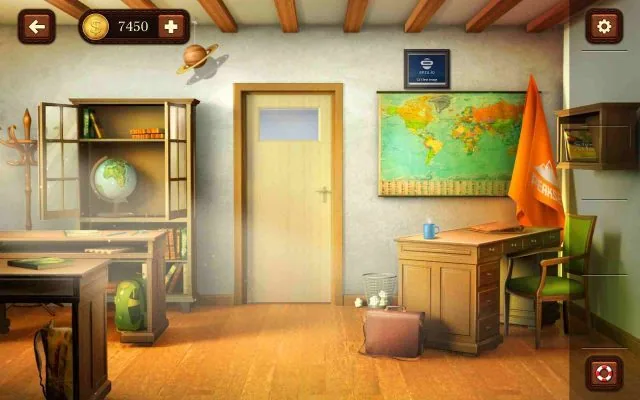 LEVEL 41
Match Food to Country Flags — You will find a small shelf above a green backpack with a game board showing various foods and countries. Your task is to match each food item to the country most associated with it.
Open walkthrough →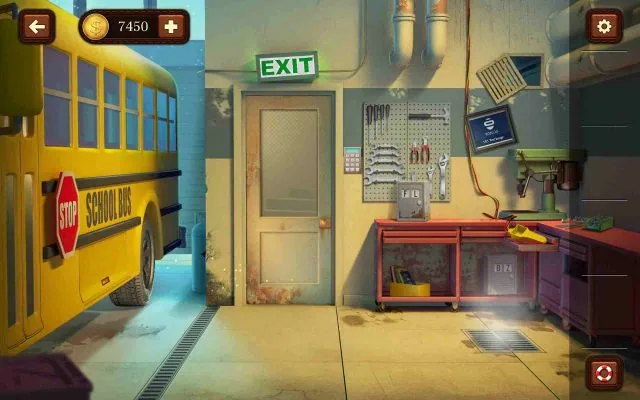 LEVEL 42
Decode License Plates to Get the Door Code — This level mixes observation and deduction. Begin by clicking on one of the grey boxes with letters on the front — this reveals a symbol inside.
Open walkthrough →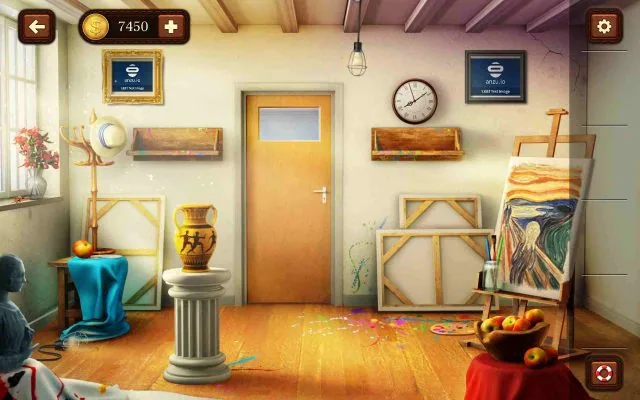 LEVEL 43
Rebuild the Portrait Puzzle — Click on the portrait on the wall. The image will zoom in and break into nine scrambled pieces.
Open walkthrough →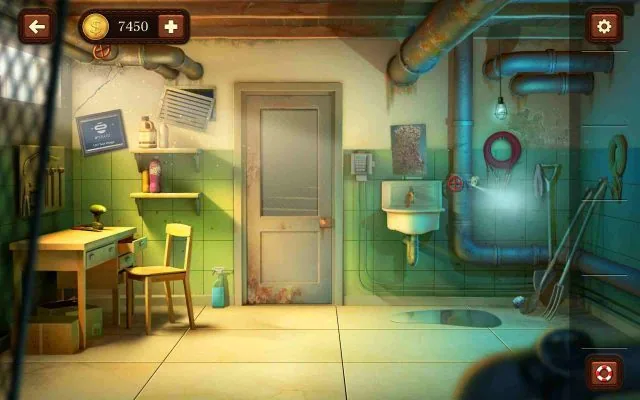 LEVEL 44
Clean & Decode Using Mirror Reflection — This level requires a mix of cleanup and observation. Follow these steps: Pick up the cleaning fluid on the floor to the left of the door.
Open walkthrough →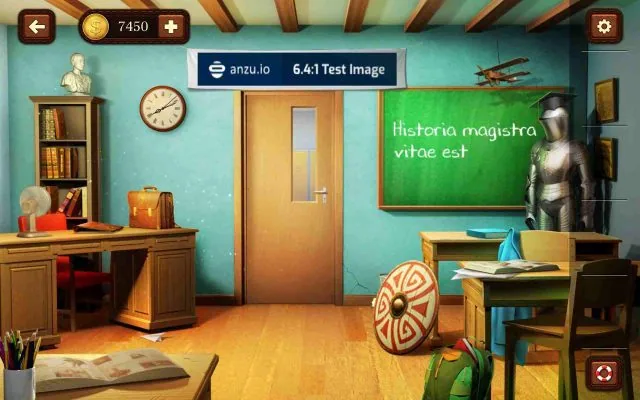 LEVEL 45
Align the Shield Rings — You will be presented with a shield made of concentric rings, each ring split into segments. The goal is to rotate the rings so that all segments align to form the full shield pattern.
Open walkthrough →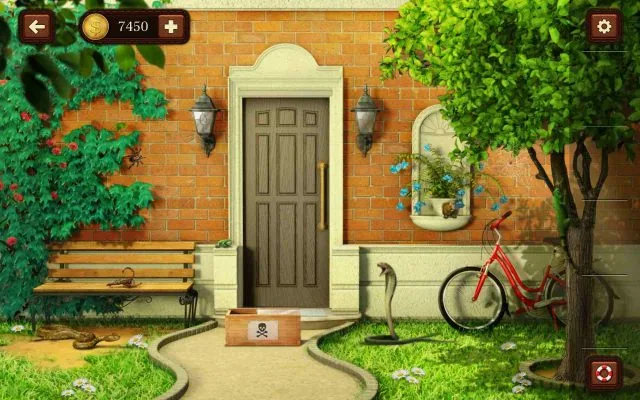 LEVEL 46
Sort the Poisonous Creatures — This level involves identifying which creatures are dangerous and placing them in a box marked with a poison symbol. The creatures you must target are: Cobra (on the right side of the sidewalk).
Open walkthrough →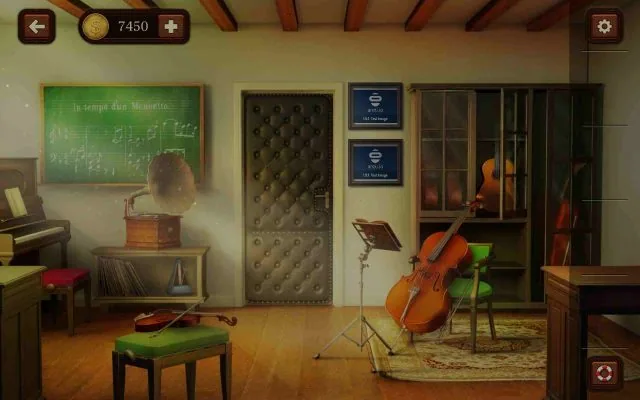 LEVEL 47
Recognize the Music Composer — Click on the record player to start playback. The screen will list four famous composers: Beethoven, Bach, Tchaikovsky, and Mozart.
Open walkthrough →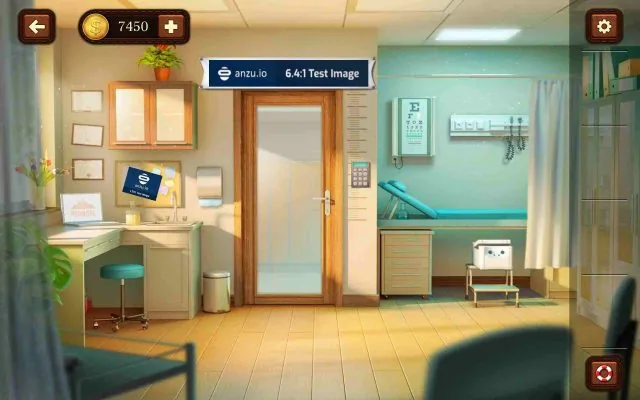 LEVEL 48
Mix Dyes to Reveal the Code — This colorful puzzle involves mixing dyes correctly. First, gather three bottles: Blue dye under the bed’s headboard.
Open walkthrough →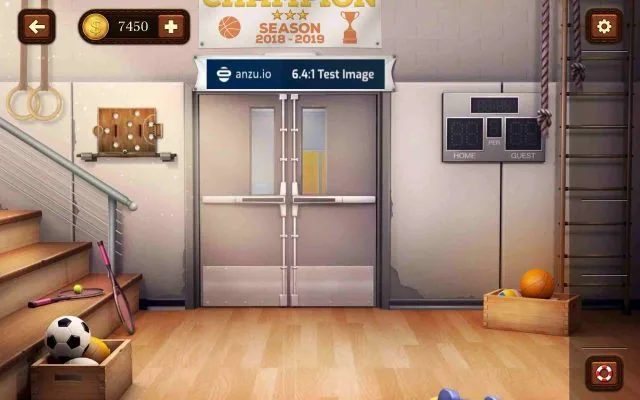 LEVEL 49
Guide the Soccer Ball into the Goal — In this mini‑game challenge, click the game board next to the door on the left side. You will see a soccer ball and a goal.
Open walkthrough →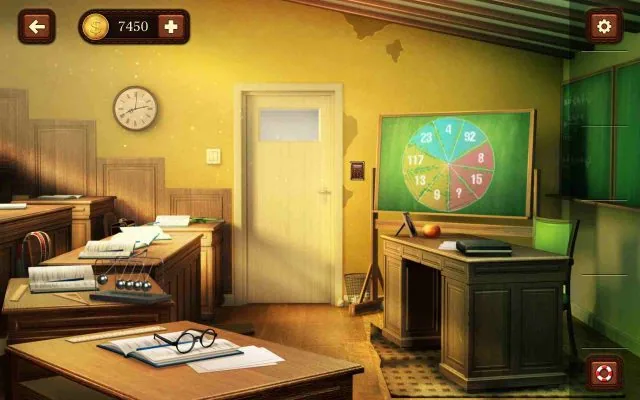 LEVEL 50
Solve the Chalkboard Number Sequence — The chalkboard shows a numeric pattern with a placeholder marked “? ”.
Open walkthrough →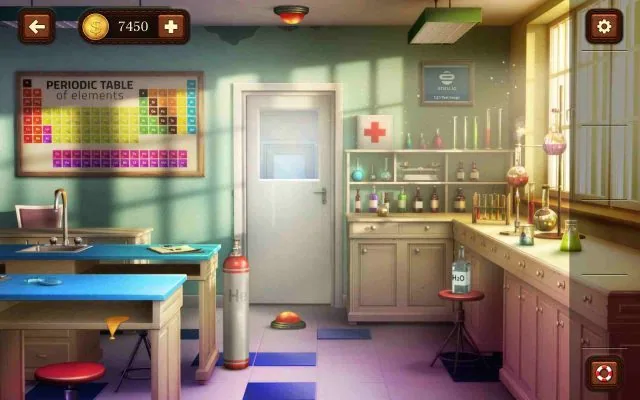 LEVEL 51
Balance Balloons to Press Buttons — Level 51 challenges your thinking with a simple physics puzzle. You will need to collect four items: two balloons, one water vial (H 2 O), and a helium container (He).
Open walkthrough →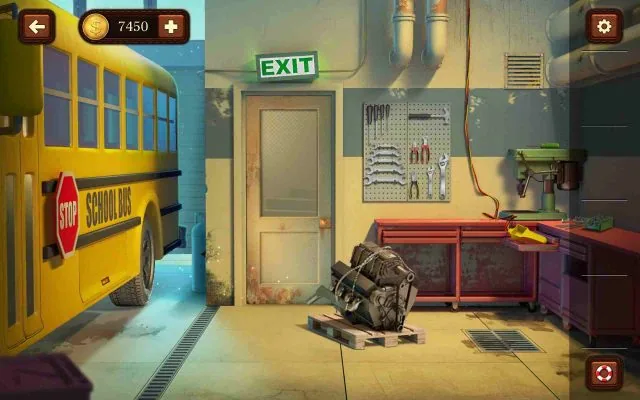 LEVEL 52
Use Tools to Recover the Hidden Key — You will need to dismantle and relocate engine parts to reach a key hidden underneath. Begin by grabbing the screwdriver under the vent on the right.
Open walkthrough →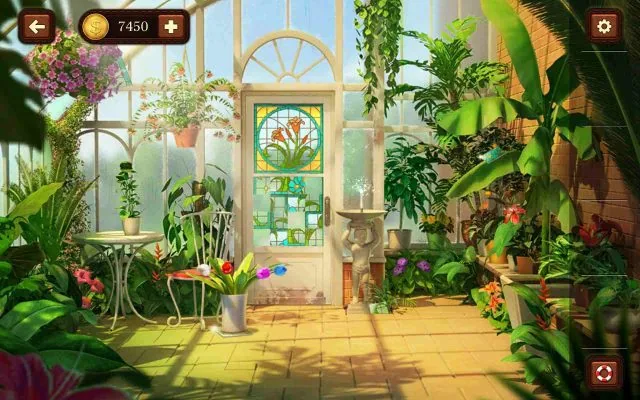 LEVEL 53
Puzzle Assembly Behind Plants and Statues — You will need to collect four hidden puzzle pieces scattered around the room: One under the tulips (drag the tulips aside to uncover it). One behind the large plant on the right.
Open walkthrough →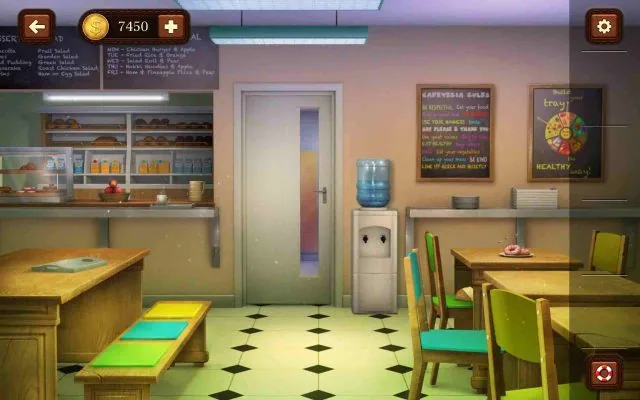 LEVEL 54
Use Bait to Lure the Mouse and Get the Key — This level involves a bit of cleverness with a mouse. Start by taking the cheese that sits on the green chair.
Open walkthrough →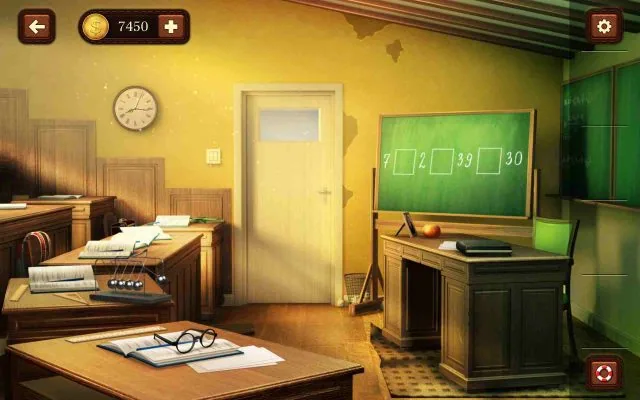 LEVEL 55
Solve Chalkboard Equations — Click on the chalkboard — it reveals a simple equation-based puzzle. The task is to drag the symbol tiles into the correct equation boxes.
Open walkthrough →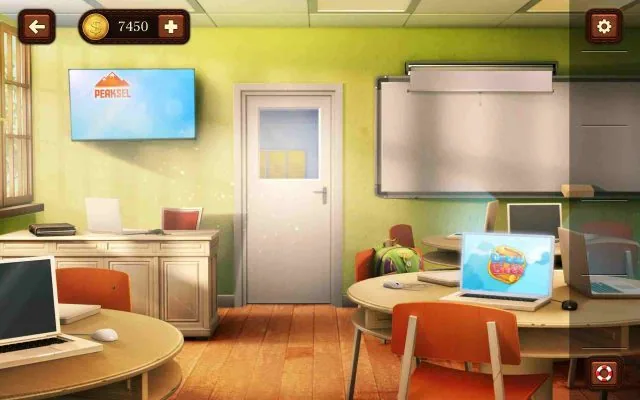 LEVEL 56
Draw Lines Game Under Time Pressure — On the table to the right sits a laptop. Click it to launch a “Draw Lines” mini‑game.
Open walkthrough →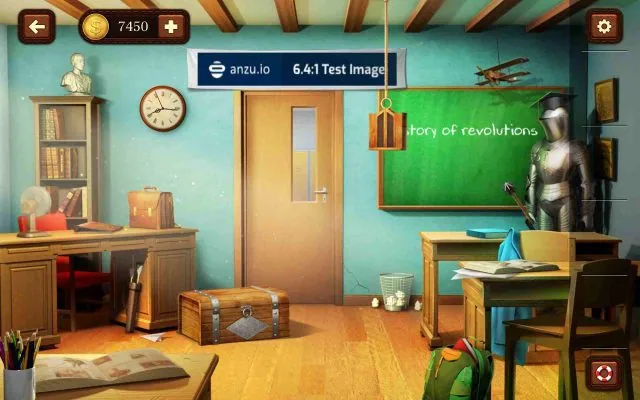 LEVEL 57
Solve the Crossbow & Chest Sequence — This level involves multiple steps and clever item use: Click the chest on the floor to zoom in — a rotating‑tile puzzle appears. Rotate the tiles until the pattern becomes complete.
Open walkthrough →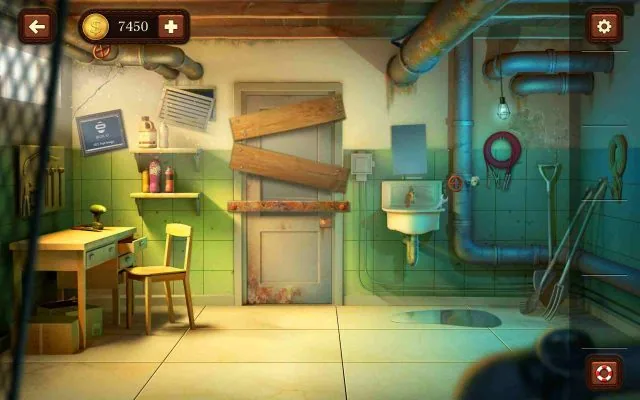 LEVEL 58
Remove Rusted Barriers and Open the Door — Start by collecting a wrench from the sink and a bottle of rust‑remover from the lower shelf above a chair. Use the rust remover on the metal bar blocking the door.
Open walkthrough →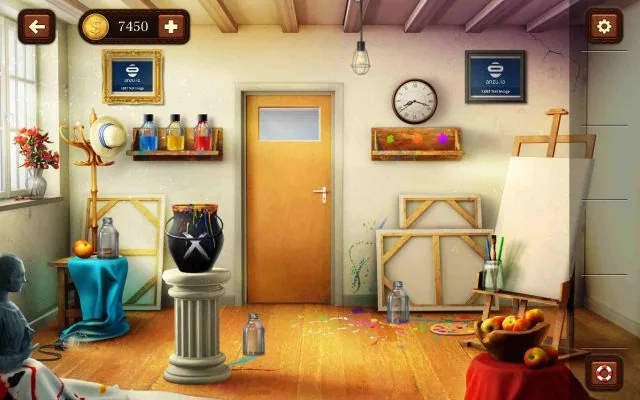 LEVEL 59
Mix Paints in Jars to Unlock the Door — You will create three distinct color mixtures and place them correctly. There are three empty jars (one on a table, one next to a pedestal, and one to the right of the door).
Open walkthrough →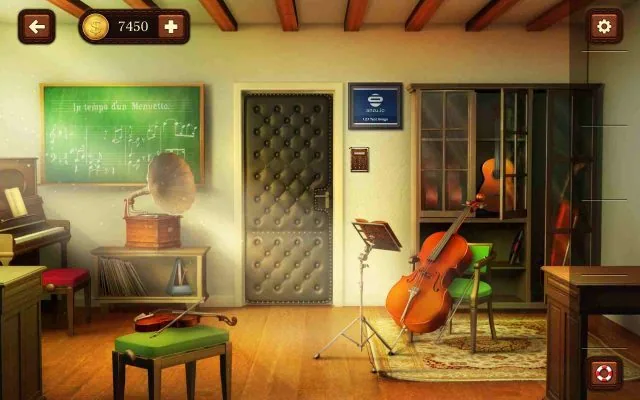 LEVEL 60
Decode Floating Numbers from the Record Player — This level uses a unique visual‑memory challenge. Pick up the record behind the green chair and place it on the turntable on the left.
Open walkthrough →Escape every classroom
Peaksel Games places Mya inside a school filled with art rooms, laboratories, gyms, libraries, and classrooms. Each door uses a different hidden-object, code, logic, or device-interaction puzzle.
Tap small objects, drag scenery, combine inventory pieces, and translate visible clues into keypad codes or mechanical patterns. Later doors often chain several actions before revealing the key.
Frequently asked questions
This library covers all 140 doors in the checked 140-level ordering.
Some platforms and older releases use another order. Match the room image and puzzle title instead of relying on the number alone.
Yes. Each guide uses a corresponding gameplay screenshot, not an AI-generated imitation.