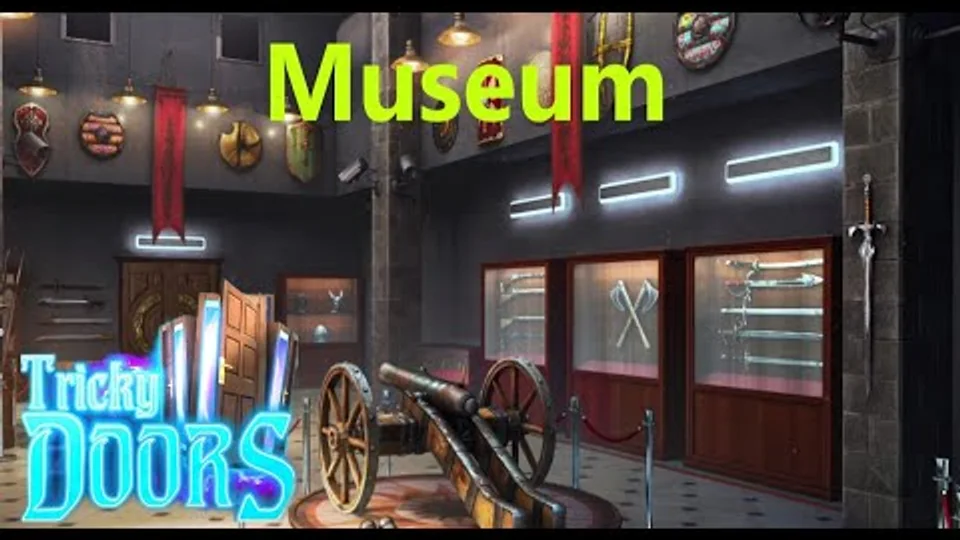
Use both “Museum” and the gameplay image. The page follows the 25-episode ordering checked on 2026-09-29.
Last verified: · Verification method · Report a correction
Tricky Doors Level 6 Museum solution
Tricky Doors Level 6 objective: Escape from the museum security room by collecting items, solving puzzles, tuning radios to find clues, arranging historical figures, firing cannons to break through doors, assembling statues, and solving the final knob puzzle. This level introduces lock picking mechanics, radio tuning puzzles, historical sequencing, cannon operation, and statue assembly in a museum setting.
Step-by-step walkthrough
Start the episode
Start in the museum security office; open the middle green locker on the right side of the room. The locker opens; collect the plank from inside. Look at the green chairs in the middle of the room; collect another plank from them. Examine the desk on the left; collect the screwdriver, clip, and flashlight from on top of it. open the cabinet at the back of the room near the door to inspect it closer. Check the bin in the right corner of the cabinet; collect the cloth from on top of it. open the first locker on the right of the room and then open the lock. Put the screwdriver in the lock and then open the clip to add it to the top of the screwdriver. A lock picking mini-game appears; lift the pins in the correct order to open the lock (this is a memory game where you need to see which order they need to be lifted). Once the lock is opened, collect the handle, key card, and hammer from the locker. Use the handle you just collected on the mechanism in the middle of the room. open the handle after it's attached; this turns on the monitors and reveals a code. The code solution is the same for everyone; press the buttons according to the pattern shown on the monitors. Use the access card from your inventory on the lock next to the door.
Continue the item chain — phase 2
open the door to open it and enter the exhibition room. In the exhibition room, collect a plank standing up between the cabinets (one has axes, the other has swords). Collect another plank from the floor on the left next to the exhibit in the middle of the room. Collect the cannon ball from next to the plank you just found. open the cannon exhibit in the middle of the room; open the top twice. Use the screwdriver to loosen the top part of the cannon. Collect the ramrod that becomes available. Look on top of the cannon to the left of the middle section; collect the carved decor (1 of 2). Look at the sign at the back of the room; it shows 'Media partner of the exhibition: radio station 104.2FM' (note: this frequency may be different for you). Return to the office and locate the radio on the desk. open AM or FM on the left side of the radio, then use the dial to tune to the frequency shown on the sign (104.2FM). Once tuned correctly, a secret compartment opens; collect the second carved decor from inside. Return to the exhibition room and use both carved decors on the exhibit on the left side of the room. This unlocks a mini-game; rearrange the action figures so that each one has a bomb in their hands. The starting positions may vary, but you need to move figures from any row and match the hand positions; each figure should hold a bomb.
Continue the item chain — phase 3
Once completed, the exhibit unlocks; collect the oiler from inside. Look to the right of the room at the three exhibits; count the rifles, axes, and swords displayed. Return to the office and open the desk. open the bottom cabinet to input a code based on the number of items in the exhibition room. Enter the code using Roman numerals: IV (4), II (2), V (5); this code is the same for everyone. This opens the cabinet door; collect the gunpowder and knob from inside (there are four knobs to collect in total). Return to the exhibition room and use the gunpowder on the cannon. Use the ramrod to push the gunpowder into the cannon. Add the cannon ball from your inventory to the cannon. Use the ramrod again to push the ball back into the cannon. Add the cloth from your inventory to the top of the ramrod. Add the oiler next to the cloth; this creates a torch. Look at the red light on the right side of the room on the wall next to the suit of armour. Use the hammer from your inventory to break the red light.
Continue the item chain — phase 4
Use the torch on the broken light to create a burning torch. Use the burning torch on the fuse on top of the cannon; this fires the cannon and breaks a hole in the door. Enter the third room through the hole in the door. In the third room, collect a plank leaning on the exhibit on the right. Collect another plank from the left of the door at the back of the room (this should be your last plank). Collect the heads from the floor next to the rope on the left (1 of 3). open the red jacket on the left side of the room; the zip is stuck. Use the oiler on the stuck zip to open it; collect a key from inside. Look at the sculpture in the back of the room; use the hammer to smash the arm. This reveals another key; collect it. Return to the office and use one of the keys on the cabinets in the back. Collect the batteries from the bottom shelf. Look at the cassettes on the top shelf; rearrange them in chronological order from top to bottom. The correct order is: Hundred Years' War, American Revolutionary War, Napoleonic Wars, American Civil War, World War 1, World War 2. Once arranged correctly, the compartment on the right unlocks; collect the second knob.
Continue the item chain — phase 5
Return to the third room and open the scaffolding on the left. Add all the planks you've collected to the scaffolding. A mini-game appears; arrange the planks to fix the scaffolding (there are three different levels to fix). Once the scaffolding is fixed, open the ventilation at the top. Use the screwdriver to remove the front panel of the vent. open the flashlight in your inventory to see the object fully. open the black screw at the bottom of the flashlight to remove it. Add the batteries to the flashlight. Use the flashlight on the vent; this reveals a head inside, collect it (2 of 3). Return to the second room (exhibition room) and use a key on the chest located next to the door. Collect the third knob and the last head (3 of 3) from the chest. Return to the third room and open the curtains on the right. Put all three heads here to start a mini-game. The aim is to put the statues together by rearranging their parts; match the statue pieces correctly.
Complete the escape
Once completed, the cabinet opens; collect the gold key. Use the gold key on the exhibit on the right; collect the mask and select flywheel. Return to the office and open the sink. Put the sponge that is on the sink on top of the drain. Add the select flywheel to the select. Collect the wet sponge that appears. Use the wet sponge on the mask to wipe away the dirt. This reveals the numbers 2674; this is the code for the red box. open the red box near the door and enter the code 2674. The box opens; collect the last knob (4 of 4) from inside. Return to the third room and open the mechanism on the right of the door. Add all four knobs to the mechanism; this unlocks a mini-game. The aim is to place the knobs where the background matches the picture on each knob. Match each knob's symbol to its corresponding background pattern. Once all knobs are correctly placed, the final door opens; complete Level 6; Museum.
Compiled and edited by Level Clue from the sources linked above. Gameplay images and videos belong to their credited creators. How we check guides.
Museum: Escape from the museum security room by collecting items, solving puzzles, tuning radios to find clues, arranging historical figures, firing cannons to break through doors, assembling statues, and solving the final knob puzzle. This level introduces lock picking mechanics, radio tuning puzzles, historical sequencing, cannon operation, and statue assembly in a museum setting.
Quick feedback
Did this clue help you?
Your anonymous Yes or No helps us find walkthroughs that need another check.