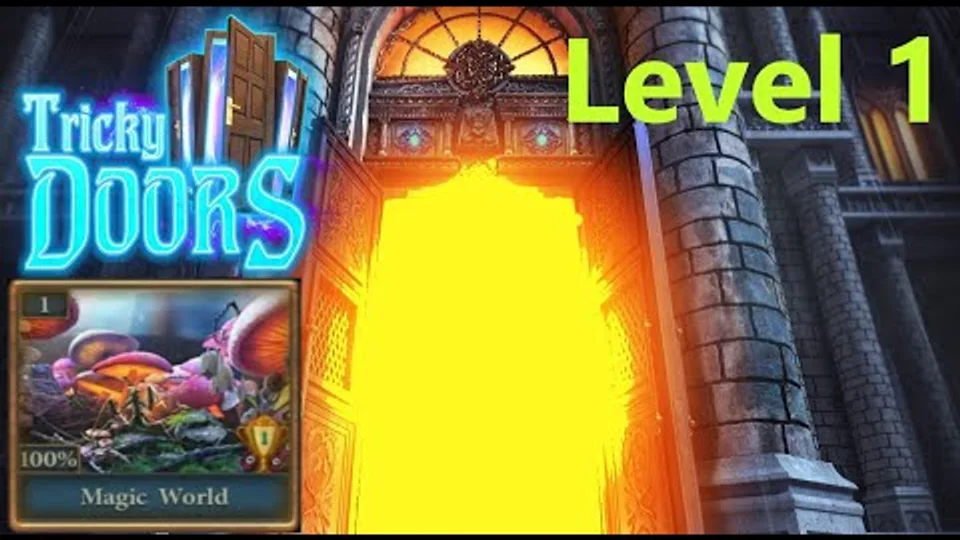
Use both “Magic World” and the gameplay image. The page follows the 25-episode ordering checked on 2026-09-29.
Last verified: · Verification method · Report a correction
Tricky Doors Level 1 Magic World solution
Tricky Doors Level 1 objective: Escape from the magical world by collecting items, solving puzzles, crafting tools, and completing the ink recipe to write in the book and return to reality. This level introduces you to the core mechanics of item collection, puzzle solving, and multi-step problem solving.
Step-by-step walkthrough
Start the episode
Start in the magical room; collect the broom from the right side of the screen. select the chest to inspect it and collect the 'key with balls' from in front of it. Examine the hanging mask above the chest on the wall and collect the red 'Ruby'. inspect the cobweb on the left wall and use the broom to clean it, collecting a 'Simple key'. Check the chimney above the fireplace to find a diagram clue, ritual knife, and potion recipe; collect all three. Look inside the fireplace to collect a 'Figured key'. Use the ritual knife to cut the rope hanging to the left of the chimney. inspect the table under the window on the left; collect the straw 'doll' and 'Key with monograms', then read the two papers for clues. From the floor on the lower left, collect a 'Candle' and wooden 'Handle'. inspect the trap door in the center; notice it has 4 keyholes, then use all 4 collected keys to unlock and open it. Exit to the ground area. Use the ritual knife on the loose bark on the far left tree to collect Birch Bark. inspect the tree stump in the center; collect the axe blade and feathers from the ground to the upper left. Combine the axe blade and handle using the ritual knife to craft an Axe.
Continue the item chain — phase 2
Place a log on the stump and use the axe to cut it, collecting firewood. inspect the bush with fireflies ahead; collect some berries. select the branch with 4 owls on the top right; observe their glowing eyes as a clue for later. Move to the water area on the right; collect an Empty Cauldron from the ground left and a handle by the center rock. Use the ritual knife on the totem statue base to collect Mushrooms, then collect an arrow from the totem's left side. inspect the totem head; add the ruby to the empty right eye to start the eye puzzle. Solve the eye puzzle by matching the red and green eyes to the glowing owl eyes pattern. Use the Axe on the far left tree to cut it down and create a bridge. inspect the lily in the water; use the knife to collect it. Cross the bridge and inspect the fire; use the candle to light it, then use the doll on the fire to create a smoking doll. Return to the totem area; inspect the snake on the ground left and use the smoking doll to clear it away, collecting a red gem. inspect the well on the far right; add the handle and empty cauldron to the chain, then lower it to collect a key and Cauldron of water. Return to the house; inspect the chest on the right again and select the glowing lock to inspect a puzzle. Add the red gem to the puzzle and solve it by moving red and green gems to correct slots on right and left. Collect a Stick and Net from the opened chest.
Continue the item chain — phase 3
Combine the stick with rope to make a bow, then add the arrow and feathers to complete the 'Bow'. Exit to the water area; inspect the water and use the net to collect a chest. Use the knife on the chest to cut seaweed, then use the key to open it and collect a bottle. Use the bow on the apple hanging from the tree to collect it. Return inside the house; open the potion recipe paper in inventory. Add mushrooms, berries, Lily, Seaweed, and bark to the recipe to create Ingredients. inspect the fireplace; add firewood and light it with the candle, then place the cauldron to heat the water. Add the Ingredients and finally add the apple with the arrow to create a magic apple. Select the Bow in inventory and use the knife to cut and collect the rope. inspect the stained glass section of the window on the left; add the crystal to the center. inspect the table below the window; add the bottle to the stand with the tiny ladder. Use the magic apple on the bottle to shrink and enter the bottle world. In the bottle world, use the axe on the cobweb on the left to detach the head, leaving just the handle. inspect the dead beetle on the ground left; select the jagged pincer to break it off.
Continue the item chain — phase 4
Add the handle to the ground next to it and use the rope to attach it, creating a sharp tool. inspect the cobweb again; use the sharp tool to cut it away and collect a 'Nymph' that drops. select the top left to find a rock with 2 panels; open the lower panel to start the bug puzzle. Solve the bug puzzle by using buttons to move bug shapes to correct locations (4 blue and 4 purple). Collect a golden spatula and inspect the paper with a clue. Give the Nymph to the mantis in the center; it will leave and you'll receive a Stamp. inspect the eyes on the right; use the golden spatula to dig and collect a bulb (tapping flowers makes them wither). inspect the stone to the left of the eyes; note the green leaf pattern as a clue. Return to the house; inspect the table under the window and use the stamp on the book to open it. Collect an ink recipe, an amulet, and a key. Exit to the ground and move to the water; select the monument with red fire to inspect it from above. Solve the 4 Pillars Puzzle by tapping the 4 pillars in the order shown in the clue (circles and pillars resemble the clue above). The fire will go out; inspect the fire pit and use the spatula to dig a hole in the ash. Add the bulb to the hole; a flower will grow, collect the flower of insight. inspect the bird in the cage; use the amulet on the lock to open it, then give the flower of insight to the bird.
Complete the escape
The bird will eat and fly away; inspect the cage and collect the blind bird's feather. Return to the house; inspect the locked cabinet above the scales in the top left corner. Use the key to open it and collect 3 jars. Return to the desk and enter the miniature bottle world again. inspect the 3 flowers on the far left; select the middle one and use the jars to collect some Dew. inspect the root below where the Nymph was collected; use the knife to cut the root, then use jars to collect Orchid Juice. inspect the bell flowers towards the right; use the jars to collect some pollen. Exit the bottle and inspect the scales and number pots on the far left. Select the ink recipe and inspect it for instructions, then select again to add it to the nail on the left. Place the 3 jars on the shelves; there are now 5 colored jars in total. Solve the jar puzzle by following the ink recipe; add correct color bottles to correct number pots: Green (2), Pink (7), Blue (6), Orange (5), and Light Green (4). Only add ingredients to pots when they're on the scales and balanced. All pots will automatically empty into the bottle on the right; collect the magic ink. inspect the desk and the open book; use the ink bottle on the book, then use the feather on the ink. When the book glows, select it to return to reality and complete Level 1; Magic World.
Compiled and edited by Level Clue from the sources linked above. Gameplay images and videos belong to their credited creators. How we check guides.
Magic World: Escape from the magical world by collecting items, solving puzzles, crafting tools, and completing the ink recipe to write in the book and return to reality. This level introduces you to the core mechanics of item collection, puzzle solving, and multi-step problem solving.
Quick feedback
Did this clue help you?
Your anonymous Yes or No helps us find walkthroughs that need another check.