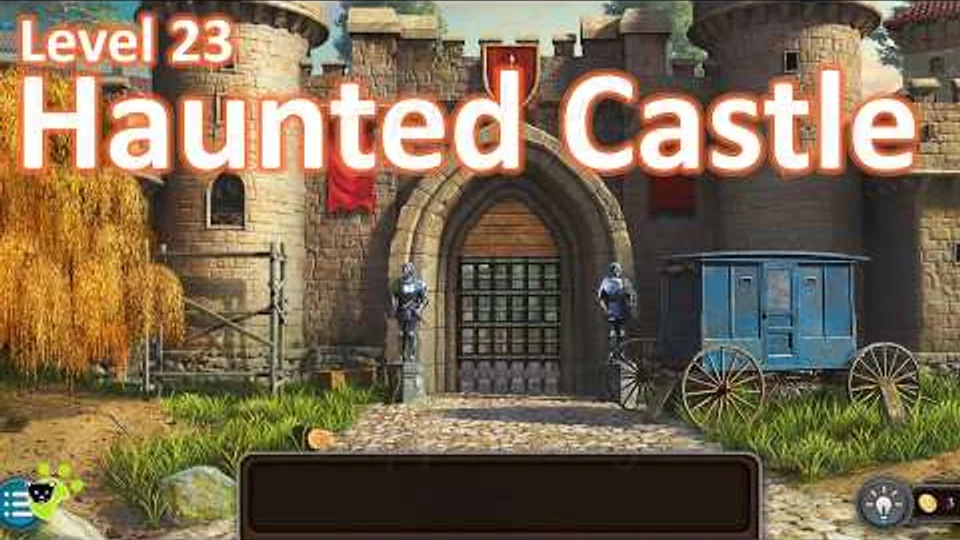
Use both “Haunted Castle” and the gameplay image. The page follows the 25-episode ordering checked on 2026-09-29.
Last verified: · Verification method · Report a correction
Tricky Doors Level 23 Haunted Castle solution
Tricky Doors Level 23 objective: Escape from the haunted castle by exploring the courtyard, warehouse, and inner halls, repairing broken walkways, unlocking doors and safes, solving mechanical and logic puzzles, and assembling the portal staff that opens the exit portal.
Step-by-step walkthrough
Start the episode
From the starting inspect of the castle, look down at the broken planks on the ground and collect any loose boards and nails you can pick up. Examine the partially collapsed bridge leading to the main entrance and note that you will need more planks to cross safely. Pan to the cart and debris near the wall and collect additional wooden planks, a crowbar, and any loose metal parts. Inspect the first plank puzzle board on the ground; drag and rotate the wooden pieces so they fit snugly within the frame with no gaps, then confirm to secure the repair. Move closer to the castle gate and inspect the second broken section of walkway; use your remaining boards to start the repair, triggering the second plank puzzle. Solve the second plank puzzle using a similar approach—fitting each irregular board into the pattern until the walkway is fully restored and stable. Cross the newly repaired walkway to stand directly in front of the castle doors. Look above the entrance to note the decorative reliefs and shields; the patterns and arrow directions here will be important clues for later locks.
Continue the item chain — phase 2
Inspect the coach with two horses parked outside; collect any loose items such as a handle, emblem fragment, or token from the coach seats and steps. inspect the side area near the warehouse door; collect a gear, a piece of rope or chain, and a strange shaped key fragment. Approach the locked warehouse door to the side of the main castle; interact with the unusual lock mechanism to inspect the multi-step door puzzle. Use the clue from the crest above the castle entrance (arrow directions and symbol order) to move the sliders or rotating elements on the warehouse lock until they match the pattern, then open the door. Enter the warehouse and look around the shelves and crates; pick up a wrench, additional gears, and a puzzle piece from the floor. Inspect the cabinet against the wall inside the warehouse to reveal a combination or rotation puzzle on its lock. Use the markings found on nearby boxes and the faint pattern on the cabinet itself as a hint; rotate or slide the lock pieces to the correct arrangement to open it. Collect a weight, another gear, and part of a statue base from the open cabinet.
Continue the item chain — phase 3
Check the large chest in the warehouse; interact with the locking mechanism that involves moving or rotating tiles according to the faint sketch on the lid. Solve the chest puzzle (referencing the hint picture in the warehouse if needed) to unlock it and obtain a hook, another emblem fragment, and a key. Return outside and examine the drawer or small chest near the castle doors, which has a symbol puzzle inspired by the shapes above the entrance. Match the orientation of the symbols on the drawer lock with the design at the top of the castle entrance, then open it to collect a handle or crank. Use the newly found key on a side door or small gate to open access to an interior corridor. Enter the castle hall and look up to find a chandelier hanging high above; note that it is connected to a gear mechanism. Inspect the gears puzzle panel on the wall; place all collected gears on the pegs so that every cog meshes and the drive gear can turn the entire system. Rotate the gears where possible to ensure every tooth lines up; once correct, activate the mechanism to lower the chandelier.
Continue the item chain — phase 4
Search the chandelier once it is within reach to find a hidden gemstone or another piece of the portal staff. Proceed deeper into the castle to the room with the two stone statues; collect any loose statue fragments and examine the incomplete bases. Place the recovered statue piece from the warehouse onto the appropriate statue, ensuring that shapes and textures match. Study the clue on the table near the statues—it shows the correct order or posture for each sculpture. Adjust the statues by rotating or swapping their parts to match the clue exactly; pay close attention to the bottom pieces, as two similar-looking base parts can easily be confused. When the statues are correctly arranged, a hidden compartment opens to reveal another key item for the portal staff or a new key. Return to the courtyard and interact with the two-horse coach puzzle again, this time focusing on the movable wheels or plates. Use the arrows and symbols on the red shield outside the castle and the blue shield inside the warehouse as guides for how to orient the wheels on the red and blue doors.
Complete the escape
Rotate each wheel on the coach and doors so that they face the directions marked by the corresponding shields, then confirm the configuration. Once solved, the coach puzzle reveals a hidden compartment containing another staff fragment and possibly a code for the safe inside the castle. Head back into the castle interior and locate the safe in one of the rooms; inspect the dial or segmented lock. Use the pattern, numbers, or symbol order you’ve gathered from prior clues (such as the table, shields, or wall drawings) to enter the correct combination on the safe. Open the safe to retrieve a crucial component of the portal staff and possibly a final key. Check your inventory and combine matching fragments to assemble the full portal staff, ensuring all pieces snap together. Return to the central hall or portal room where an empty pedestal or magic circle waits. Place the completed portal staff into the designated slot on the pedestal. Watch as the portal activates; once it fully opens, select the glowing portal to leave the haunted castle and complete Level 23; Haunted Castle.
Compiled and edited by Level Clue from the sources linked above. Gameplay images and videos belong to their credited creators. How we check guides.
Haunted Castle: Escape from the haunted castle by exploring the courtyard, warehouse, and inner halls, repairing broken walkways, unlocking doors and safes, solving mechanical and logic puzzles, and assembling the portal staff that opens the exit portal.
Quick feedback
Did this clue help you?
Your anonymous Yes or No helps us find walkthroughs that need another check.