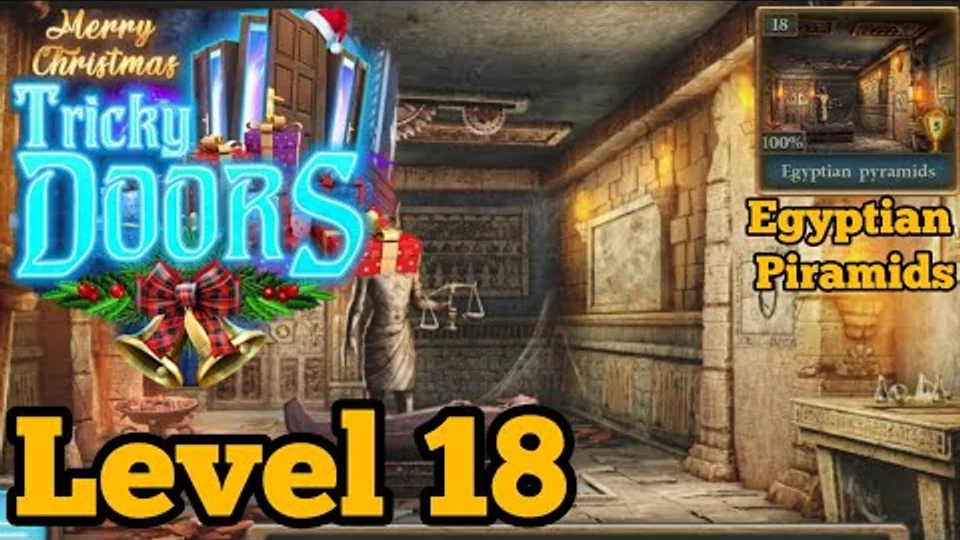
Use both “Egyptian Pyramids” and the gameplay image. The page follows the 25-episode ordering checked on 2026-09-29.
Last verified: · Verification method · Report a correction
Tricky Doors Level 18 Egyptian Pyramids solution
Tricky Doors Level 18 objective: Escape from the Egyptian pyramid by collecting items throughout the pyramid chambers, solving various puzzles including circle rotation puzzles, door lock puzzles, number block puzzles, scarab maze puzzles, pipe connection puzzles, light reflection puzzles, column symbol puzzles, and pyramid color puzzles, crafting tools like a torch, and finally escaping from the pyramid.
Step-by-step walkthrough
Start the episode
Start in the first room of the pyramid; collect a water Jug from the floor on the left. inspect the fire pit with red hot coals on the left by the door. Collect a Metal Circle from the right side of the fire pit. inspect the Table on the right of the room. Collect a bottle of Oil from the table top. Add the metal circle to the statue on the table. inspect the statue to see a circle puzzle. Solve the circle puzzle by rotating each of the rings to complete the 2 images on the 2 sides of the statue. Moving a ring on one side will also move a ring on the other side; adjust rings alternately from left and right. Line up all of the rings as needed to complete both images. Once solved, a panel opens; collect the Figurine. inspect the doors at the far end and add the figurine to the center to open a panel. Solve the door puzzle lock by arranging the blocks on the left to make the beams replicate the pattern on the right. The pattern may be different for you; match the beam pattern to the line pattern.
Continue the item chain — phase 2
Once solved, go through to the next room. In the second room, see a large statue with a mirror on top. Collect a Stick from the feet of the statue. inspect the small water basin on the far left. Use the stick on the blocked hole at the top of the basin to release the water flow. Collect a Red Stone from the basin. Use the Jug on the water to collect a Jug of Water. inspect the cloth hanging on the right side wall. Collect a Blue Stone from the cloth. Go back to the first room and inspect the hot coals again. Use the jug of water on the coals to cool them down. Collect an Eye from the cooled coals. select a wall panel on the right in the middle of the wall. Place the Eye in the center space. This reveals a number block puzzle.
Continue the item chain — phase 3
Solve the number block puzzle; there is a grid of symbols for numbers. The green row and column are totals; select blue tiles to select them. Choose the correct numbered tiles to add up the rows and columns to match the totals in the green tiles. The numbers for your game may be different. Once solved, the panel opens; collect a Dagger. Note there is a keyhole that you cannot operate yet. inspect the sarcophagus in the center of the room. Use the stick to open the lid. Collect a Pyramid (1 of 3) from the sarcophagus. Go through to the second room and inspect the hanging cloth on the right wall again. Use the dagger on the cloth to cut off a piece of Cloth. inspect the Stick in your inventory and add the cloth to it. Add the Oil to the stick with cloth to make a Torch. Go back to the first room and use the torch on the flame on the left to light it.
Continue the item chain — phase 4
Collect a Burning Torch. Return to the second room and select the doorway on the left side. Go through to a dark room. Use the torch here to light the flames on the left and right to light up the room. inspect the door at the far end to see 2 slots on the left and right. Place the blue stone on the left side to start a series of puzzles. Solve the blue stone scarab maze puzzles; move a small scarab icon around the grid. Swipe the icon in the direction you want it to move; it will move until it hits a block. Passing over a square will turn it orange; fill in the whole grid in orange to finish each level. You cannot pass over orange squares; if you make a mistake hit the reset button. Complete all 4 levels of the blue stone puzzles. After the blue stone puzzles, place the red stone for another set of puzzles. Solve the red stone pipe connection puzzles; connect the pairs of colored points together by dragging between them. The lines of each color cannot cross; you don't need to fill in every section of the grids. Complete all 4 levels of the red stone puzzles.
Continue the item chain — phase 5
Once both sets of puzzles are completed, the doors open; pass through to another large room. In the third room, inspect the top of the statue on the back wall. Use the dagger to collect the Stone of Ra gem. Collect the Ladder from the statue. inspect the base of the statue to see 3 cat figures (1 missing). Collect the Brush from the statue base. Back up to the second room and place the ladder on the tall statue with the mirror on top. inspect the head of the statue. Collect a Feather from the hands. Place the Stone of Ra into the empty eye socket. This turns the mirror to let light reflect down into the room. Use the other mirrors in the room to direct the light until it reaches a point on the back wall. This starts a light puzzle. Solve the light puzzle; there is a beam of light at the top. Move the square blocks around the maze to direct and split the beam of light.
Continue the item chain — phase 6
Get the beam to reach all of the red crystals on the maze. The positions of the crystals may vary; you may not need to use all of the blocks. Once solved, the panel opens; collect a second Pyramid (2 of 3). Back up to the first room and inspect a wall picture on the right wall that is covered with dirt. Use the brush here to clean it and reveal a clue. You will see 2 columns of symbols; remember these symbols. Move back to the room that was dark; there are 2 columns of square blocks. Solve the columns puzzle by tapping the blocks to turn them. Set the symbols to match those in the clue; turning 1 block can also make other blocks turn on the opposite column. Once done, collect a Key and a Key Part (strange key). Go back to the first room and inspect the key hole that you uncovered on the right wall. Use the Key part here. When you take it out again, you will collect a Key (strange key). Go back through to the second room and inspect the place on the wall where the light reaches.
Continue the item chain — phase 7
Use the Strange key here to open it. Collect the Ra figure. Go through the room with the square columns to the final room. inspect the large wooden cabinet on the left. Use the other key that you have to unlock it. Collect a Cat Figurine and a Cylinder from the cabinet. inspect the base of the statue and place the cat figurine with the other 3. A panel will open; collect the Pyramid (3 of 3) and the Heart. inspect the stone plinth on the right with the 3 triangle holes. Add the 3 pyramids to it to start a puzzle. Solve the pyramid puzzle; on the left are 3 colored shapes (green, blue, red). Move them to the matching symbols on the right. You can only move a shape onto a matching color grid spot. When you move the shape it will change the color of the grid spot it moves to. The green shape turns the grids red, the blue shape turns the grids green, and the red shape turns the grids blue.
Complete the escape
Get all 3 shapes across to complete the puzzle. Once done, the floor will open and a Chest will appear. inspect the chest and add the Cylinder to it to make a combination lock. Notice the 3 symbols above the lock. To get the combination, look for these symbols in all of the rooms. Examine the various areas carefully and count the symbols. Enter the combination based on the symbol counts. Once opened, collect a Bastet figure from the chest. Back up again to the first room and inspect the statue in the center. It is holding some scales and there is a mechanism above its head. Place the heart and the feather onto the scales. The mechanism will move and you can collect an Anubis figure. Go back to the final room and inspect the doorway on the left. Place the 3 figures (Ra, Bastet, Anubis) into the 3 empty slots on the left and right. The gate will open; pass through and escape from the Pyramid.
Compiled and edited by Level Clue from the sources linked above. Gameplay images and videos belong to their credited creators. How we check guides.
Egyptian Pyramids: Escape from the Egyptian pyramid by collecting items throughout the pyramid chambers, solving various puzzles including circle rotation puzzles, door lock puzzles, number block puzzles, scarab maze puzzles, pipe connection puzzles, light reflection puzzles, column symbol puzzles, and pyramid color puzzles, crafting tools like a torch, and finally escaping from the pyramid.
Quick feedback
Did this clue help you?
Your anonymous Yes or No helps us find walkthroughs that need another check.