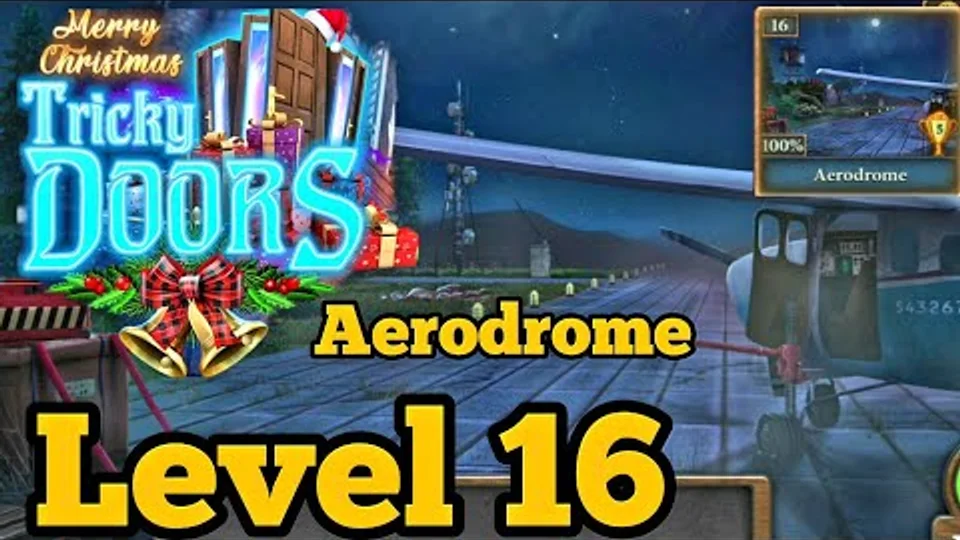
Use both “Aerodrome” and the gameplay image. The page follows the 25-episode ordering checked on 2026-09-29.
Last verified: · Verification method · Report a correction
Tricky Doors Level 16 Aerodrome solution
Tricky Doors Level 16 objective: Escape from the aerodrome by collecting items throughout the airfield, watch tower, and hangar areas, solving various puzzles including chip movement puzzles, arrow maze puzzles, connection puzzles, and wire rearrangement puzzles, repairing the plane, extracting fuel, restoring power, and finally flying away to escape.
Step-by-step walkthrough
Start the episode
Start at the airfield; open the red box on the left to get a closer look. Collect the nut right of the box (Nut 1 of 4). open the bushes at the back; move a few bushes out of the way to find an arrow (Arrow 1 of 4). open the red jack to lift the plane. Collect an arrow under the wheel (Arrow 2 of 4). open the hangar at the back to get a closer look. Collect the key hanging in a panel on the left. Use the key on the red box at the front to unlock it. This reveals a minigame; solve by moving red chips to place them on the red line. Once completed, collect a knife and a hook from the box. Use the knife on the red straps holding the boxes to add a cable to your inventory. Combine the hook and cable from your inventory to make a rope with hook. open the watch tower at the back. Use the rope with hook to climb up to the watch tower.
Continue the item chain — phase 2
As you enter, you'll see text about a monkey with a key. Collect a bucket on the left side behind the chair. Find a key in the pocket of the jacket draped on the chair. Collect an arrow on a panel under the monitors on the right side (Arrow 3 of 4). open the lever on the desk to get a closer look. open the instructions to see how to use the lever. Note the different positions of airplanes scratched on the left side; this will be needed later. Collect a nut on the left side (Nut 2 of 4). Go back to the airfield and open the panel at the back of the plane. Use the key from the jacket to open the compartment. Collect the last arrow from the compartment (Arrow 4 of 4). Take the cap of the fuel tank on the right side. Add the funnel from the compartment to the fuel tank cap. Go to the panel on the hangar and add all four arrows to unlock a minigame. Solve the arrow maze puzzle by using arrows to move chips around the maze so both chips combine with the desired shape at the same time.
Continue the item chain — phase 3
Once completed, the door to the hangar opens. open the fuse box at the back of the hangar to get a closer look. Open the fuse box and collect a magnetic key from the bottom right corner. Collect wire cutters from the top of the fuse box. Go back to the watch tower and use the magnetic key on the lock on the cabinets. This shows you a symbol of a trash can. open the trash can on the right side of the room to tip it over. This reveals a picture of the boxes in the airfield. Go back to the boxes and open the bottom. See a 7 highlighted with purple paint. In the hangar, there are painted numbers over the walls. open the purple seven on the wall to see a six digit code. Enter the code (e.g., 153872) to open the compartment. Collect a hand pump and clamp from the opened compartment. Outside in the airfield, look at the four barrels above the hangar.
Continue the item chain — phase 4
Note the order of the barrels (e.g., blue, green, purple, red). Go inside the hangar and find four digits in different colors. The barrels show you the order to input the numbers (e.g., 1573). Use this code on the locker on the right shelf. Once opened, collect a banana and nut (Nut 3 of 4). Go back to the watch tower and feed the banana to the monkey. The monkey drops a key which is added to your inventory. Go back to the hangar and open the hood of the car. Insert the key to unlock a minigame. Solve the connection puzzle by finding connections on the tiles. Once completed, the hood pops open. Collect the wrench from inside the car. Use the knife from your inventory on the hose inside the car to add it to your inventory. open the battery from the right side of the hood to add it to your inventory.
Continue the item chain — phase 5
At the back of the hangar, open the fuse box. Remember the plane positions that were carved into the desk in the watch tower. Flip the red switches to match the positions of the planes. The switches should match the plane positions (e.g., up, down, down, up, up, up). Pull the lever on the left side to restore the power supply. Go back to the plane in the airfield and open the wheel to get a closer look. Use the wrench from your inventory to get the last nut needed (Nut 4 of 4). Add the flat tire to your inventory. Collect a key from the wheel area. Go back to the watch tower and open the open box on the right. Use the wire cutters on the wires to add them to your inventory. Go back down to the hangar and open the red machine at the back. Add the hose to the machine. Add the clamp to the machine. Use the knife to tighten the screw.
Continue the item chain — phase 6
Add the flat tire to the machine. Click again to attach the hose to the tire. open the machine to inflate the tire. Collect the inflated wheel back into your inventory. On the right side at the front, see yellow barrels with a pipe on top. Add the hand pump to the barrels. Add the bucket to the pump. open the pump again to extract fuel from the barrels. Collect the fuel into your inventory. The red locker on the left of the hangar can be opened with the key from your inventory. Open it to retrieve a key card and pry bar. Go back to the airfield and place the wheel on the plane. Add the nuts and use the wrench to tighten them in place. open the jack again and it will disappear. Go back to the watch tower and add the keycard to the panel next to where you cut the wires.
Complete the escape
It will ask for a six digit code; enter the number on the plane (e.g., 543267). Click ok and a ticket will be printed with coordinates. Go back to the airfield and open the fuse box at the back. Add the wires to the box to unlock a minigame. Solve the wire rearrangement puzzle by rearranging wires to light all the lights at the top. Once completed, go back to the watch tower. Switch the lever on the desk and the lights should turn green. Go to the airfield and see the lights flashing on the runway. open the plane panel and add the battery to get power on the plane. Add the fuel from your inventory to the engine to refuel. Enter the plane and open the dashboard. Add the coordinates from the ticket to the dashboard. Enter the correct flight coordinates by punching in the numbers from the ticket onto the keypad. Once completed, open the lever on the right side inside the plane. The plane flies away and you have completed Level 16; Aerodrome.
Compiled and edited by Level Clue from the sources linked above. Gameplay images and videos belong to their credited creators. How we check guides.
Aerodrome: Escape from the aerodrome by collecting items throughout the airfield, watch tower, and hangar areas, solving various puzzles including chip movement puzzles, arrow maze puzzles, connection puzzles, and wire rearrangement puzzles, repairing the plane, extracting fuel, restoring power, and finally flying away to escape.
Quick feedback
Did this clue help you?
Your anonymous Yes or No helps us find walkthroughs that need another check.